
|
|
|
|
|
|
|
|
|
|
|
|
How to Take Before and After Photos for Orthodontics
First of all, before & after photos should include face, which provides evidence that after treatment (extraction) the facial profile improves.
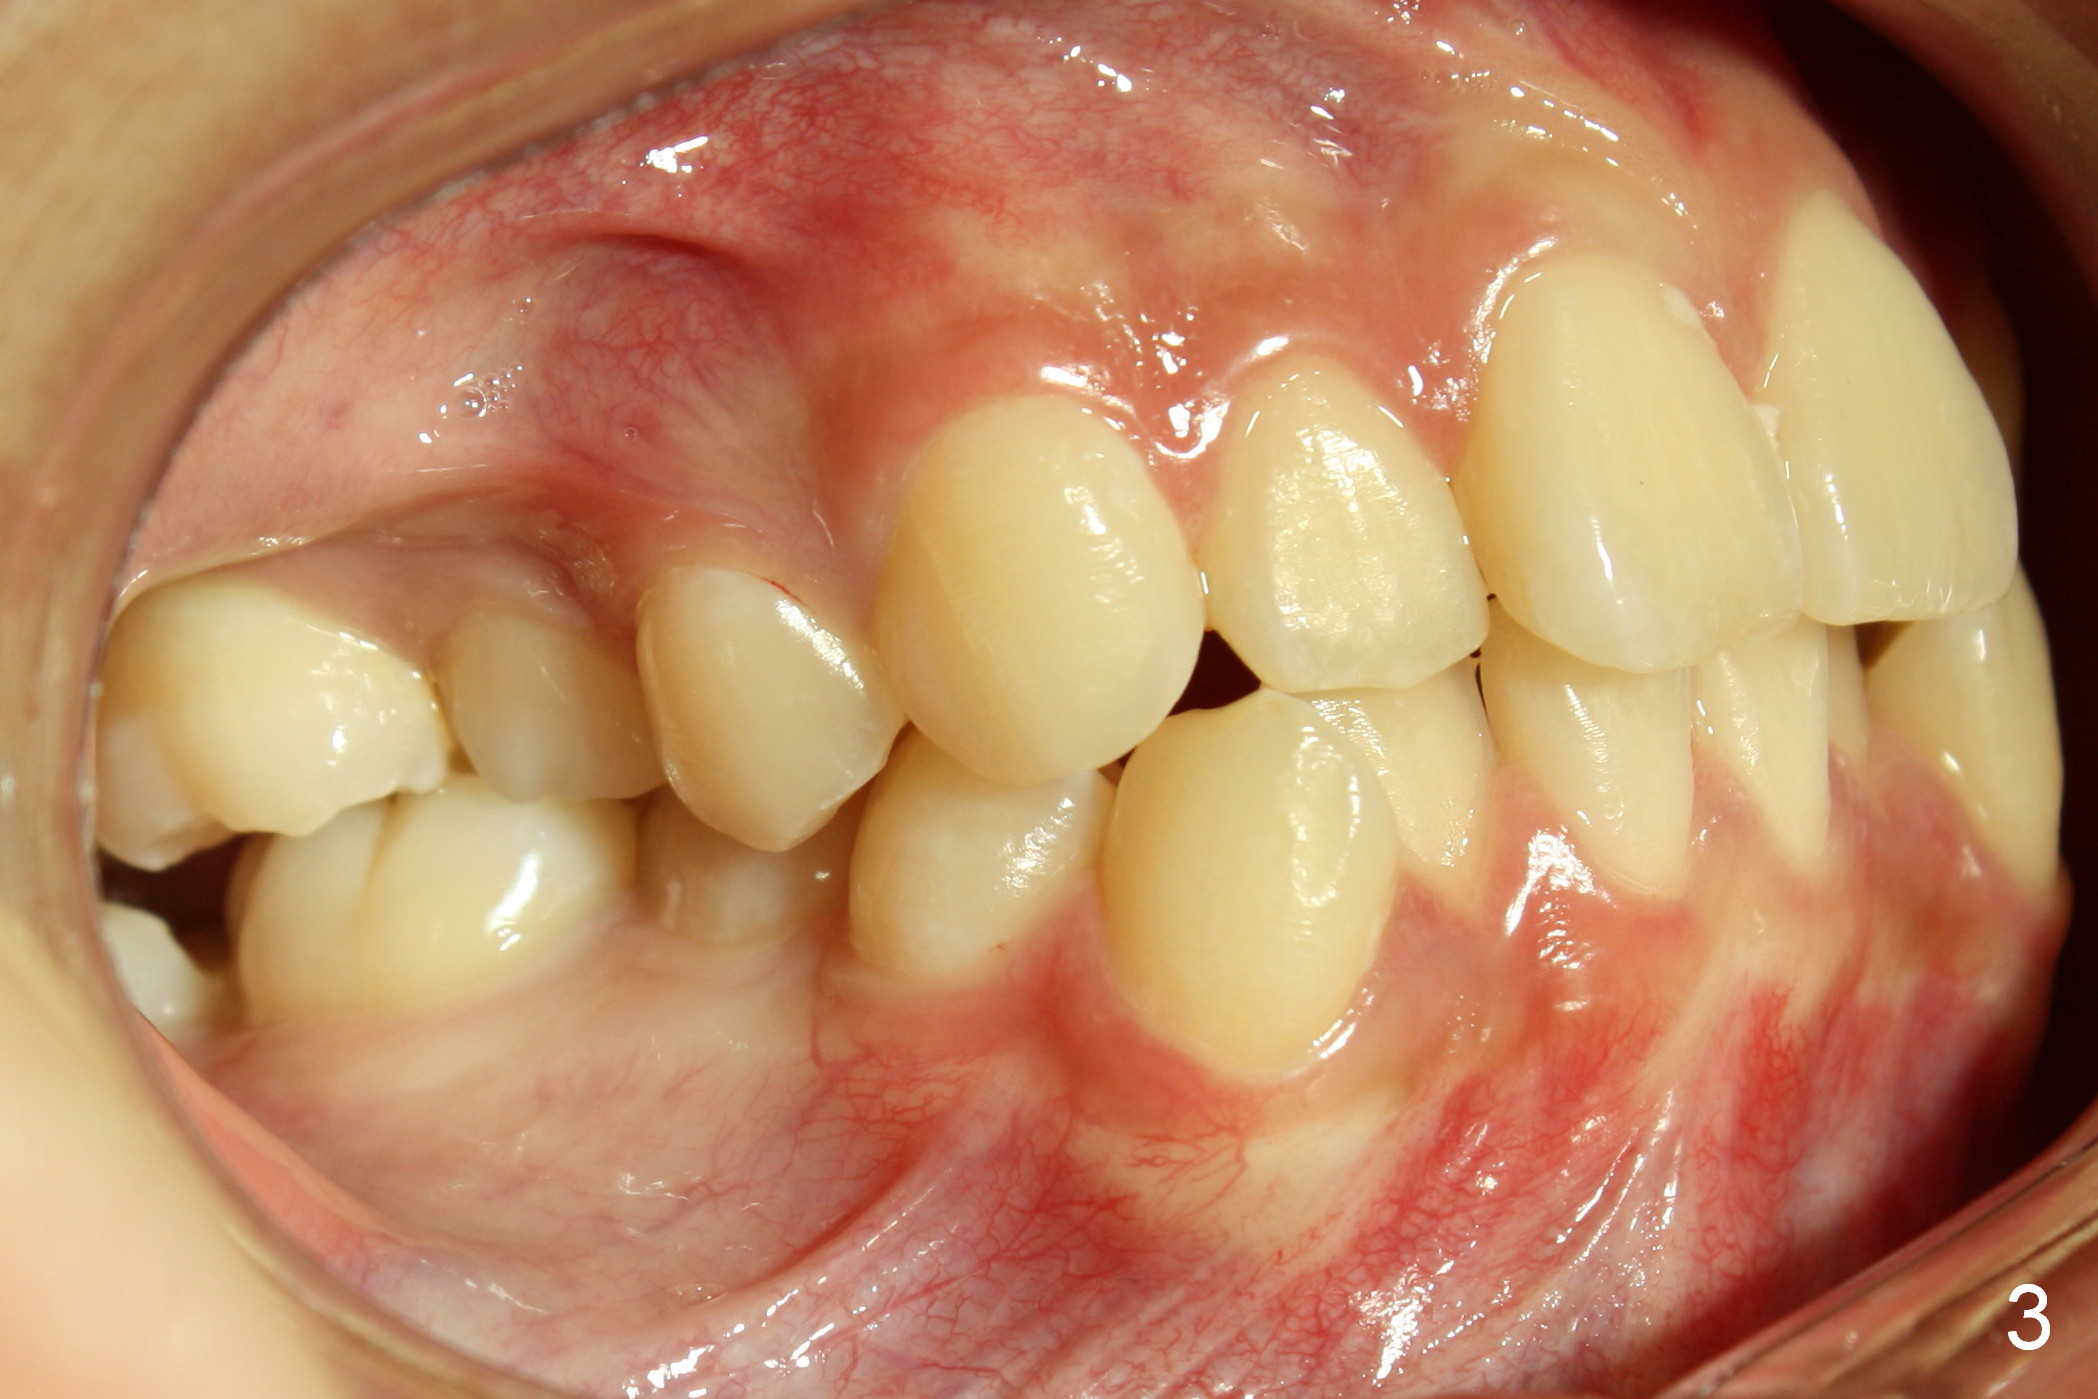
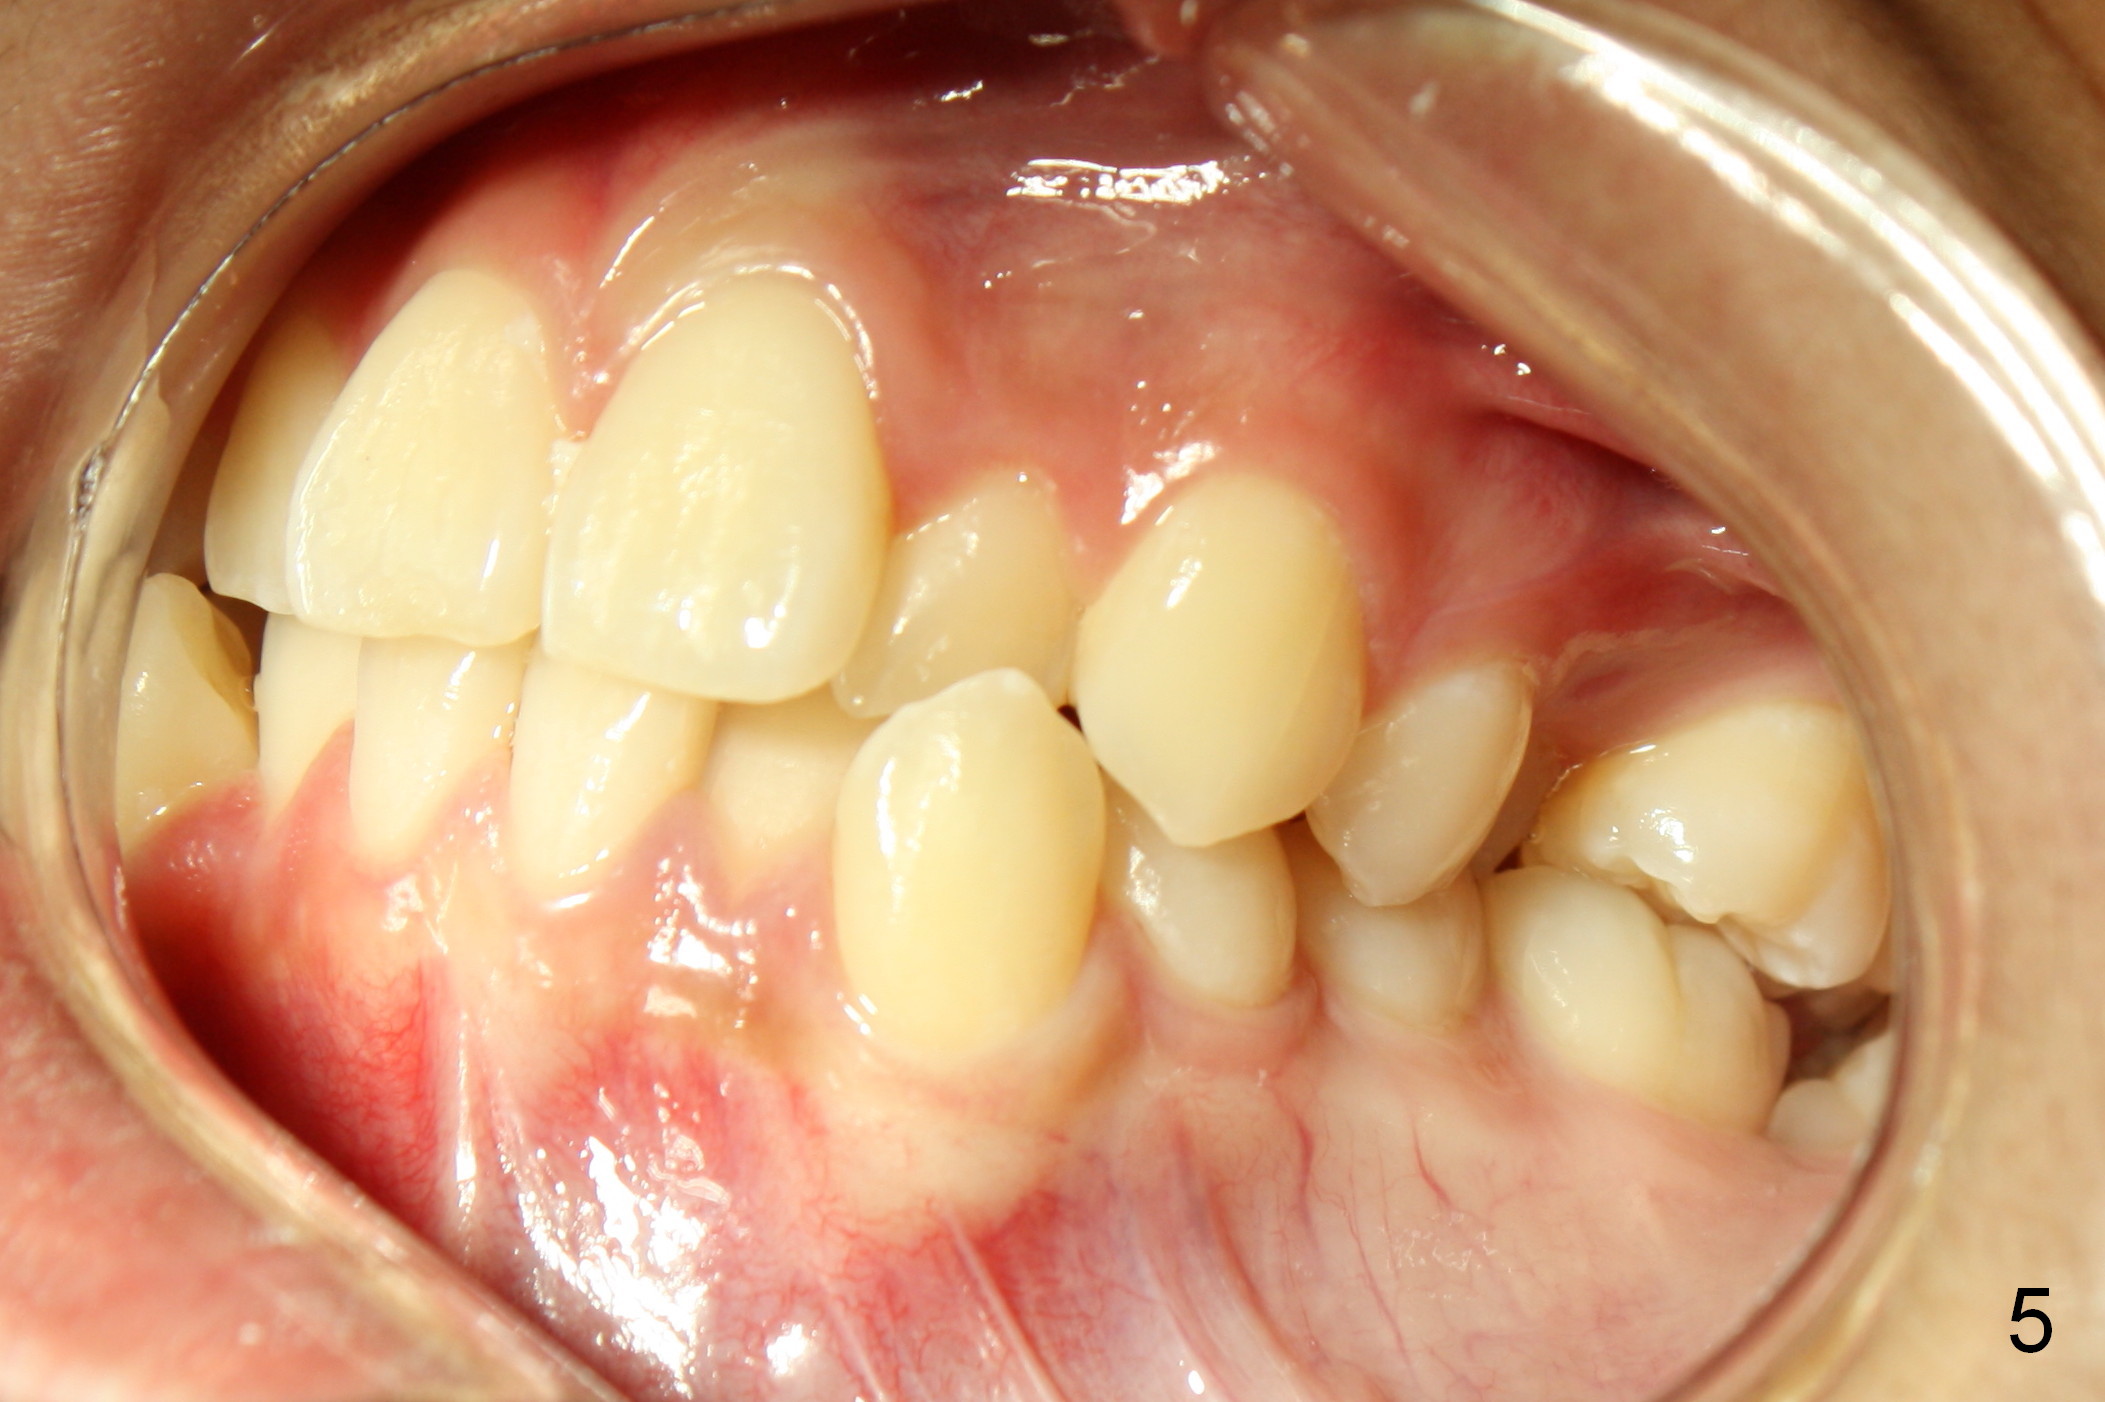
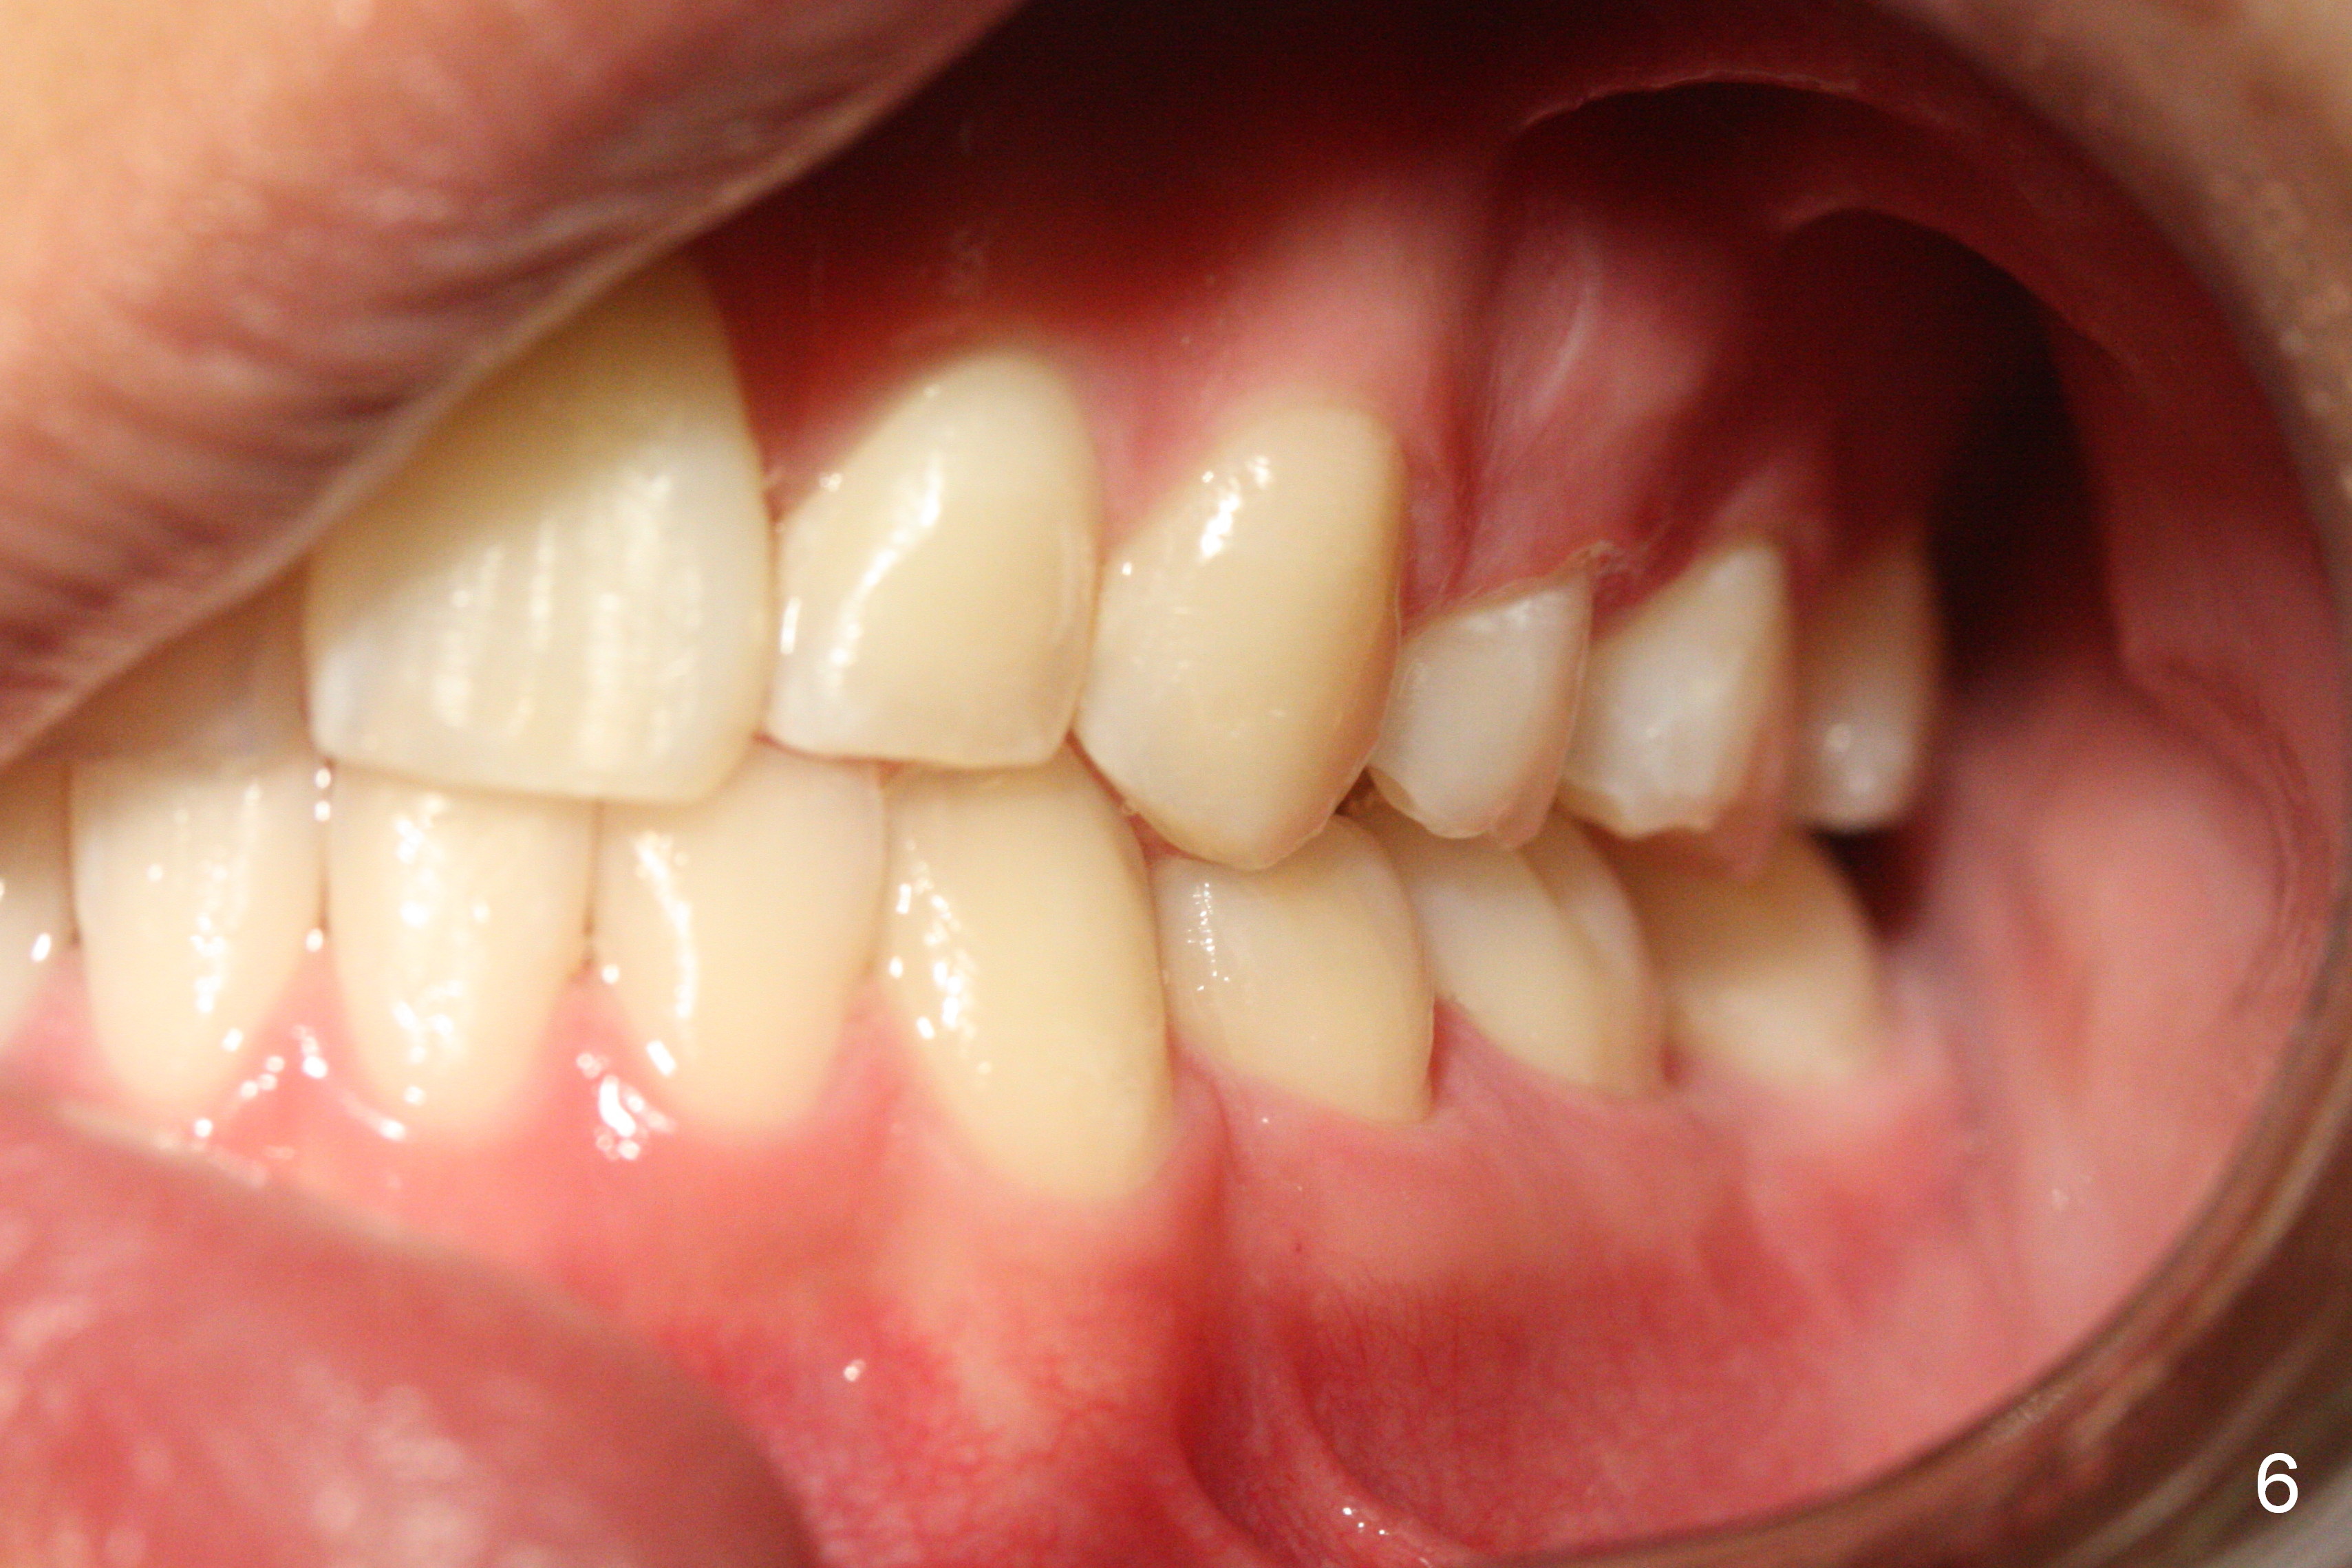
When taking photos for the lateral view of the occlusion (Fig.3, retract the corner mouth as back as possible using proper sized cheek retractors (single or double, child or adult) or a mouth mirror. The focus should be on the posterior teeth, showing interdigitation. That is move the camera to the side of the face.
It would be nice to take direct shot of the upper and lower arches if the indirect one is difficult to obtain.
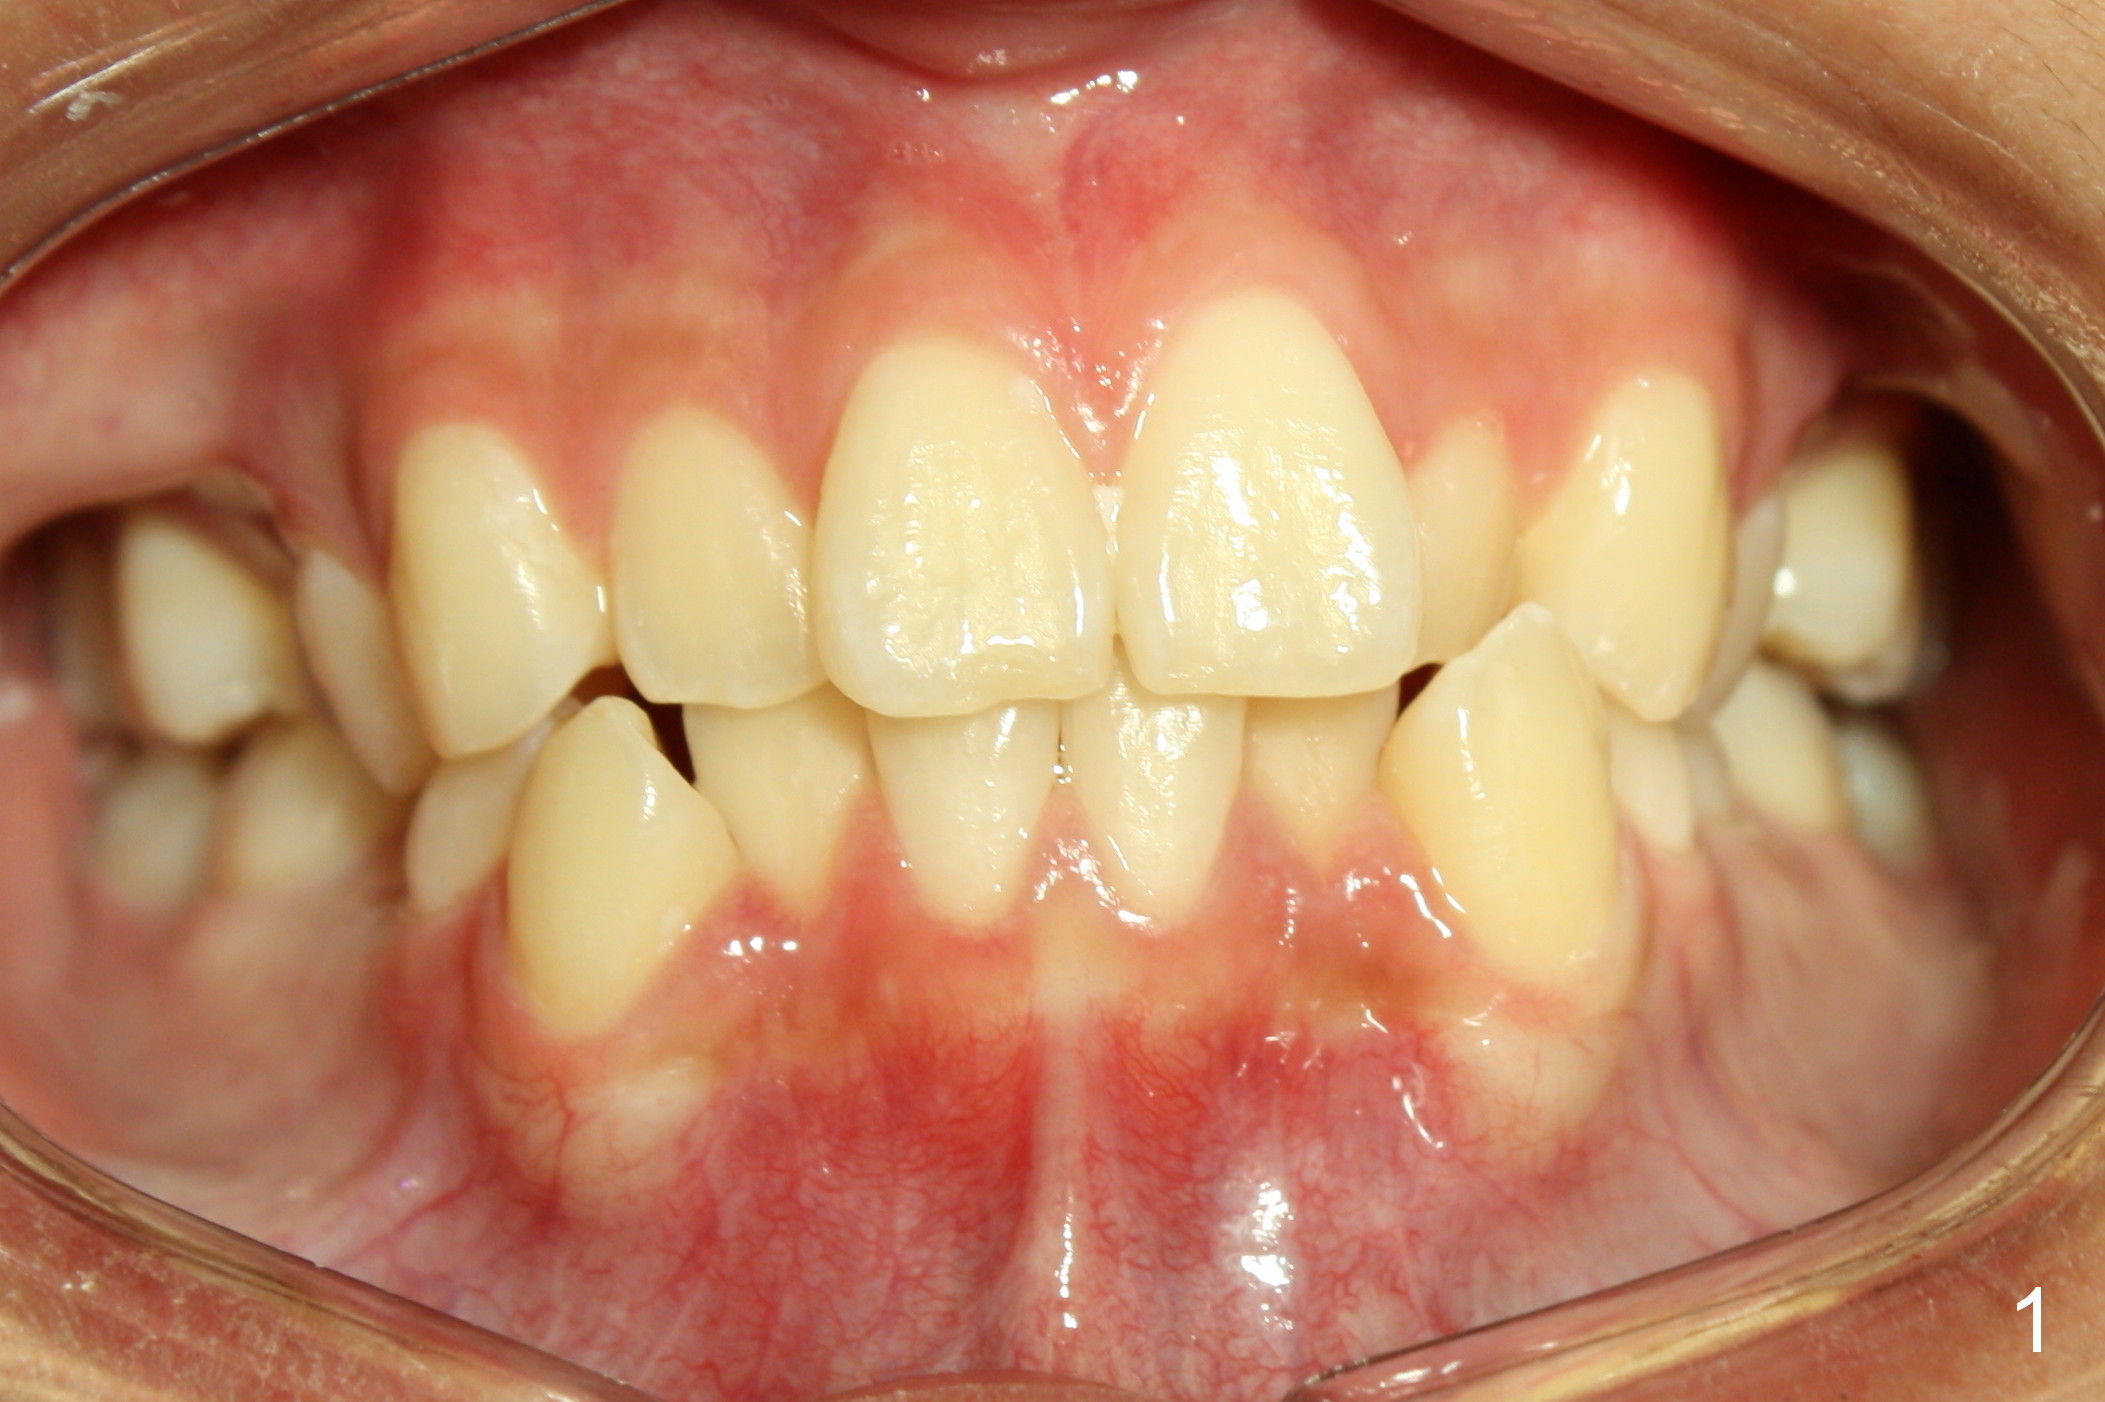
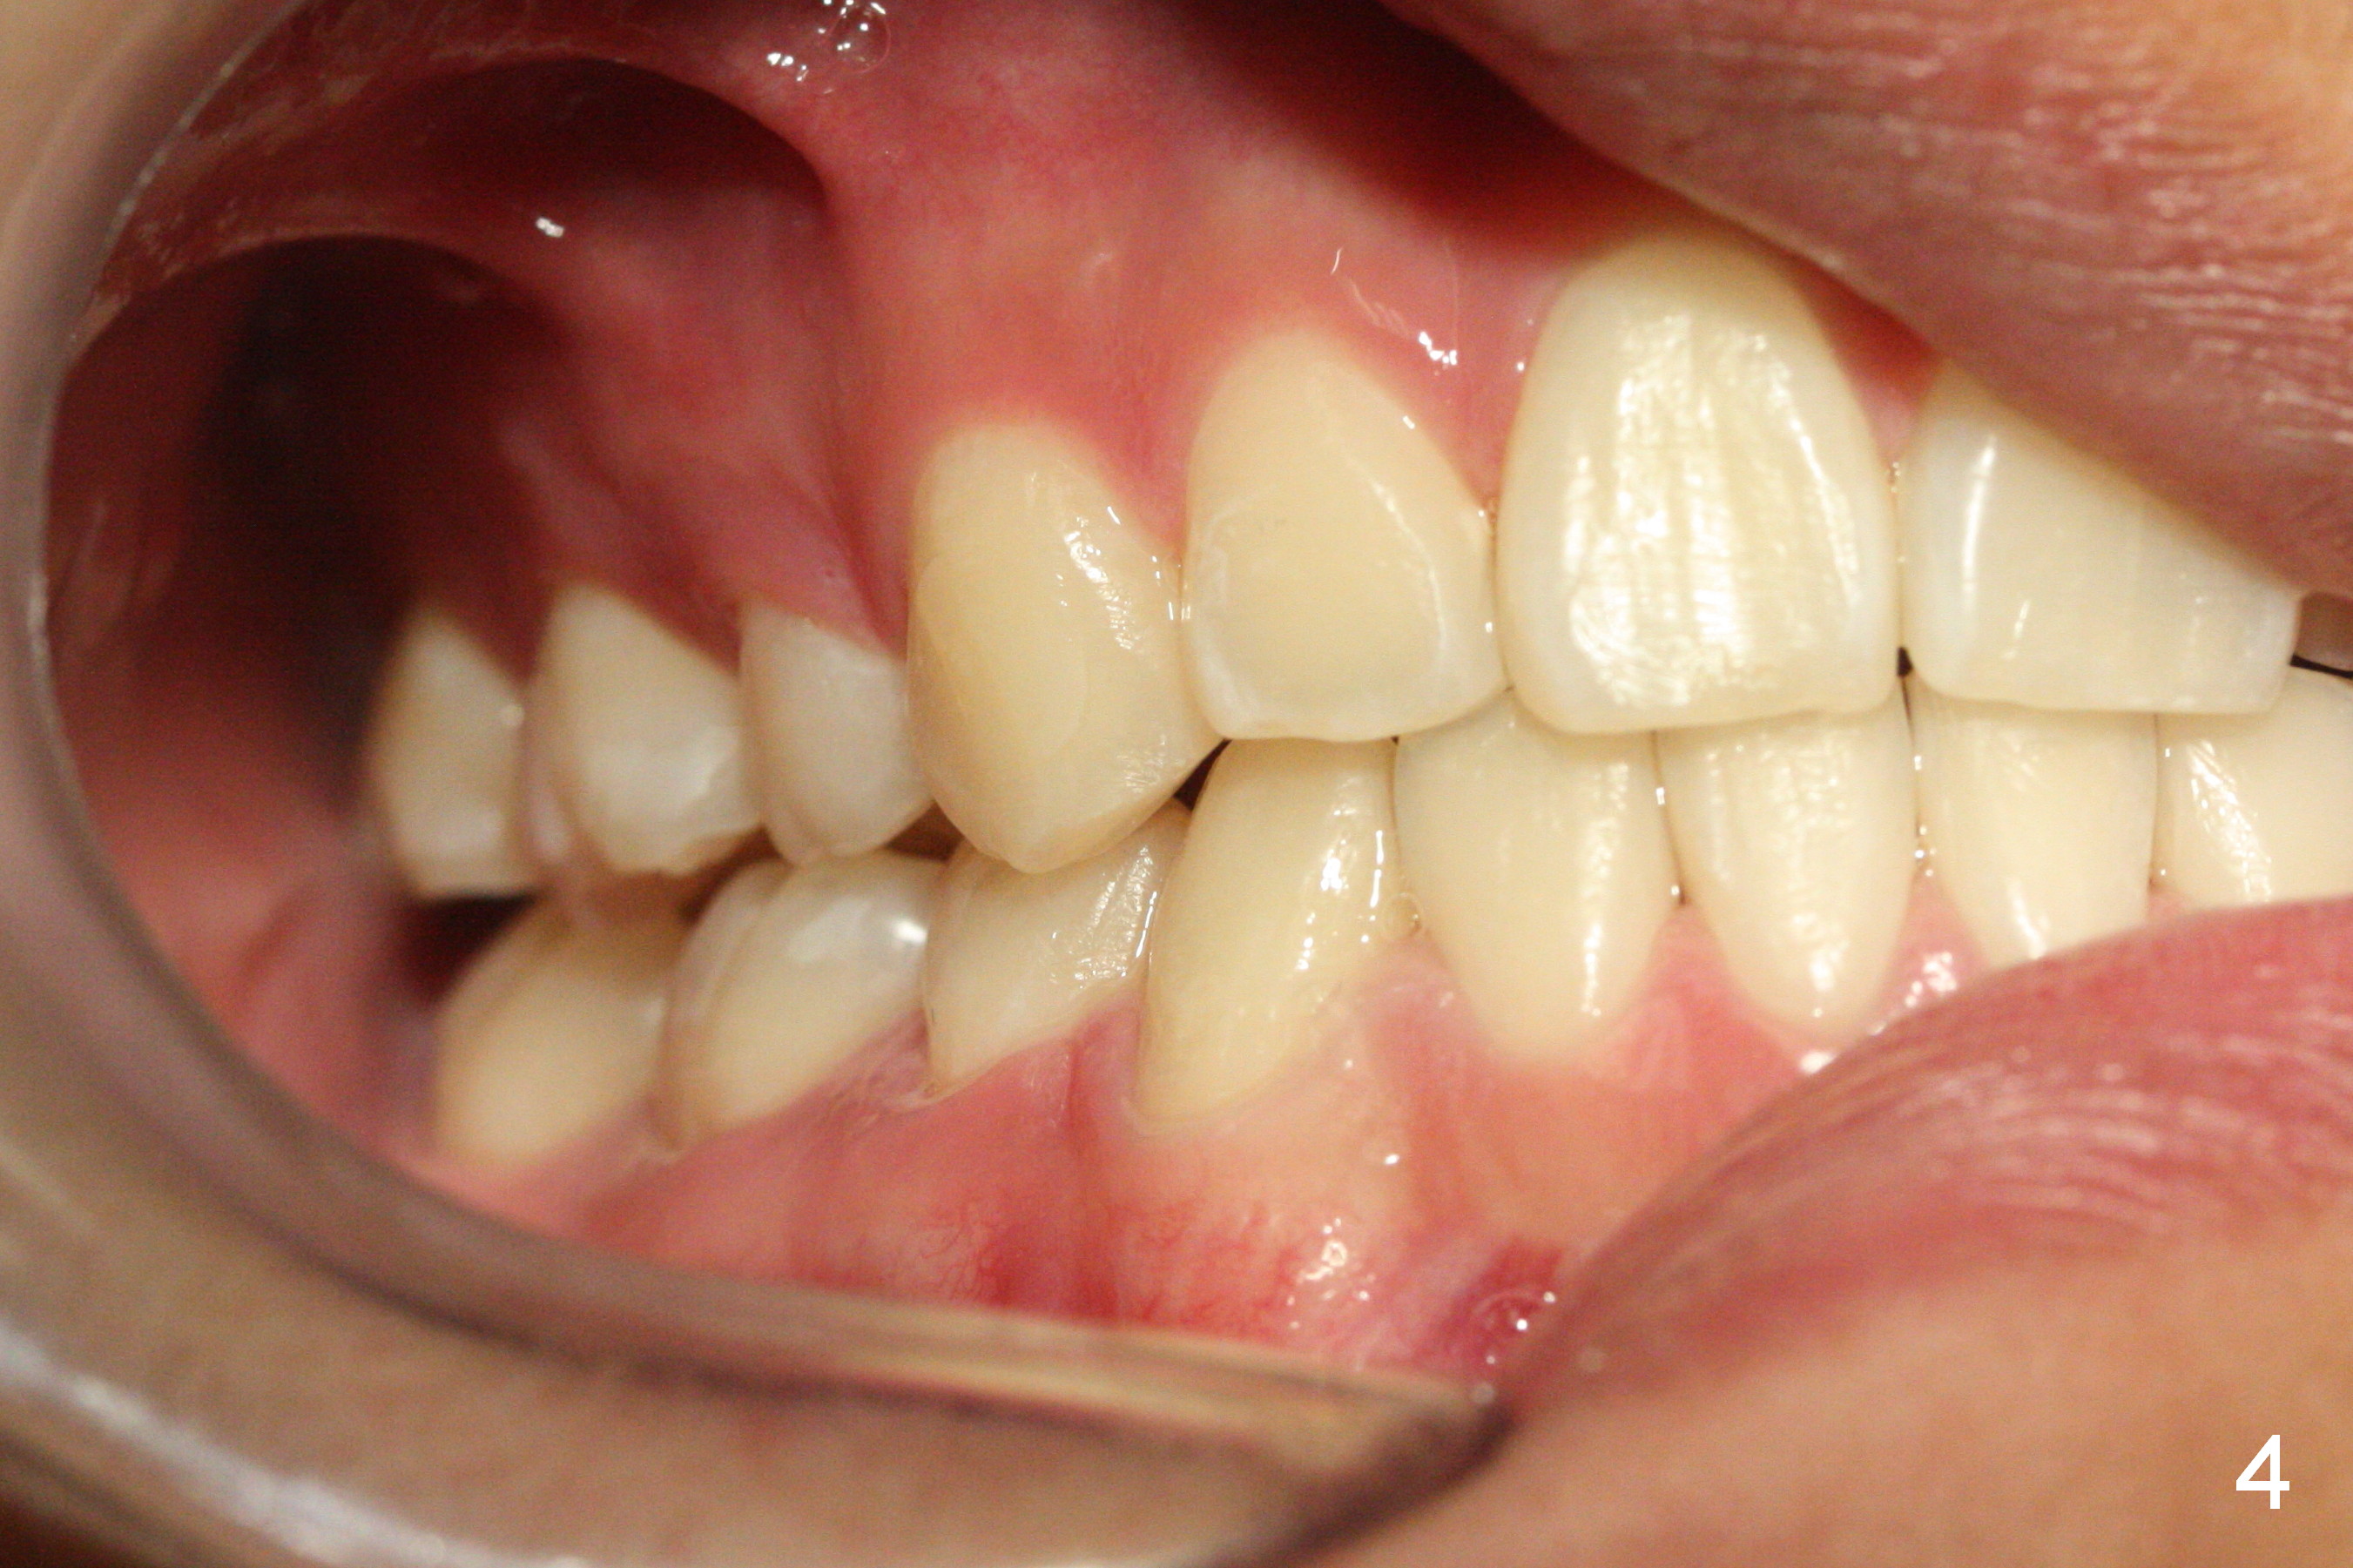
Lighting should be double checked (Fig.1,2).
Return to
Ortho Cases
Xin Wei, DDS, PhD, MS 1st edition 11/24/2016, last revision 01/19/2018