|
|
|
|
|
|
|
|
Implant & Ortho 2 |
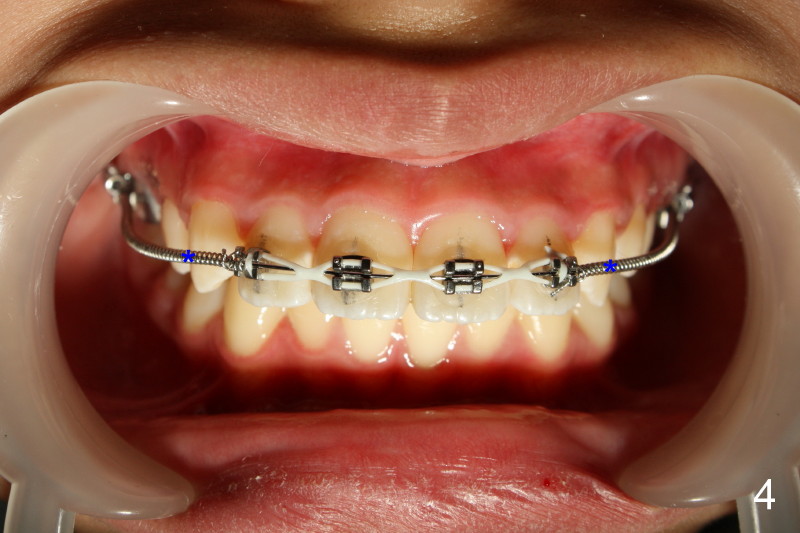
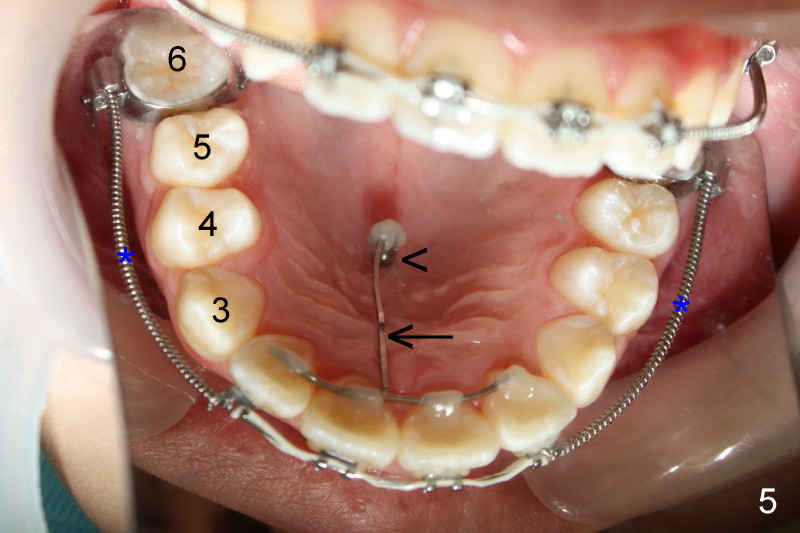
Mini-Implants
Mini Implants
·
Learn which area
we are working on
·
We have to get
the mini implants package at the sterilizing room
·
Prepare
everything before going to the treatment room
Preparation:
1.
T-wire
2.
Cetacaine
Topical Liquid
3.
Implants Dentau
Rum-D
4.
Basic
5.
Thomas Driver –
Pin SD 06 LMAS
6.
Marker
Procedure
Sequence:
1.
Test: Try to put
T-wire into a palate and adjust the side. If the T-wire is too long, cut out
the excess.
Instruments(ortho jar): Cutting pliers, Three Prong Bending
Pliers, Contouring Pliers
2.
Use a marker to
make a mark and cut
3.
Apply Topical
liquid on the palate
4.
Put on the
implants inside a palate and use a special screw (in the implant packet)
5.
Use the Etch,
Bond, Composite, light Q
6.
When done, put
everything inside the paper box on the top in the sterilizing room.
Return to Assistant Page, Ortho Case, Implant & Ortho 2
Xin Wei, DDS, PhD, MS 1st edition 02/24/2012, last revision 05/07/2017