|
|
|
|
|
|
|
|
Bone Condensation
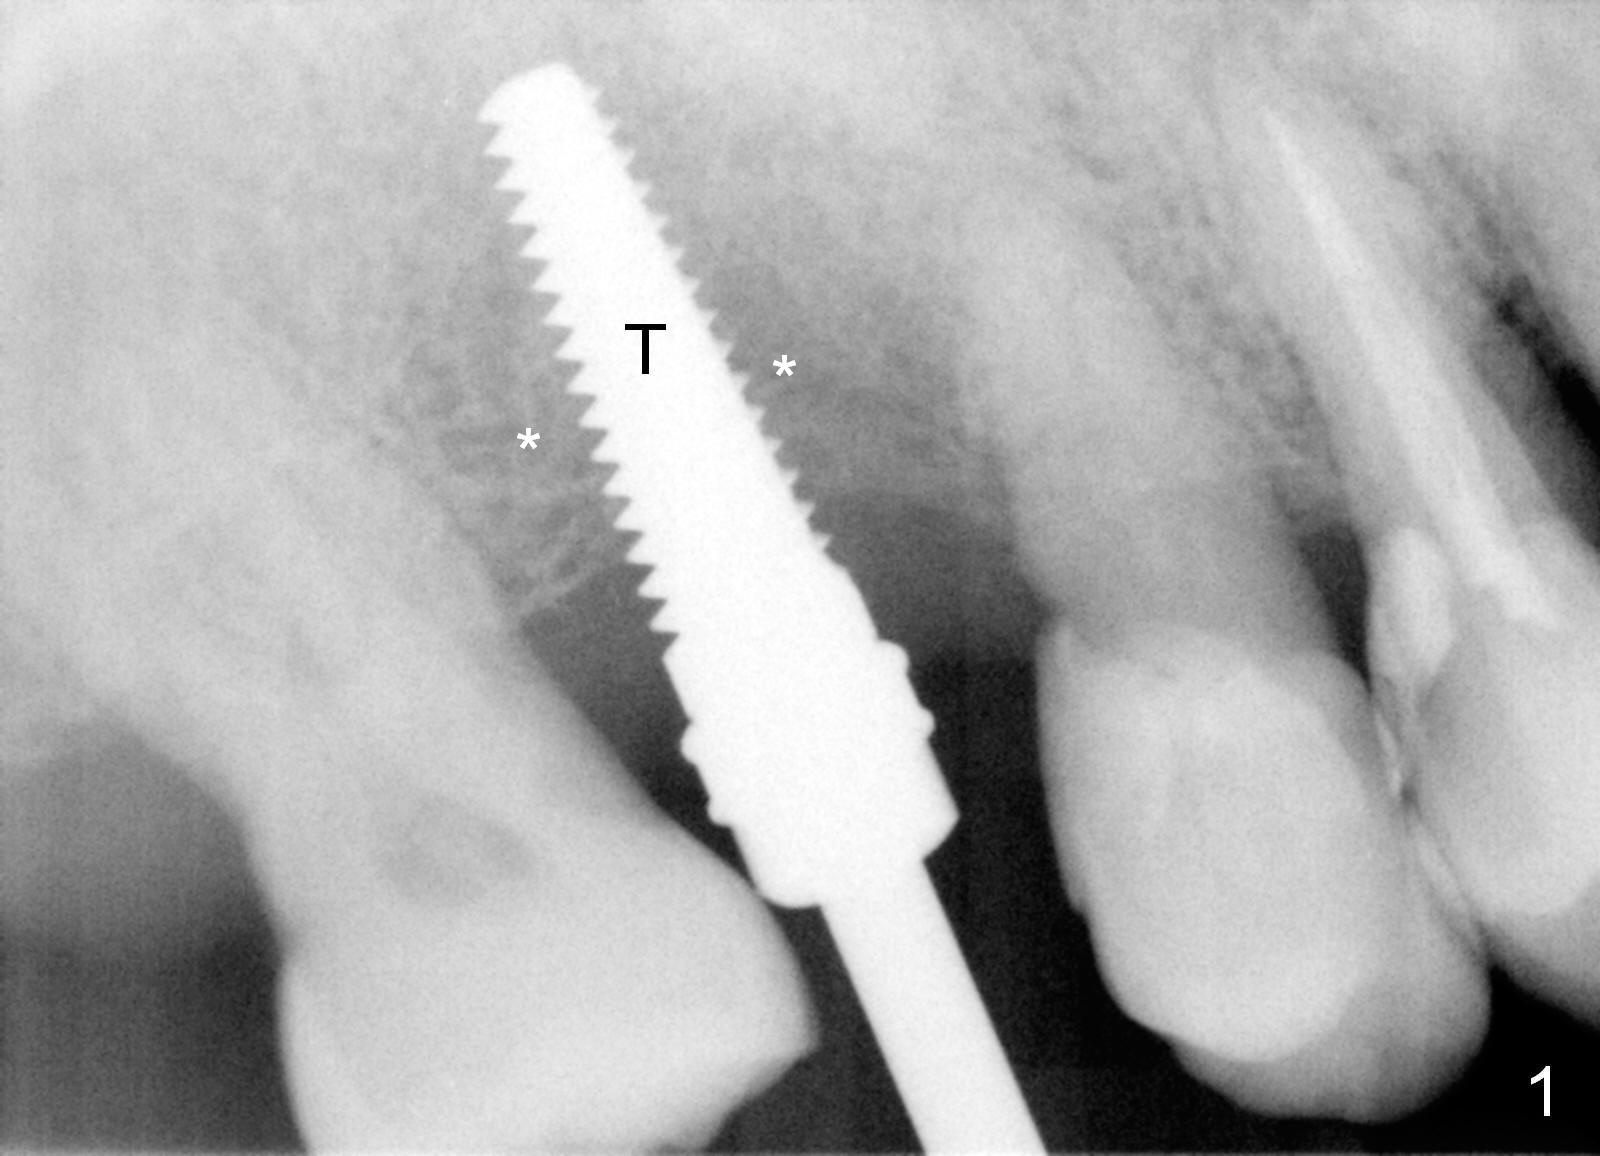
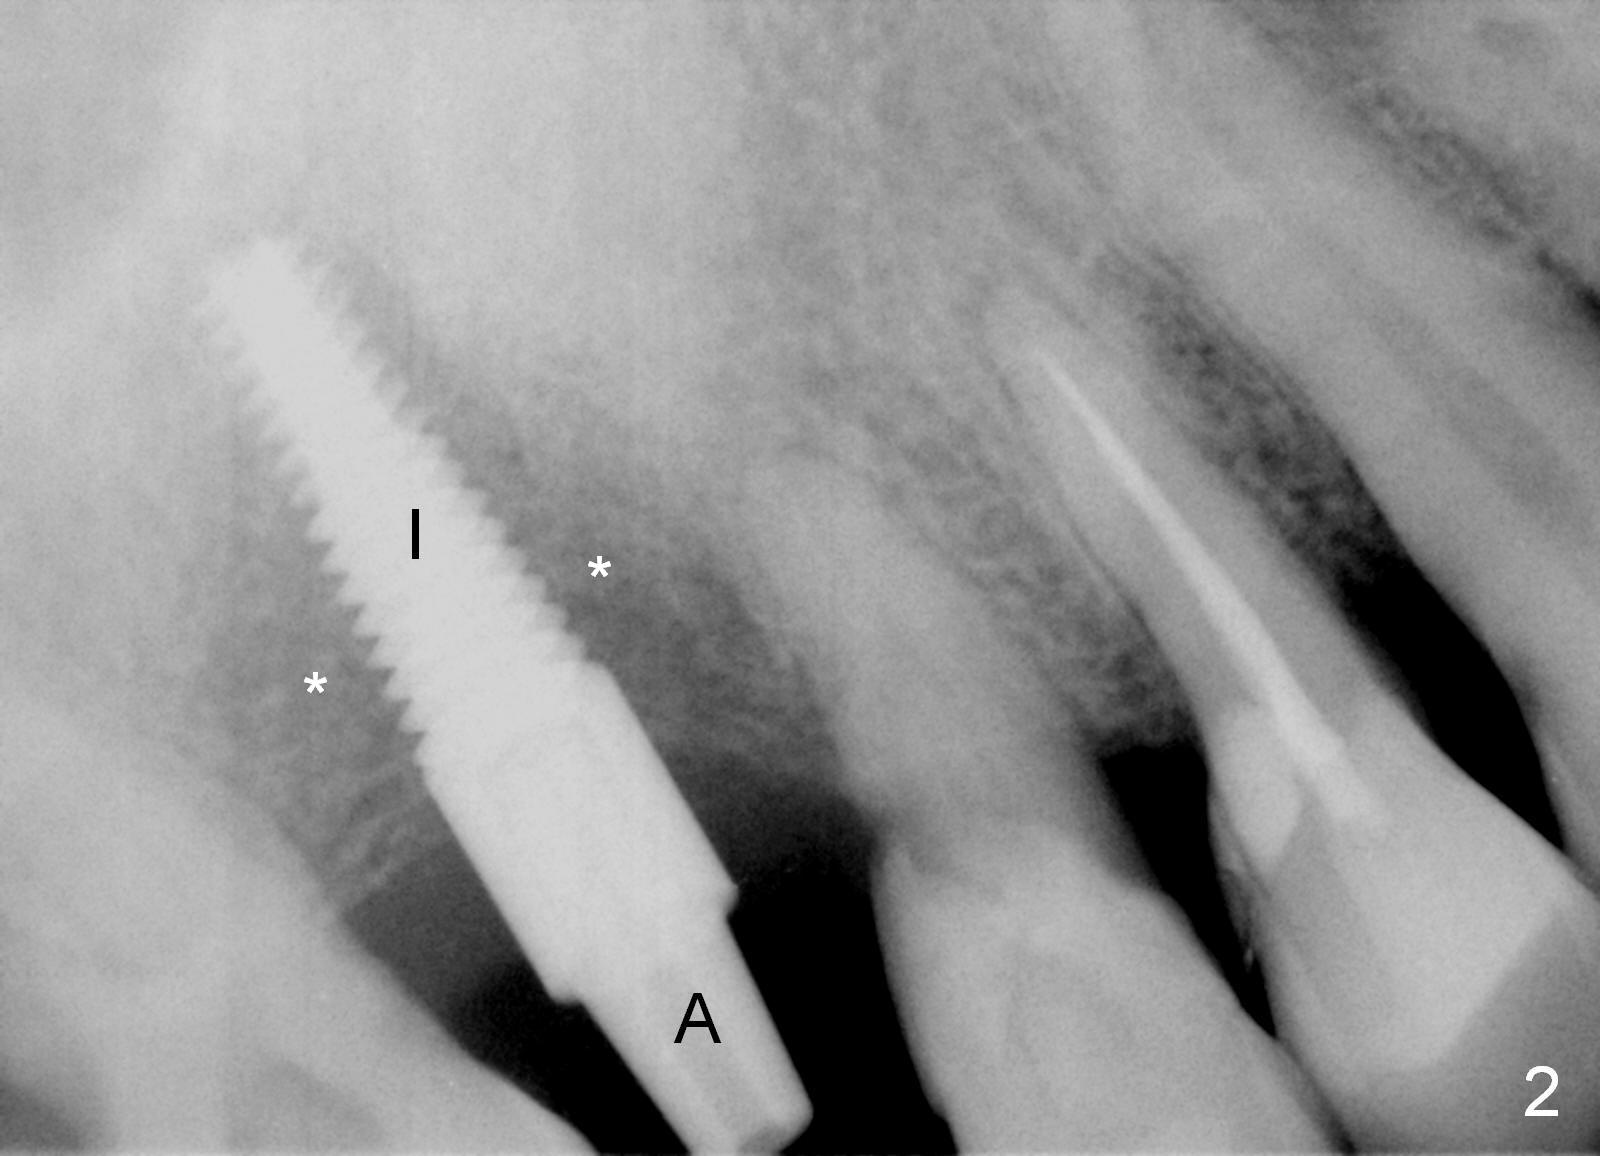
When the crestal incision is being made, the gingiva is found to be thick, while the bone density to be soft. #15 blade easily enters the cancellous bone. Bone expansion and condensation is conducted with bone scalpels (4 and 5 mm), bone blade (4 and 5.5 mm) and rounded tapered osteotomy (2, 3 and 4 mm) at the depth of 14 mm. When a 4.5x17 mm tap is inserted 14 mm deep (Fig.1), the stability is low. The bone density (*) is low around the tap (T). A 2 mm pilot drill and 2.5 mm reamer are used 17 mm before insertion of a 4.5x17 mm implant with insertion torque ~ 50 Ncm (Fig. 2 I). A 3.5x5 mm abutment (A) is placed for an immediate provisional. No suture is necessary using this type of bone condensation (osteotomes). The least invasive procedure produces minimal postop discomfort.
When bone density is low, the larger osteotomes should be avoided (such as RT4 in this case) before using tap. When the latter is unstable, extend the length of osteotomy using drills in an underprep manner. The technique should be applied and improved for the next cases.
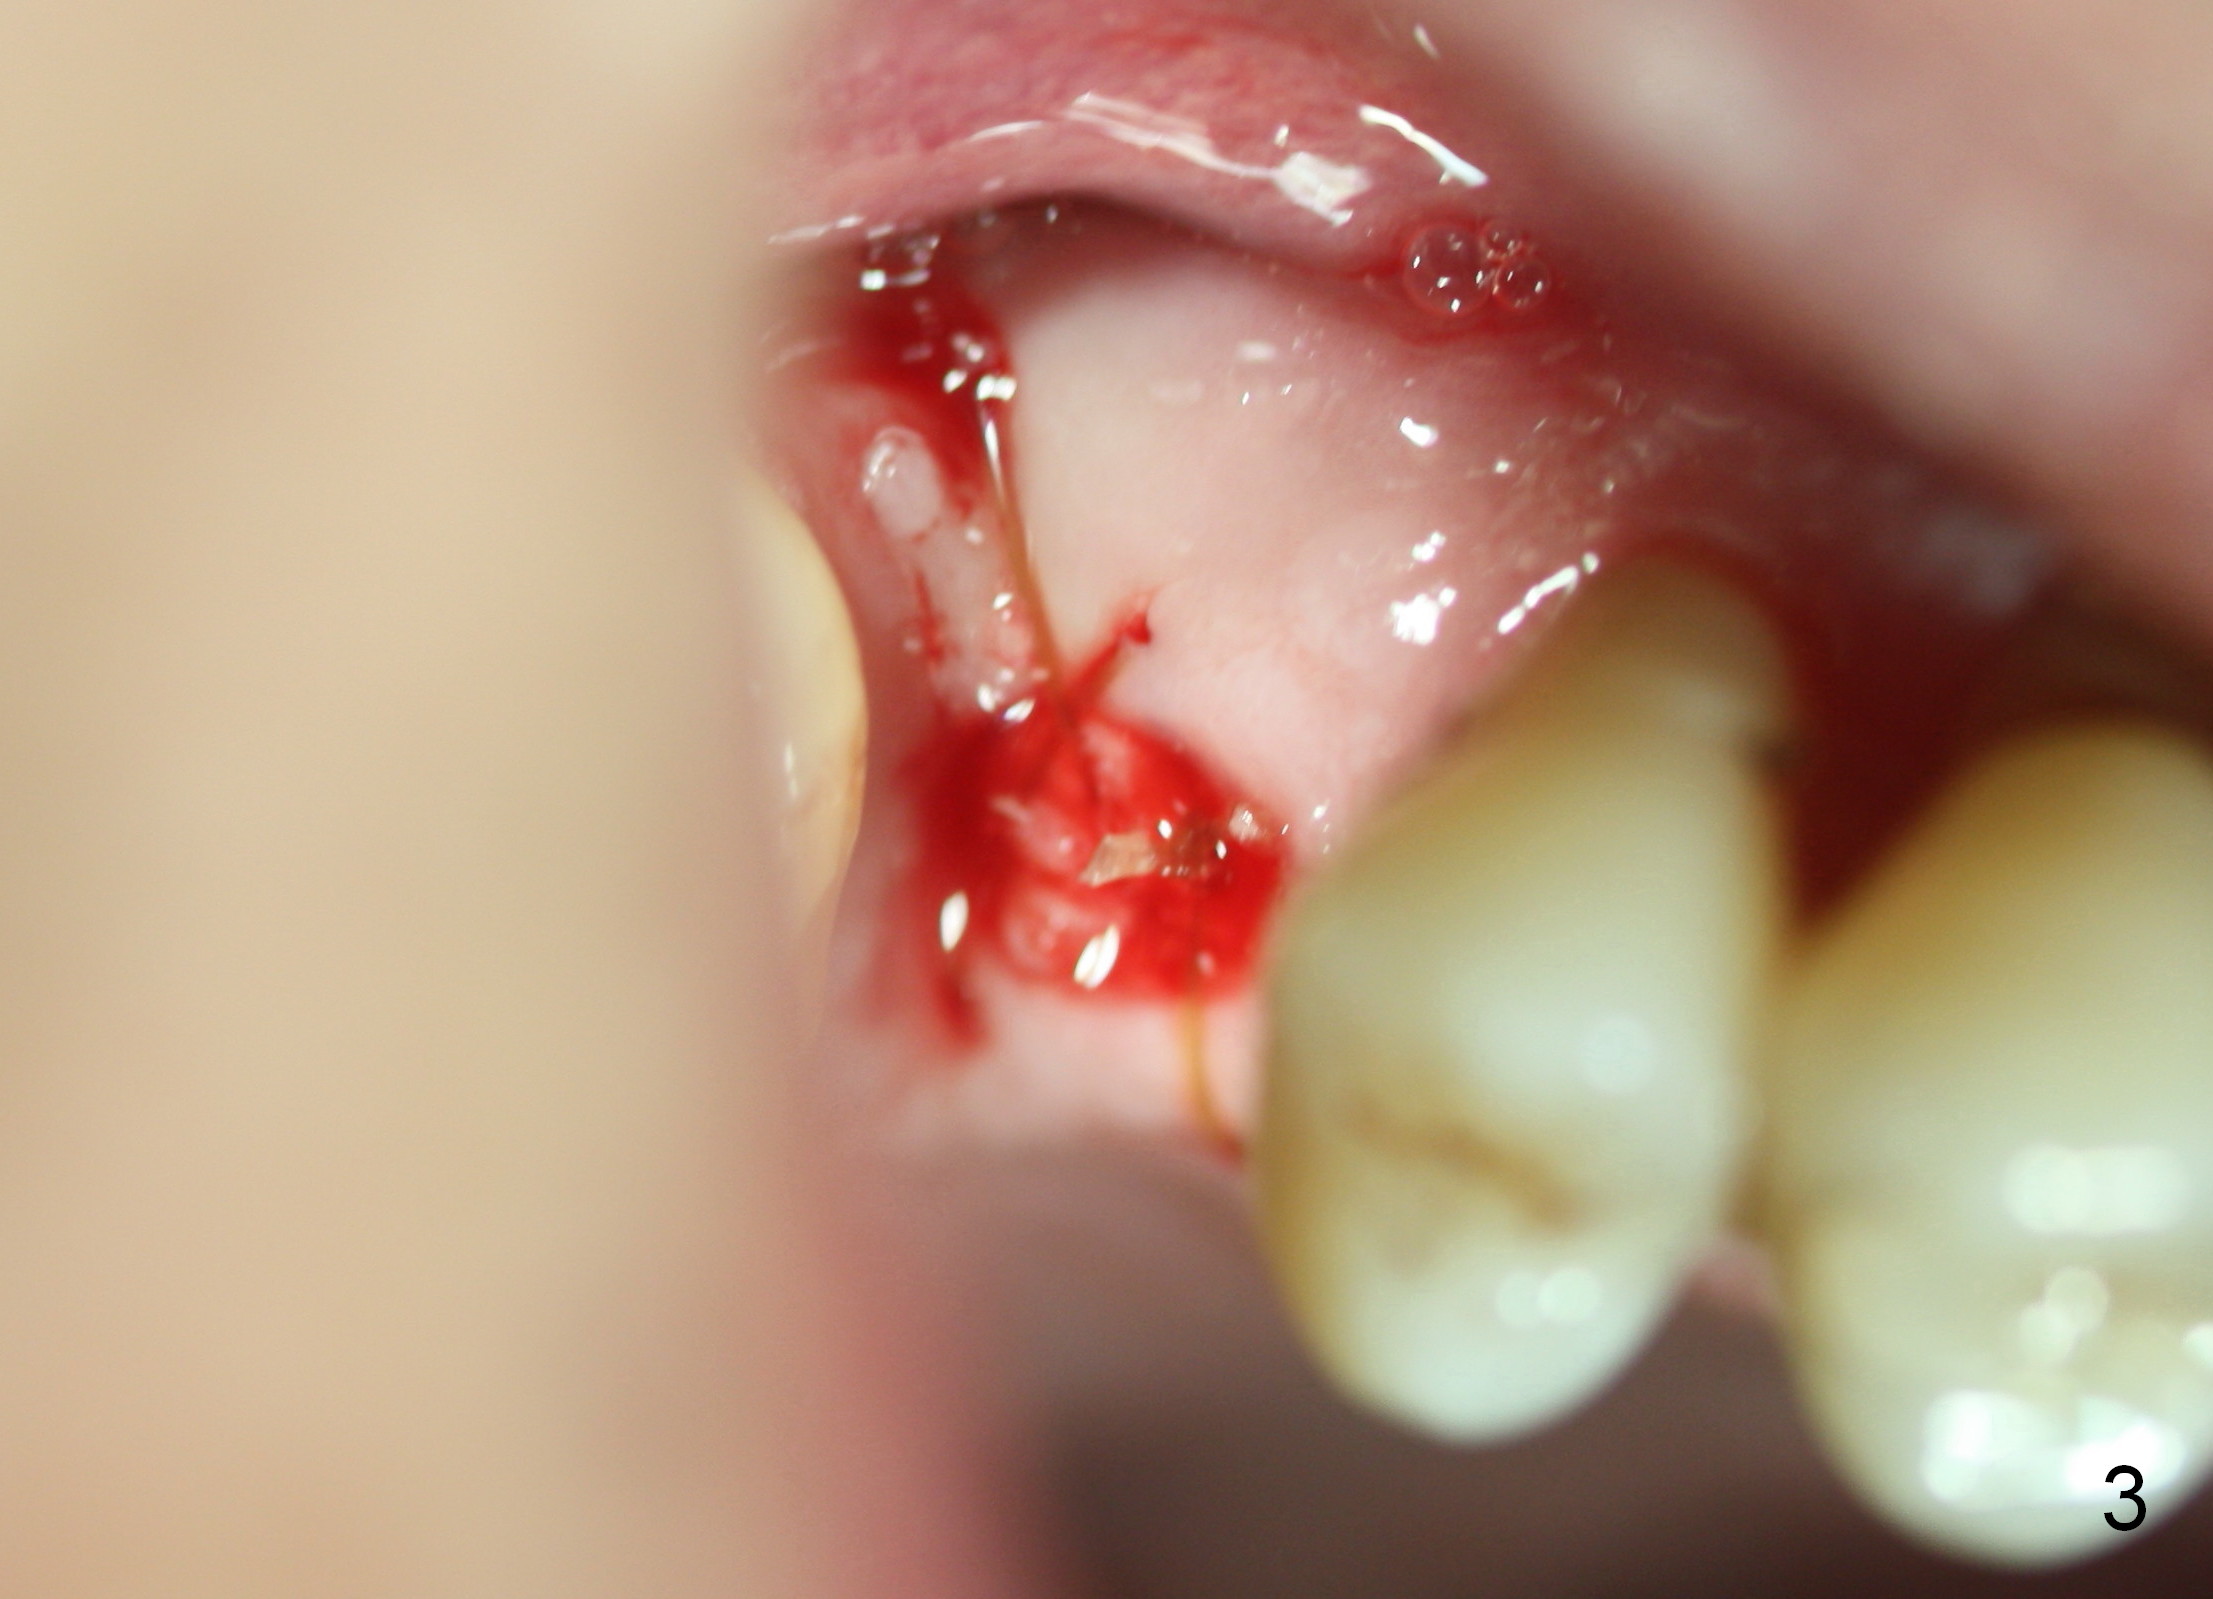
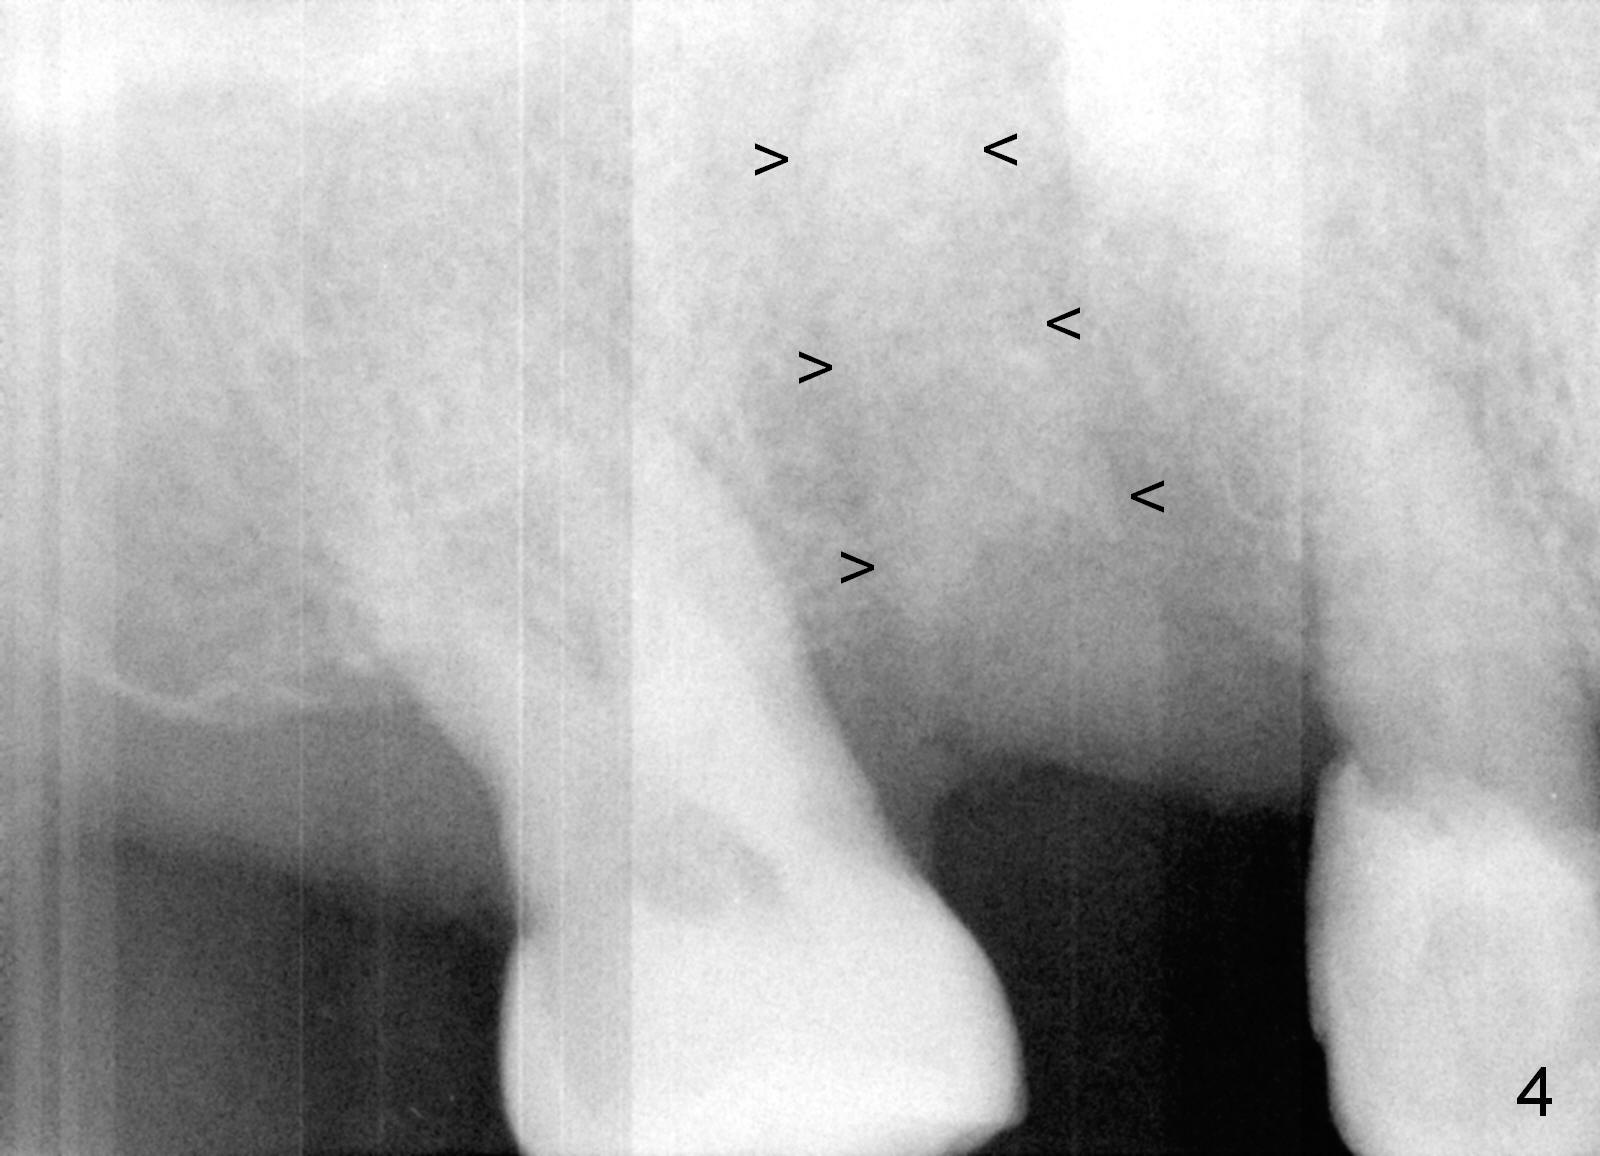
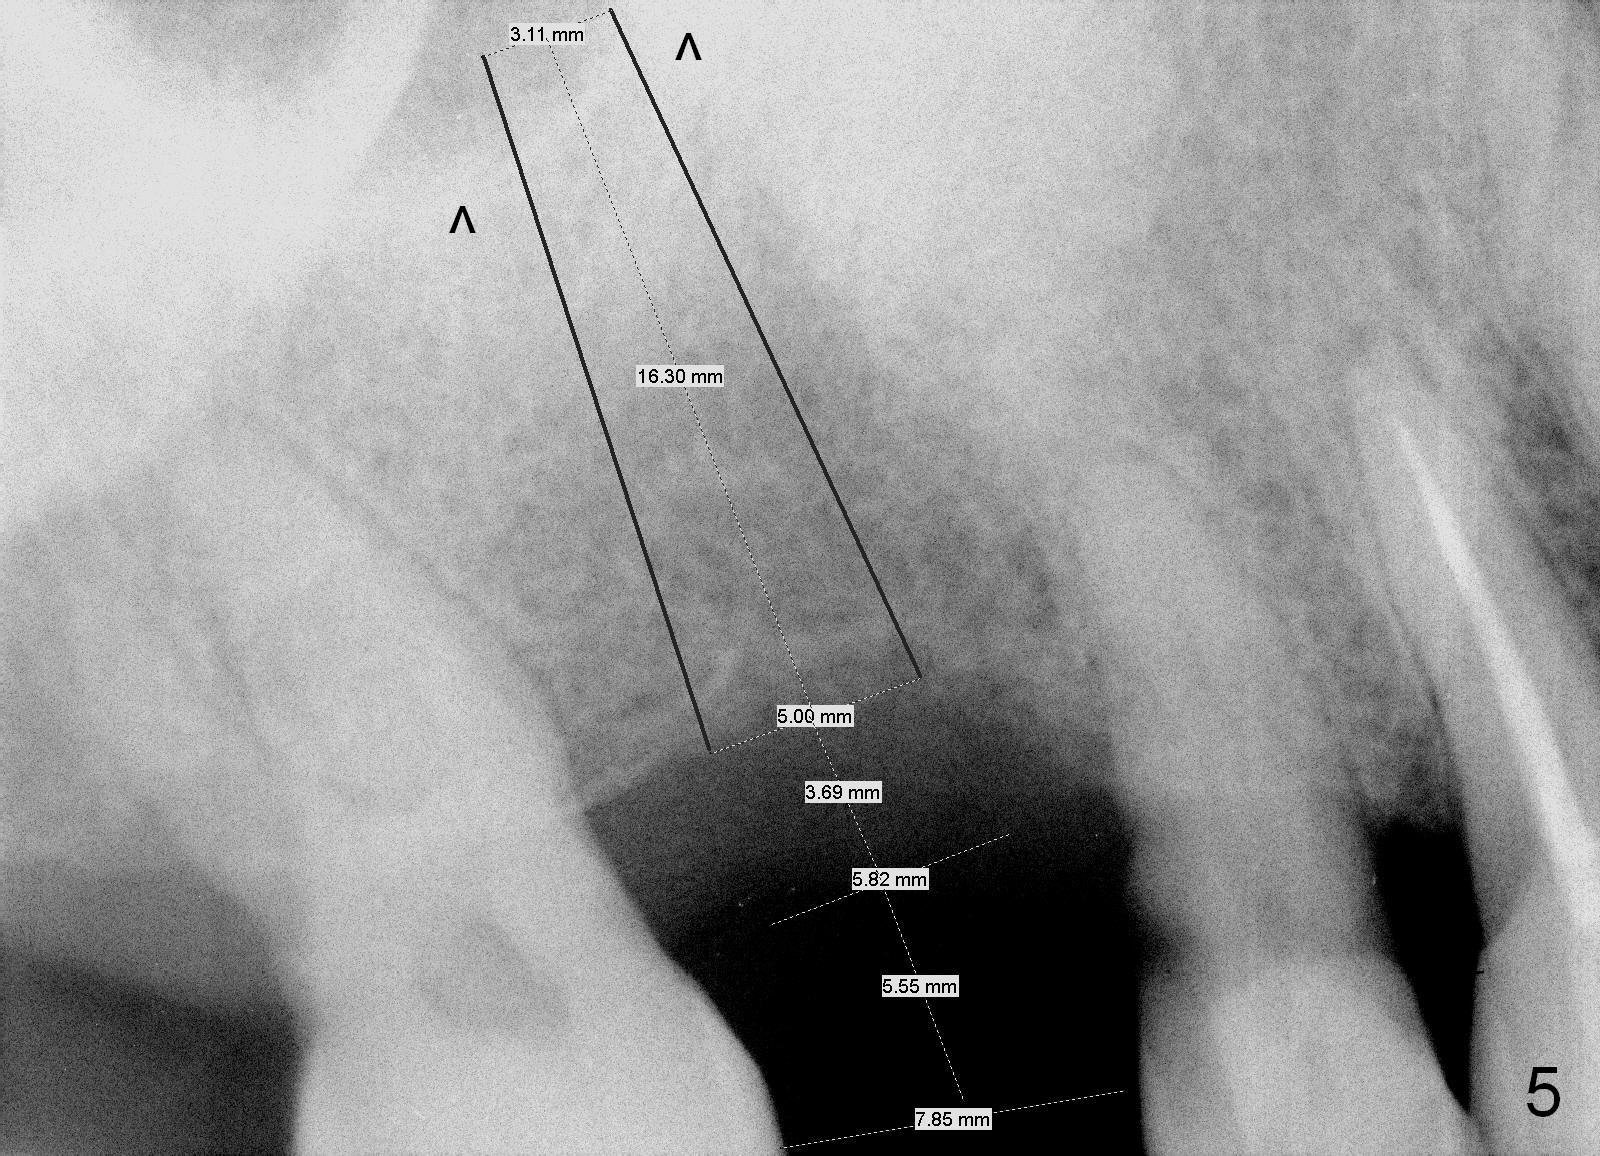
Twenty days postop, the patient returns to clinic with a loose provisional. In fact the implant and abutment are removed. The osteotomy walls are intact, although the buccal one is thin. After debridement and Clindamycin soaking, allograft and Osteogen and Osteoplug are placed (Fig.3,4). A longer implant (20 mm tissue-level or 16 mm bone level, Fig.5 (past the sinus floor: ^)) is placed 3-6 months post bone grafting. Osteotomy is initiated as palatal as possible with bone expanders or ostoeotomes. Take preop PA. No provisional will be fabricated. The patient feels that the previous immediate provisional is initially stable. Daily chewing unavoidably makes the crown loose. Occlusal checking after provisionalization is critical.
Return to Upper Molar Immediate Implant,
Implant
Complications, Implant
Dislodgement
Xin Wei, DDS, PhD, MS 1st edition 09/22/2015, last revision 12/20/2015