

|
|
|
|
|
|
|
|
|
|
|
|
|
|
|
|
|
|
|
|
|
|
|||
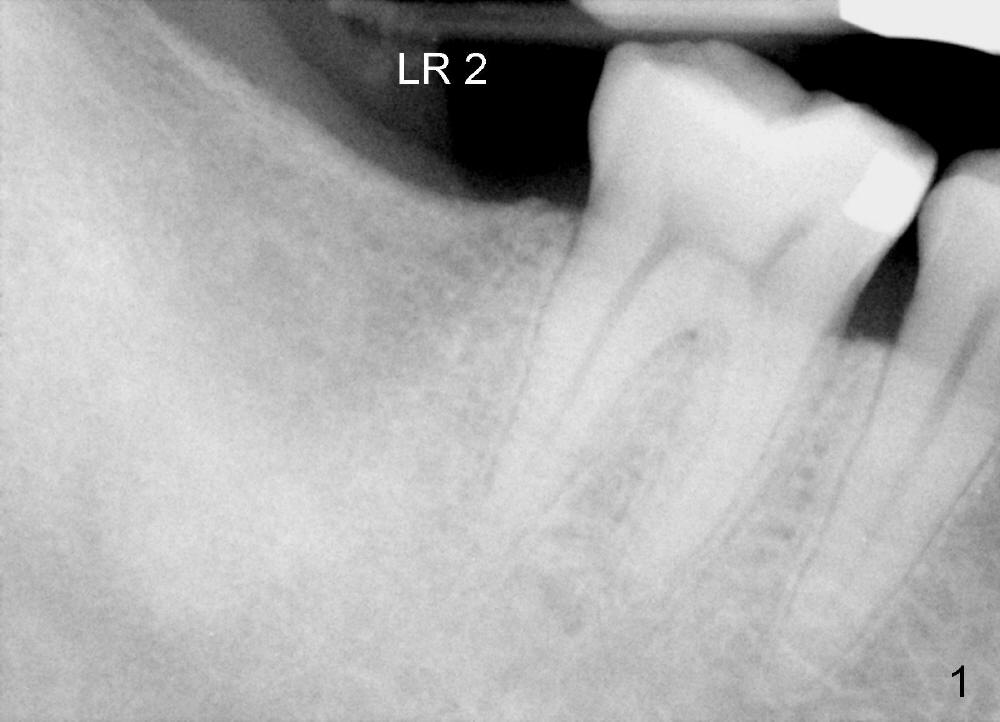
Implant Drill Stoppers
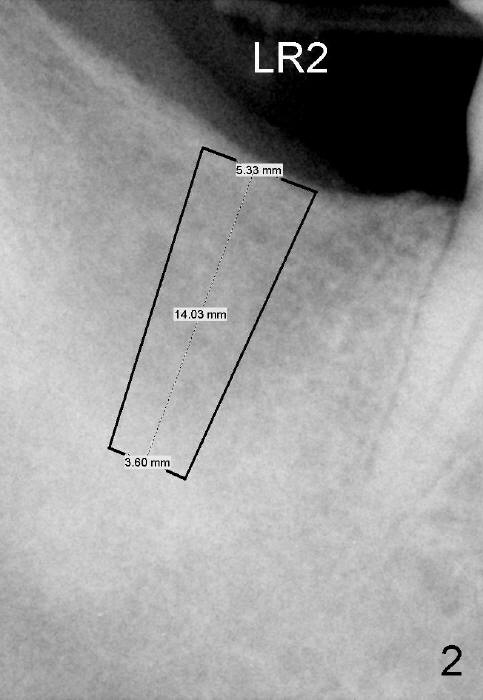
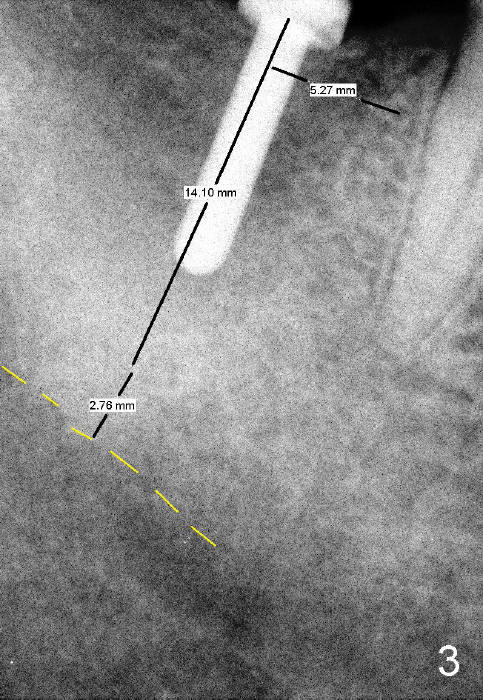
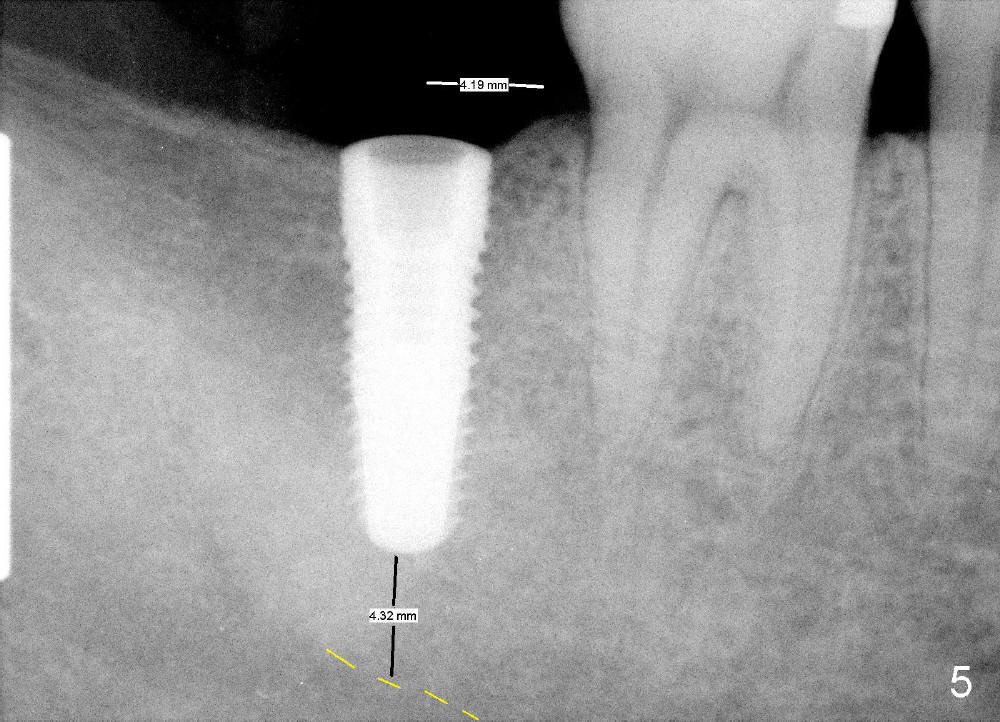
A 53-year-old man requests implant restoration for the lower right 2nd molar (Fig.1: LR2). A 5.3x14 mm submerged tapered implant is planned (Fig.2). PA is taken with a parallel pin after use of a 2 mm drill at the depth of 12 mm (Fig.3). It appears that the length of 14 mm has a safe margin (2-3 mm from the inferior alveolar nerve, yellow dashed line). In addition, the distance from the distal surface of the 1st molar is within normal limit (~5 mm).
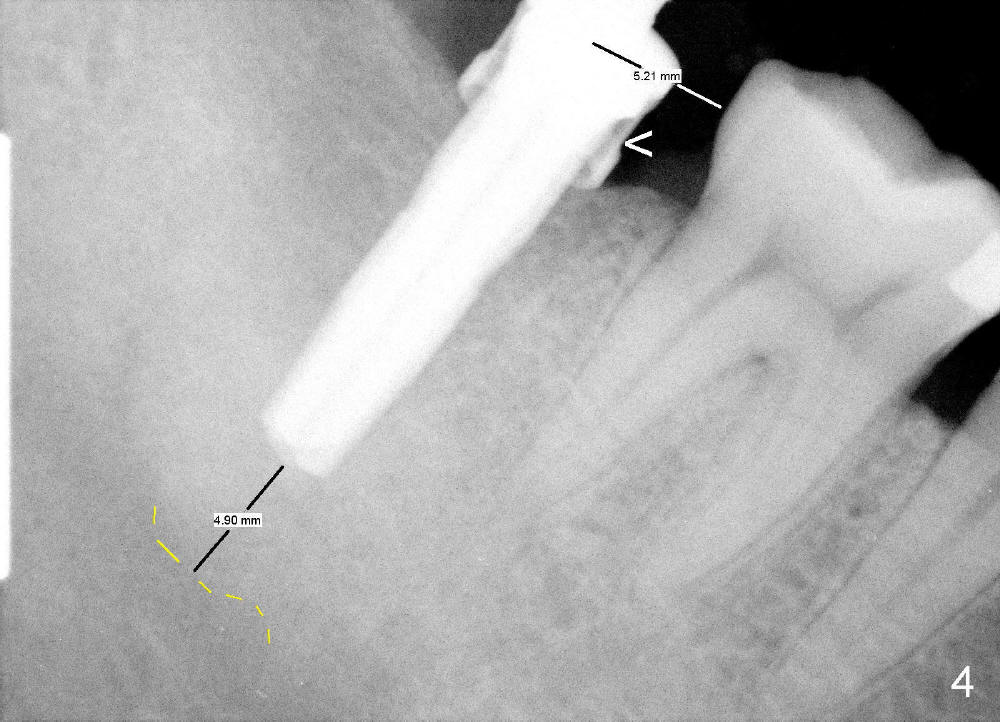
With these two parameters under control, it is quick and safe to finish osteotomy with tapered drills with stoppers (Fig.4 <). Stoppers are particularly useful in the posterior region where visibility is limited. The implant is placed as planned (Fig.5, as compared to Fig.2).
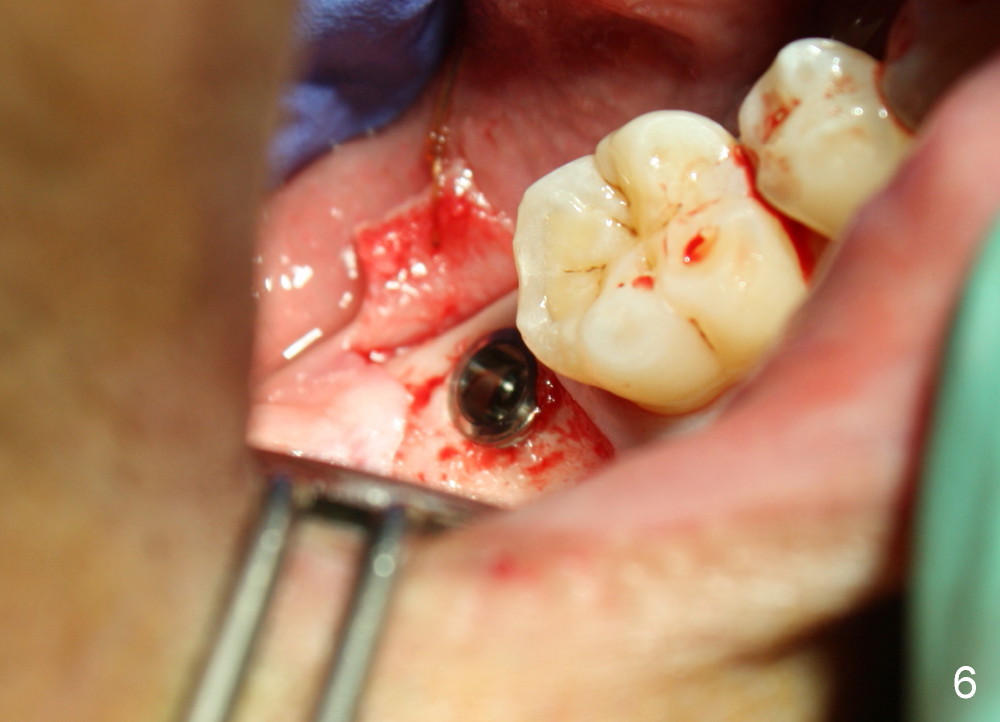
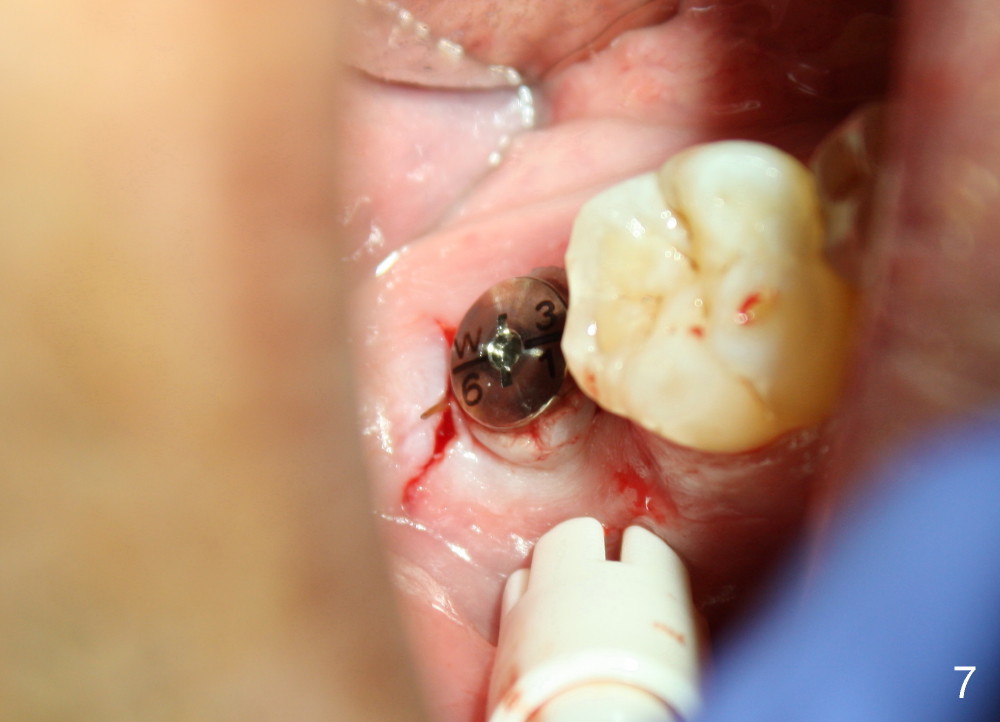
The implant is placed in the middle of the ridge buccolingually (Fig.6). A 6.2 x 3 (1) mm healing abutment is placed; the flaps tightly adapt to the abutment following suturing (Fig.7). The wound is then covered by perio dressing.
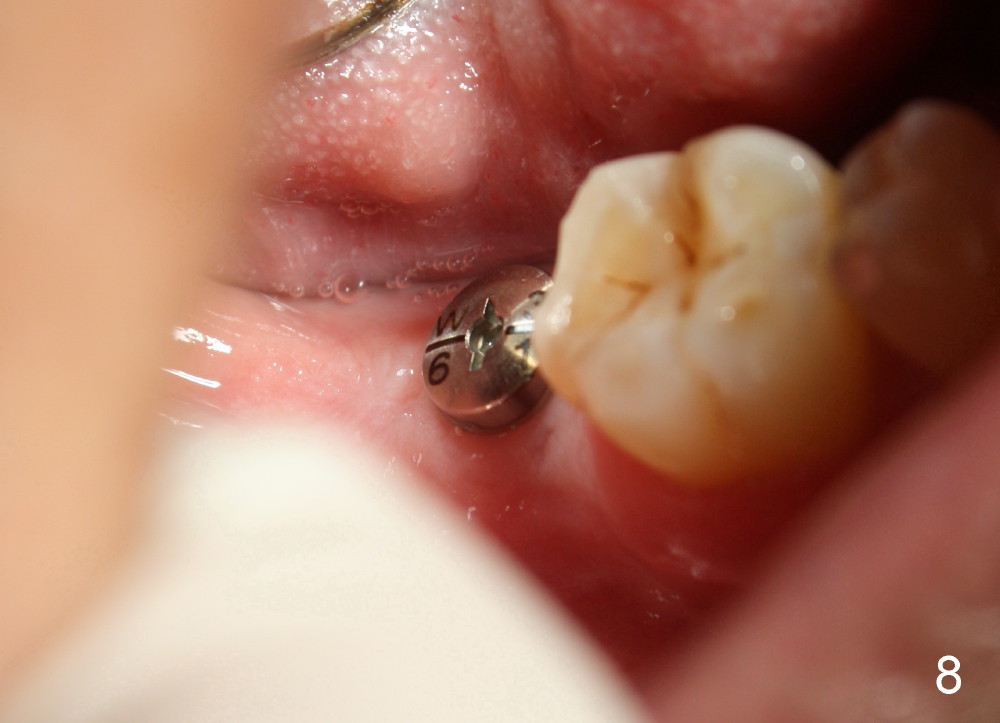
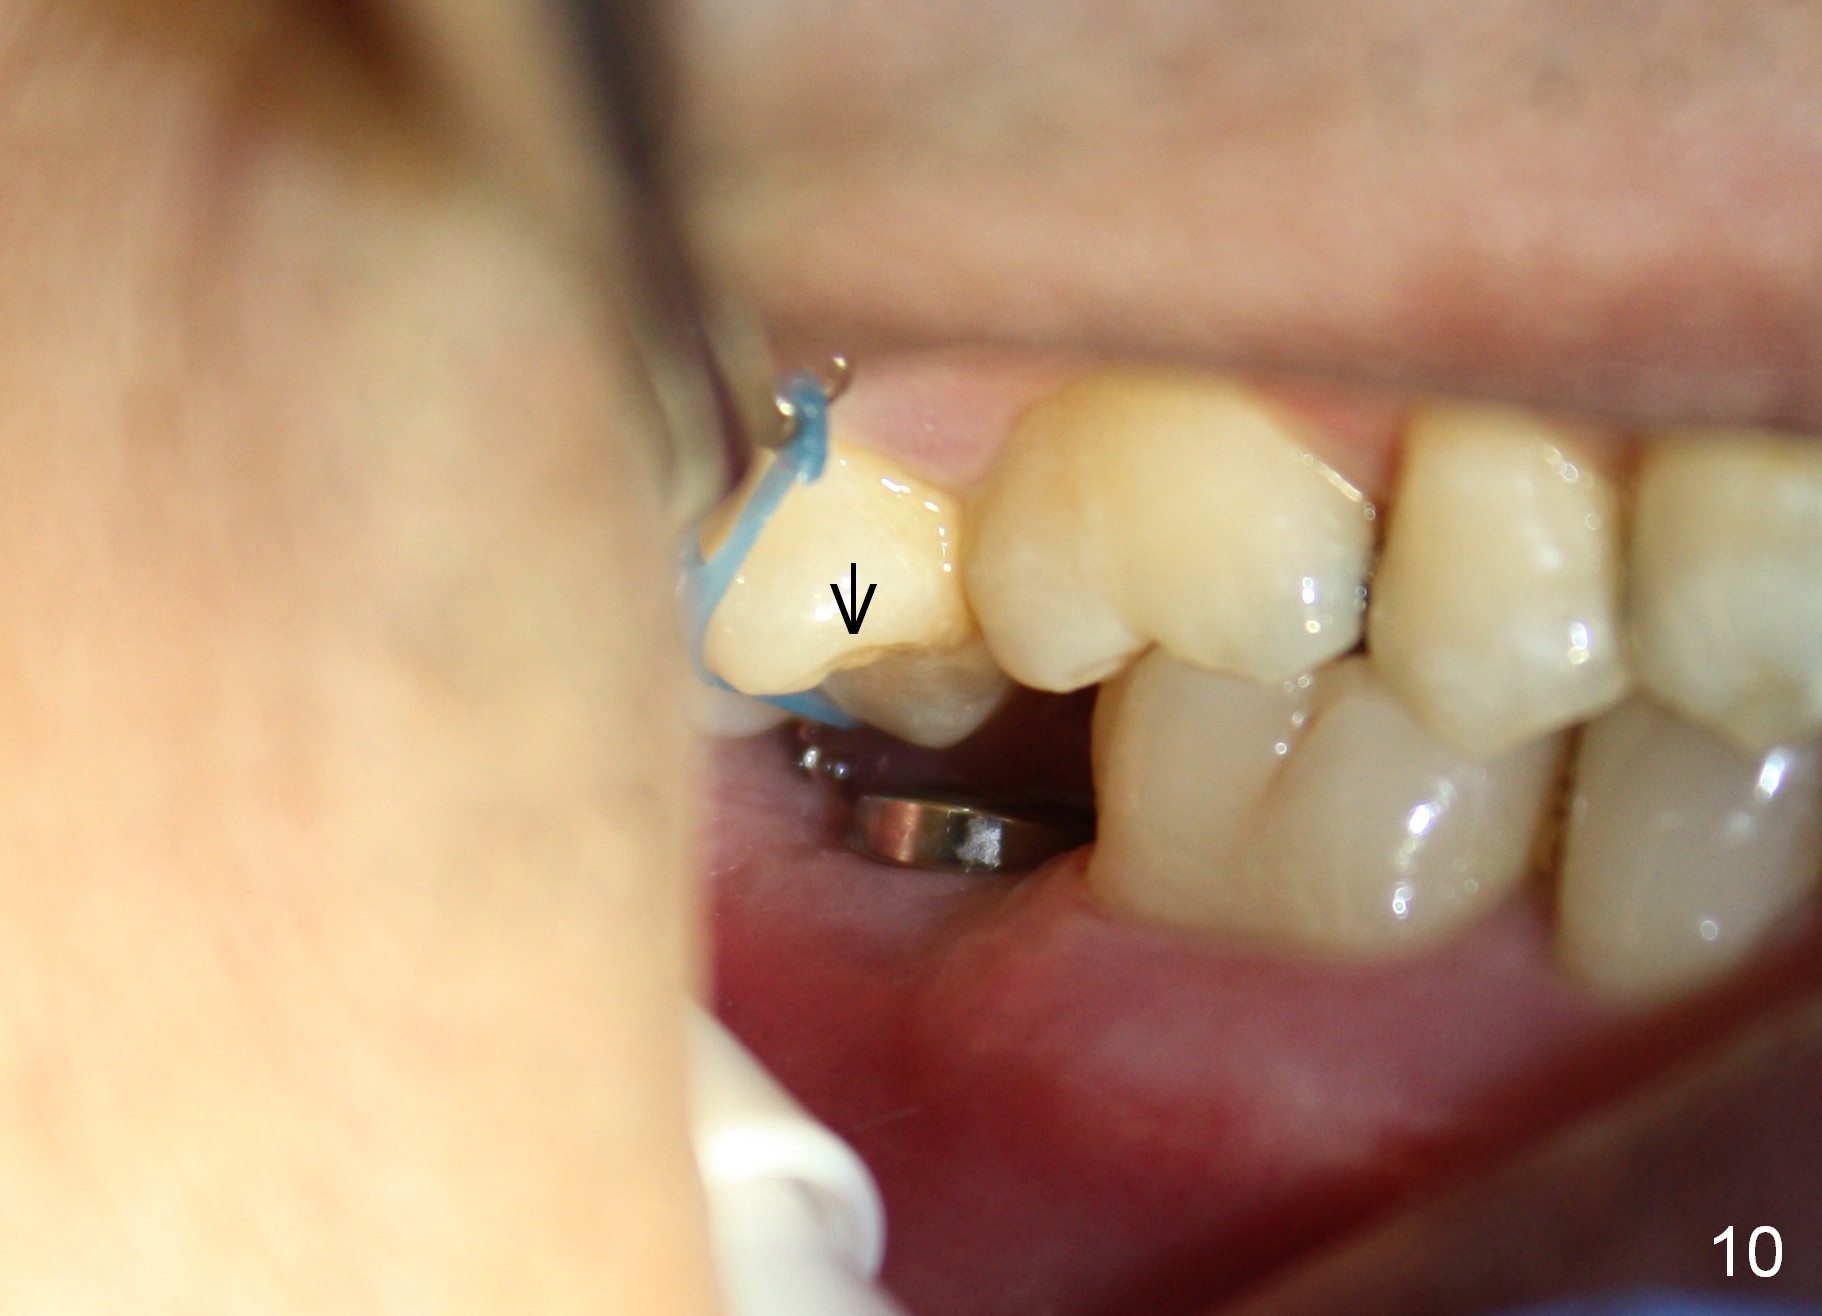
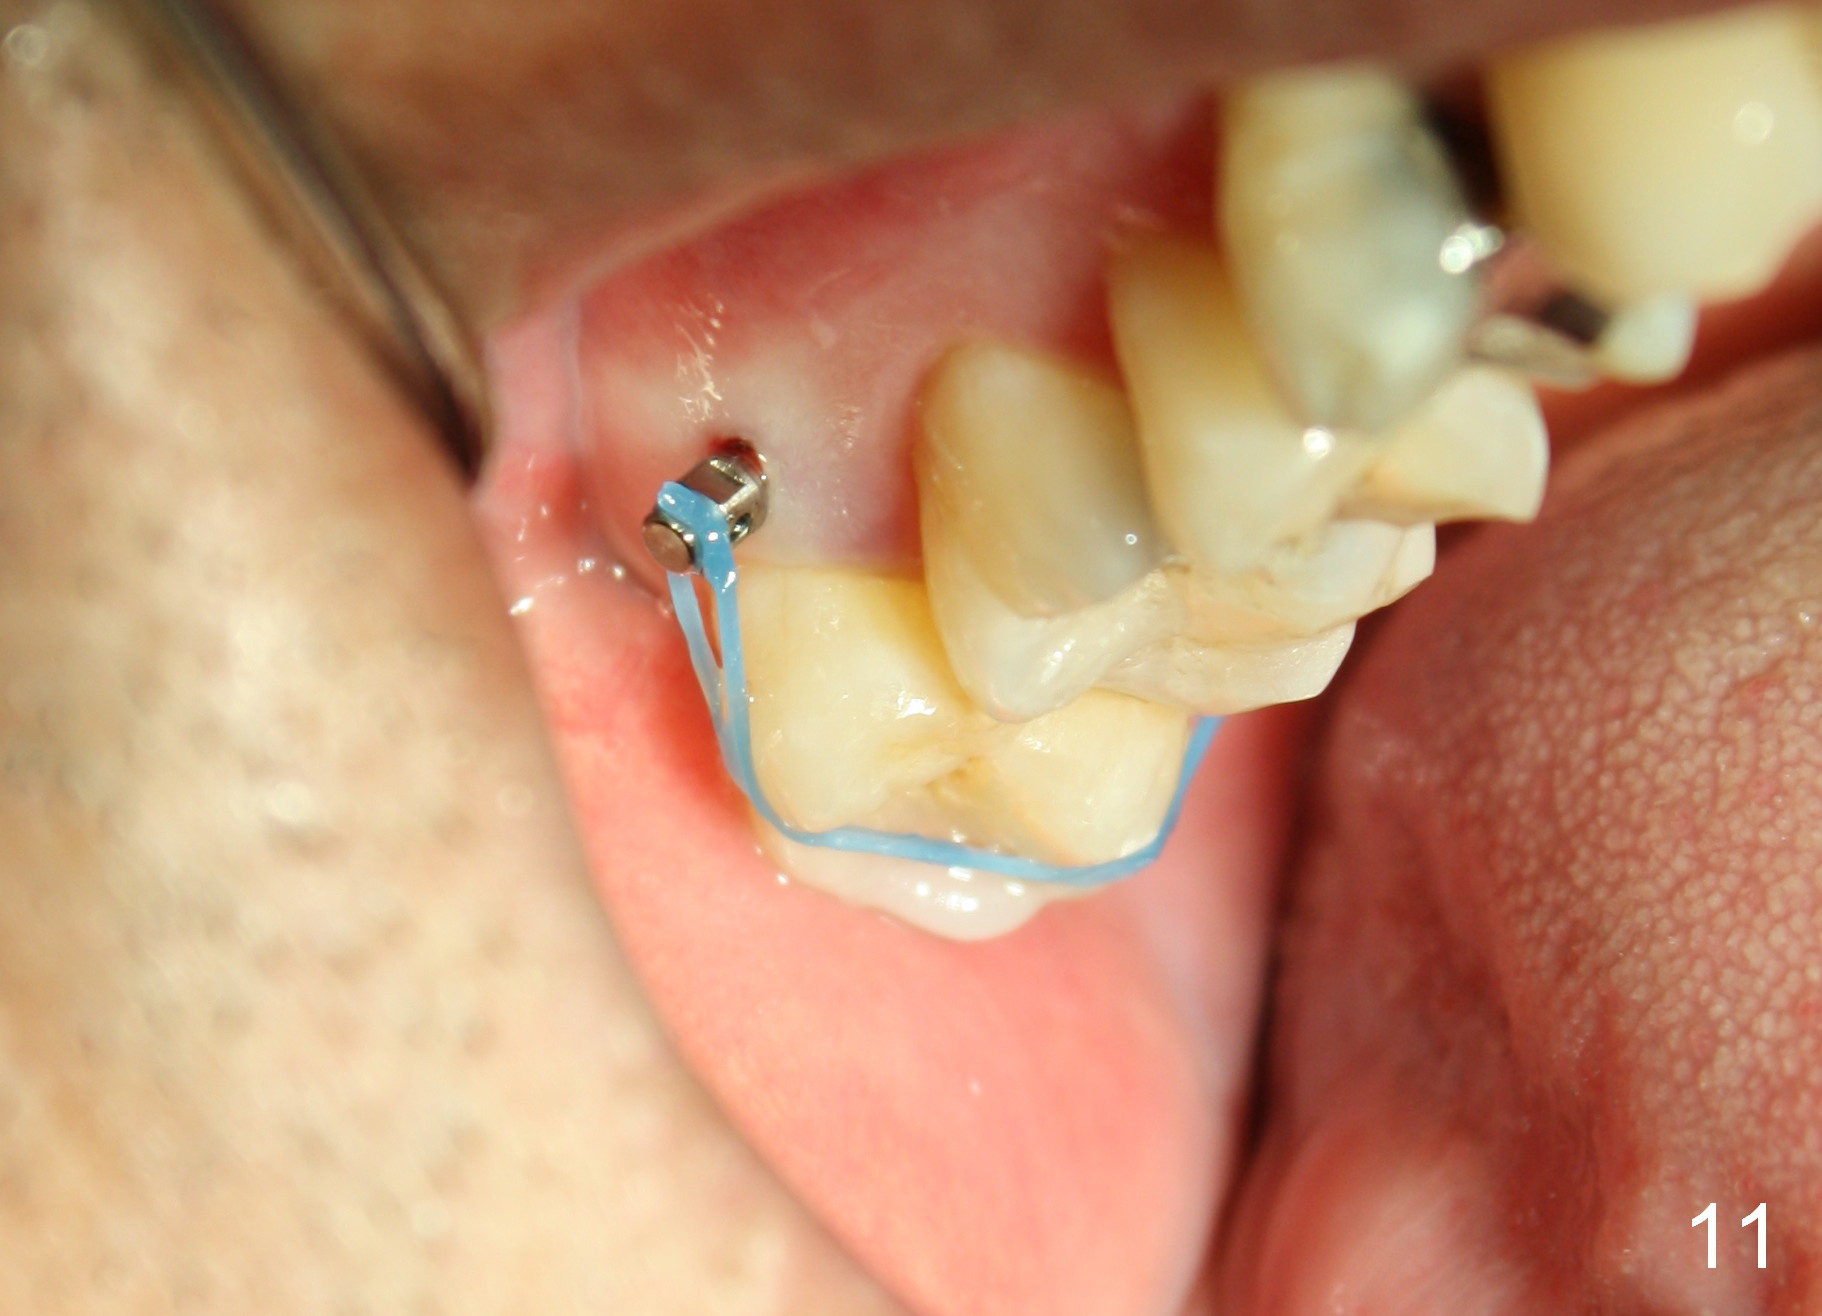
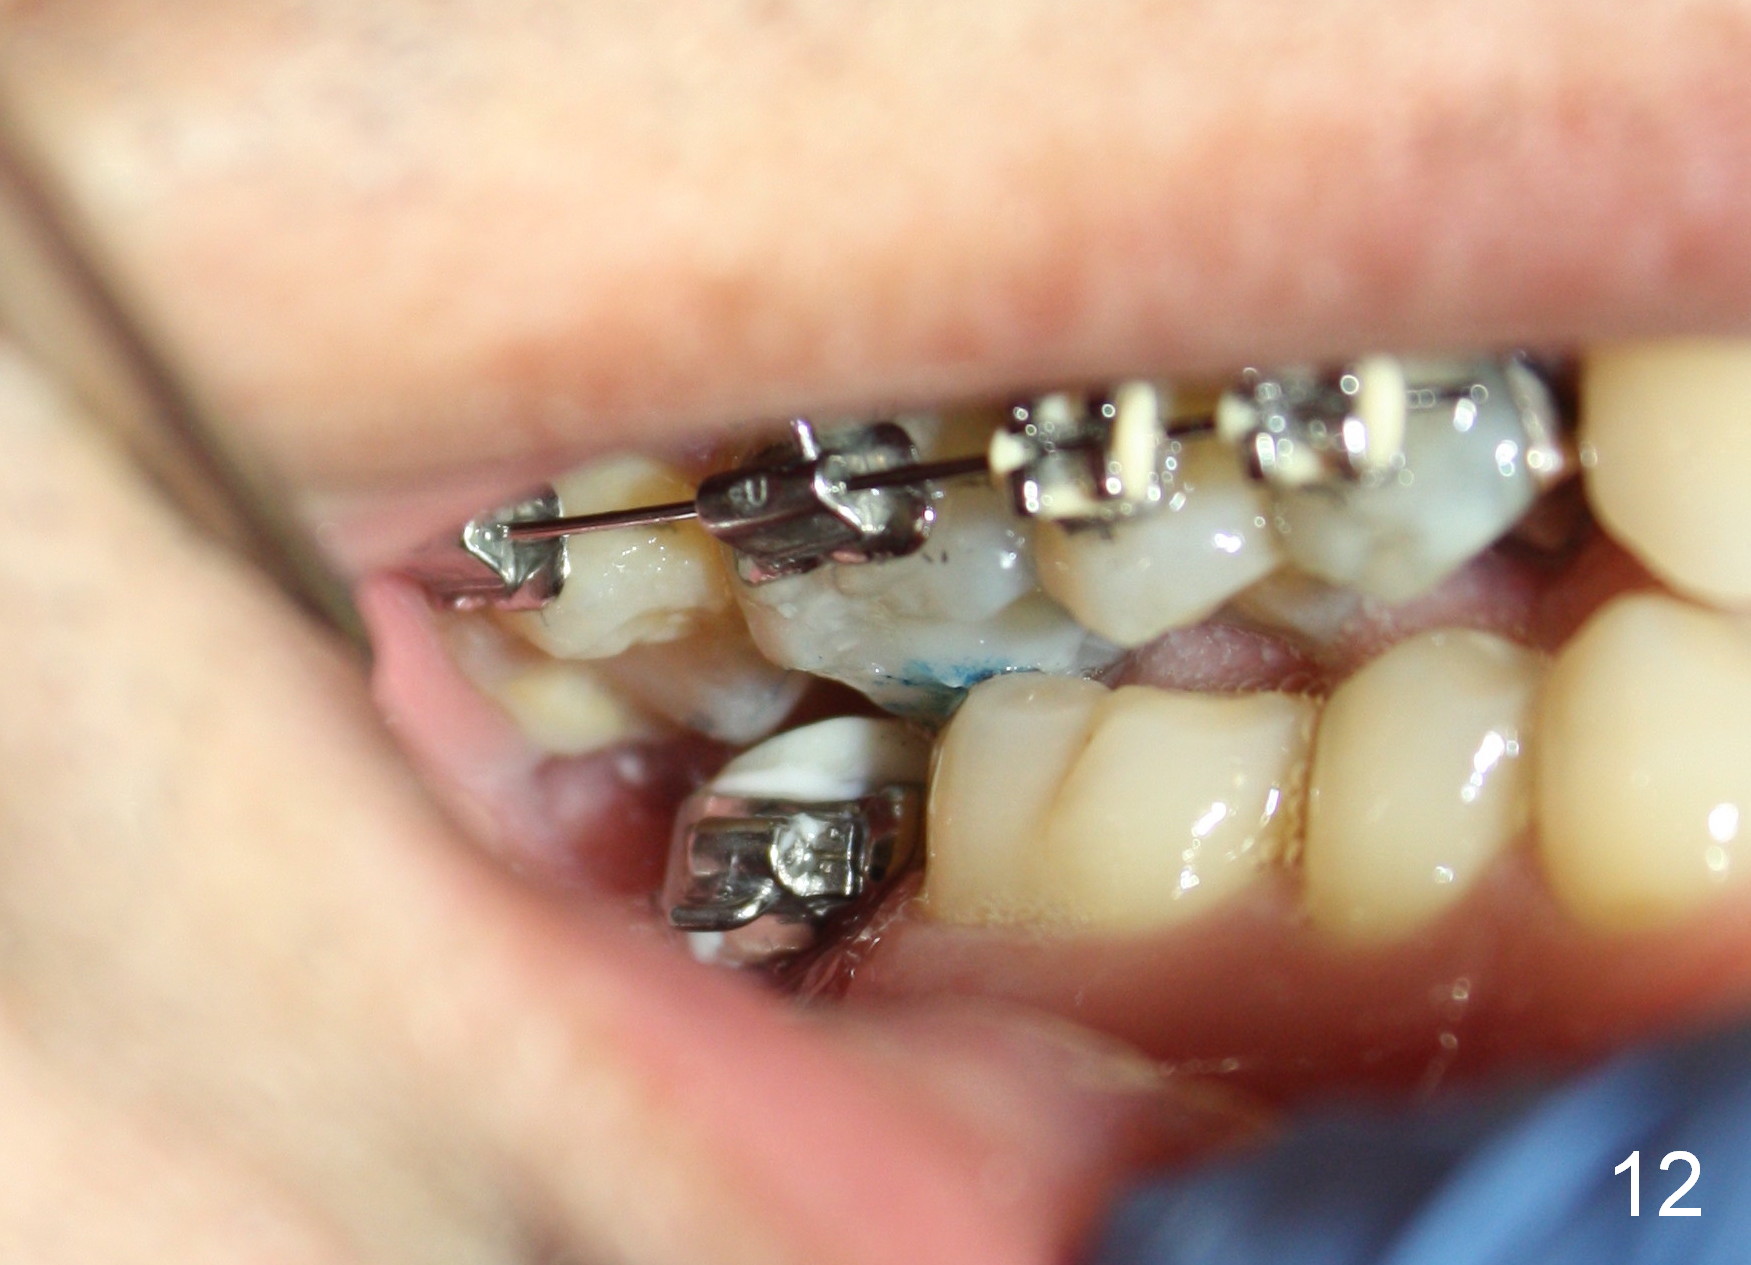
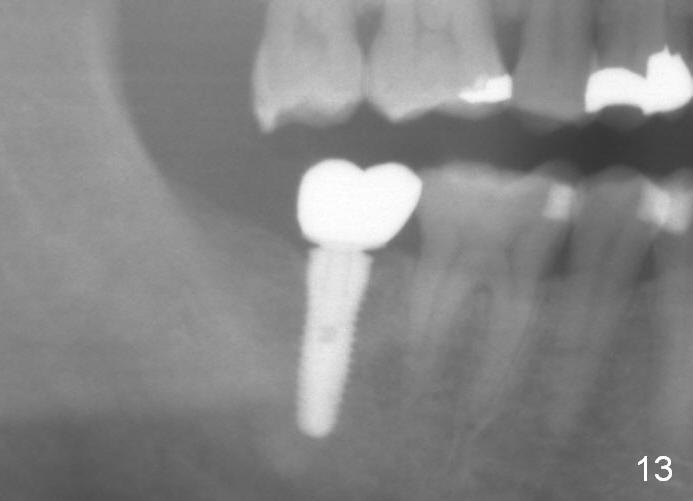
The wound heals uneventfully (Fig.8,9: taken 3 months postop). When an abutment is placed, there is no clearance for a crown. Two mini-implants are placed for the tooth #2 intrusion (Fig.10,11). Four months later, segmental orthodontic appliance is added because of lack of result of intrusion and buccoversion of the tooth #2 (Fig.12). Two months later, all of orthodontic treatment is terminated at the request of the patient. After heavy reduction of the tooth #2, a crown is cemented. Fig.13 (panoramic X-ray) is taken 11 months post cementation. There is no bone loss nearly 3 years post cementation (Fig.14).
The lower 2nd molar implant should be as short as possible and placed as low as possible particularly when the opposing tooth is supraerupted.
Return to Professionals,
Lower Molar Immediate Implant,
Implant & Ortho 2
#9,18
Xin Wei, DDS, PhD, MS 1st edition 02/10/2014, last revision 01/19/2018