

|
|
|
|||
|
|
|
|||
|
|
|
|
||
|
|
|
|
||
How to Prevent Re-deviation of Implant Placement
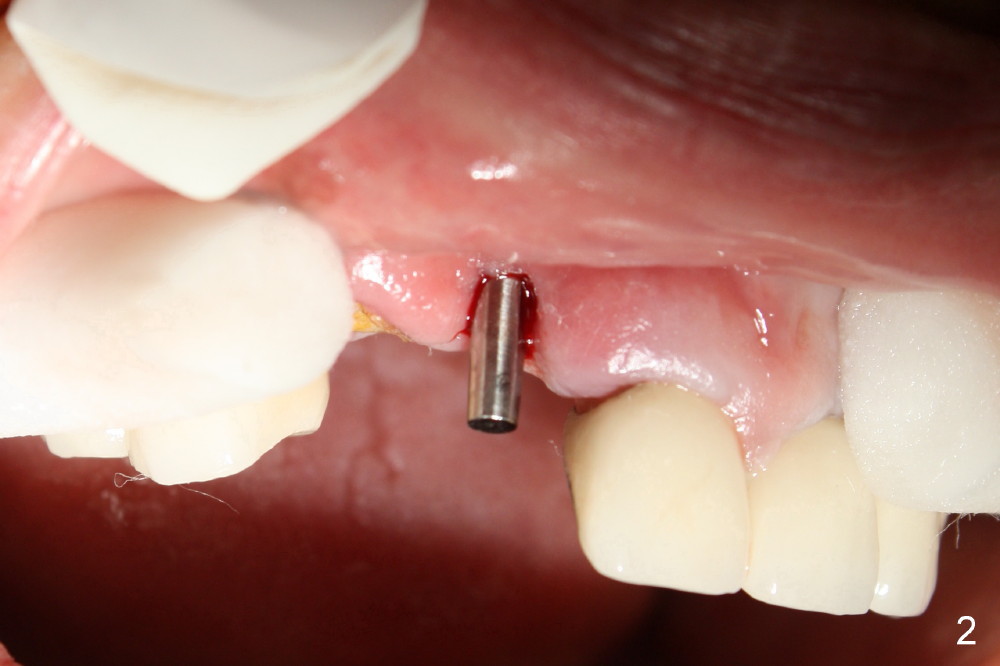
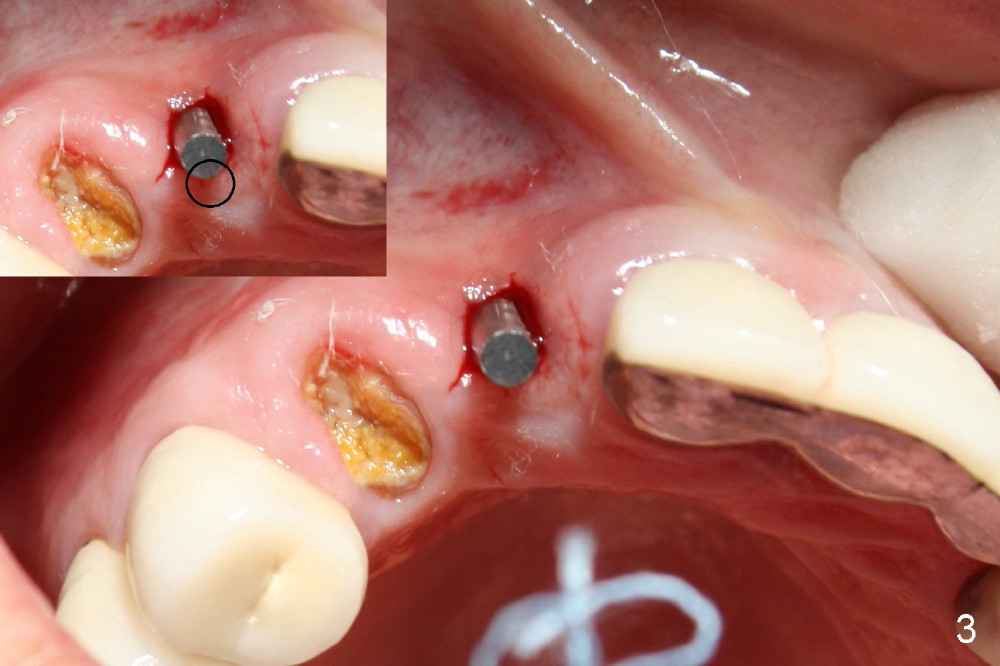
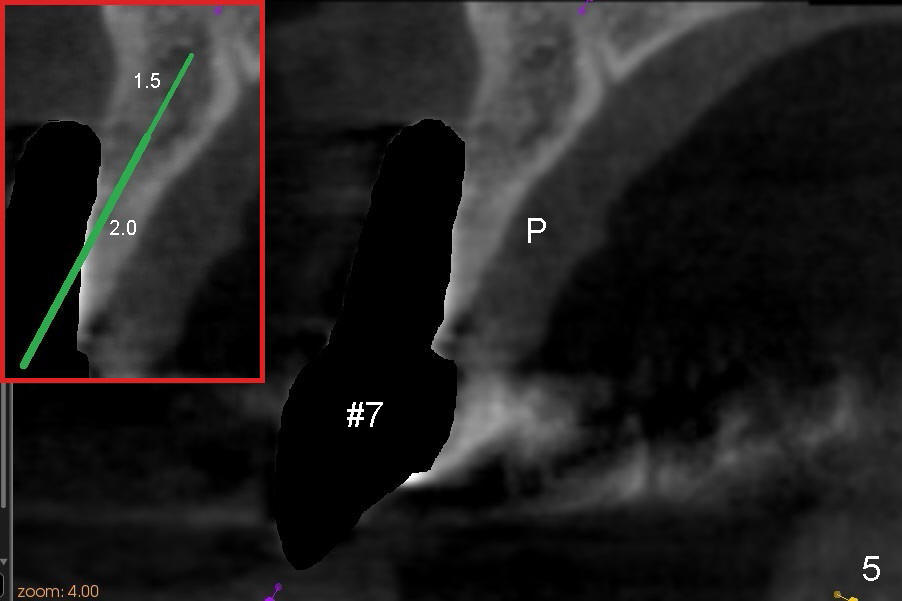
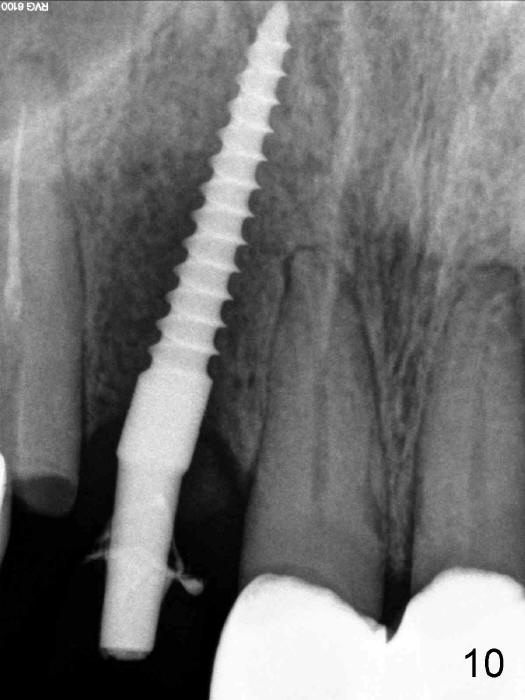
Finally the displaced implant is exfoliated itself, leaving a crater (Fig.1 arrowheads). CBCT shows the knife-edged ridge post exfoliation of the implant at the site of #7 (Fig.5, as compared to that prior to exfoliation). After using 1.5 mm pilot drill at 17 mm and 2.0 mm at 14 mm (Fig.5 insert), a 3.0x17 mm one piece angled (15 º) implant is placed (Fig.2, 10). Palatal view reveals that the implant is placed buccally (Fig.3); ideally the implant should be more palatal (Fig.3 insert: circle). Please take postop CBCT to confirm the placement. The buccal placement is partially related to the elongated tooth (Fig.4).
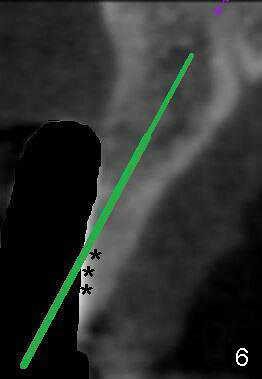
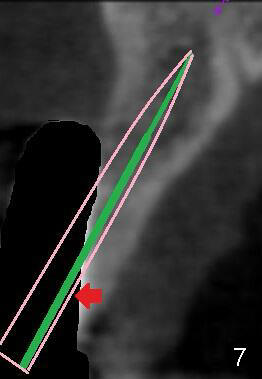
The reason that the implant is re-deviated buccally is that the coronal portion of the palatal plate is dense (Fig.6 *) and pushes the one piece implant buccally (Fig.7) while the latter is being inserted.
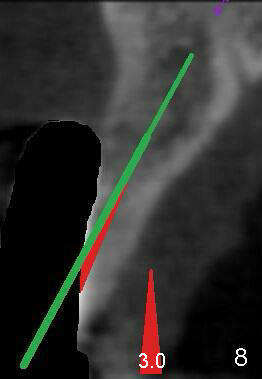
What should have been done is prior to implant placement, a 3.0 tapered drill
(Fig.8is used to remove the coronal portion of the dense palatal plate (red
obtuse triangle, as compared to Fig.6). The implant is going to be placed
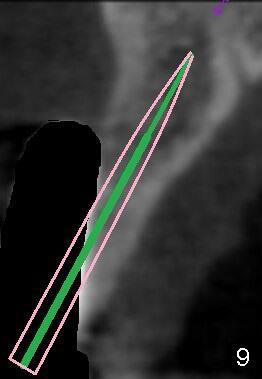
in the correct trajectory to protect the weak buccal plate and gingiva (Fig.9).
Anyway, do not load a permanent restoration too soon.
Xin Wei, DDS, PhD, MS 1st edition 03/04/2014, last revision 01/19/2018