|
|
|
||
|
|
|
|
|
Minimal Drilling
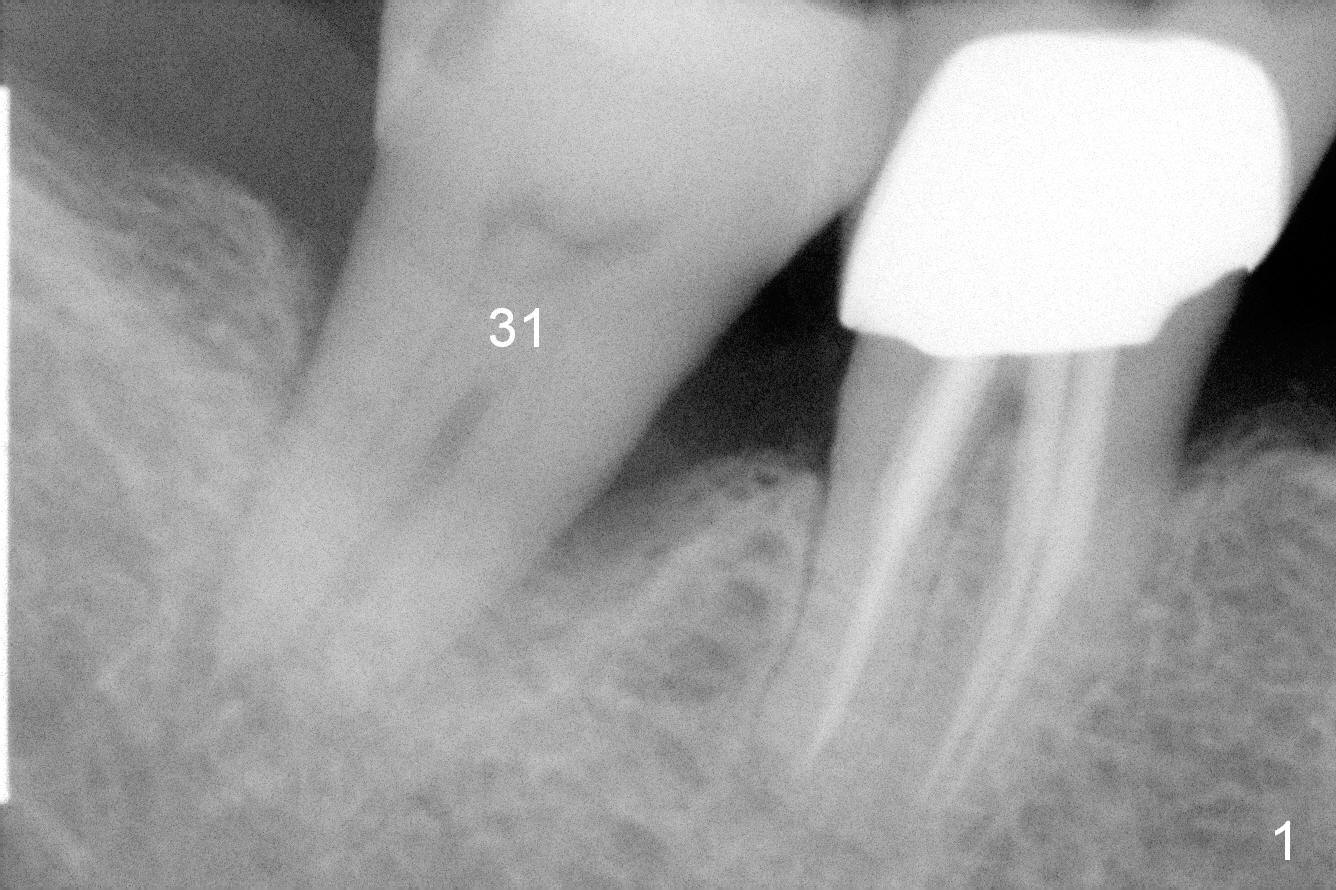
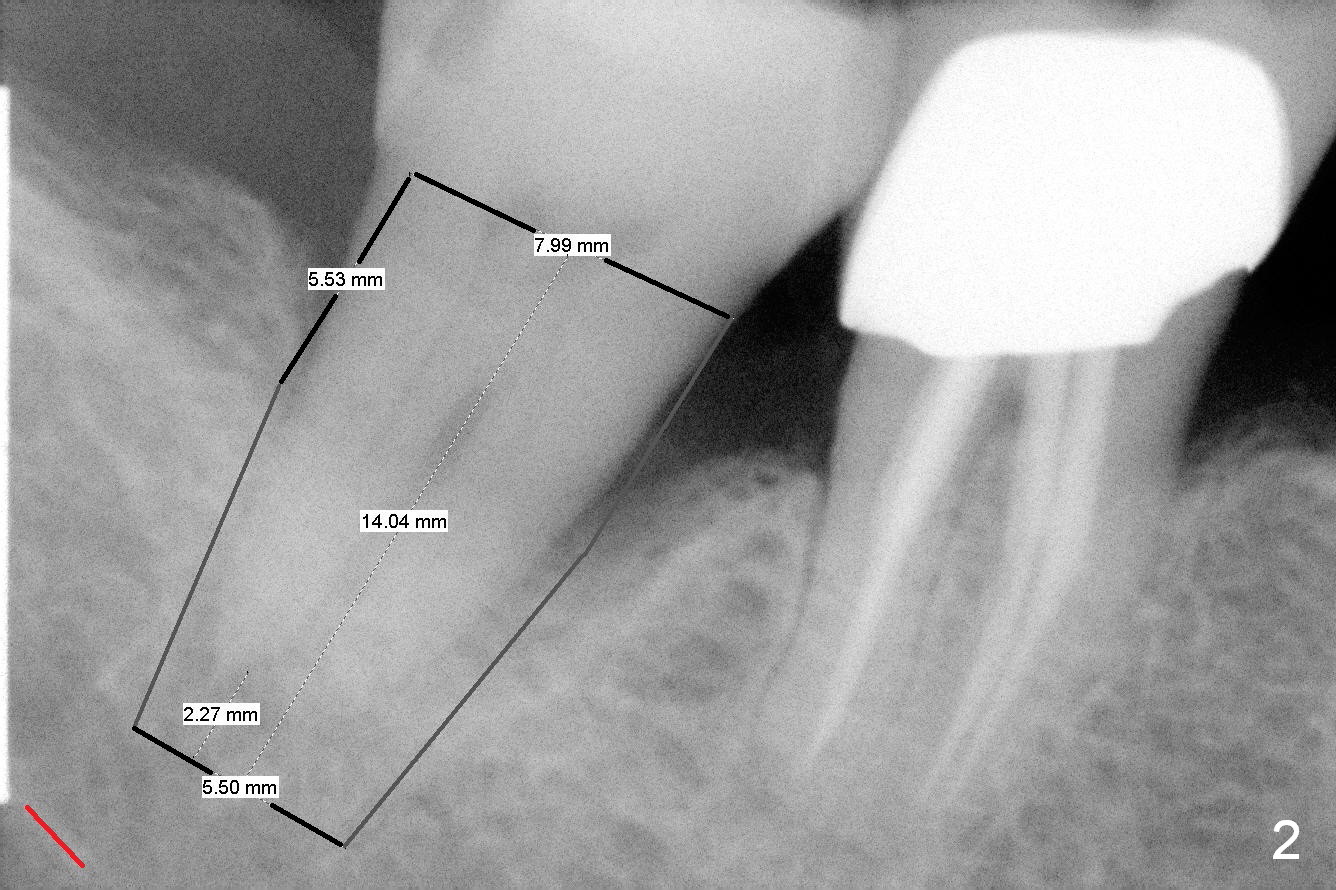
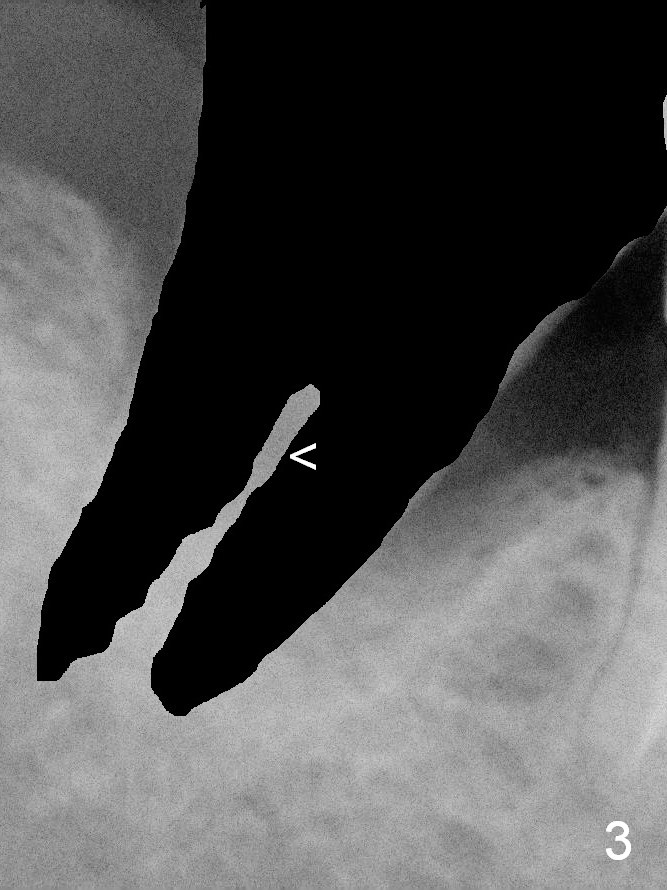
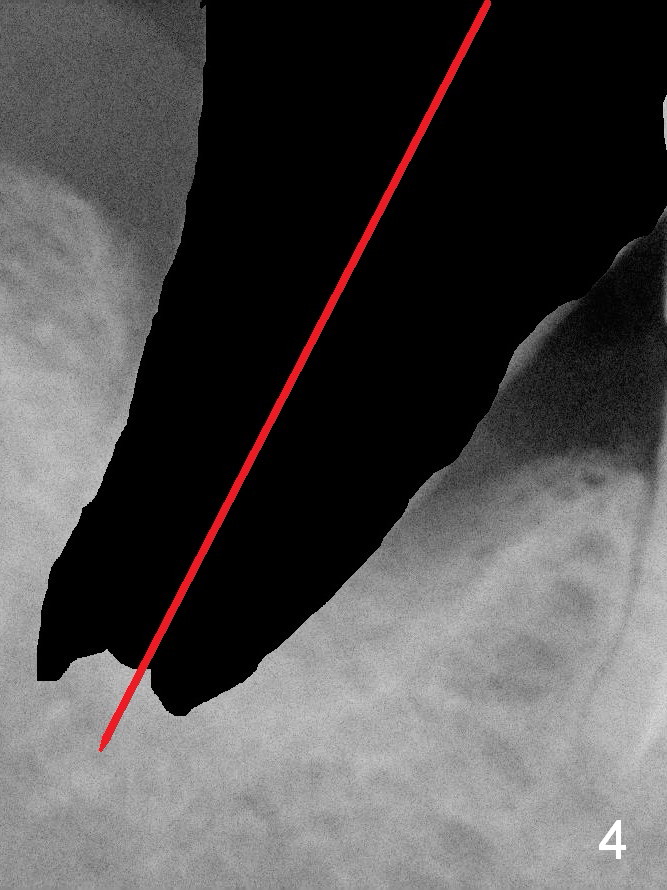
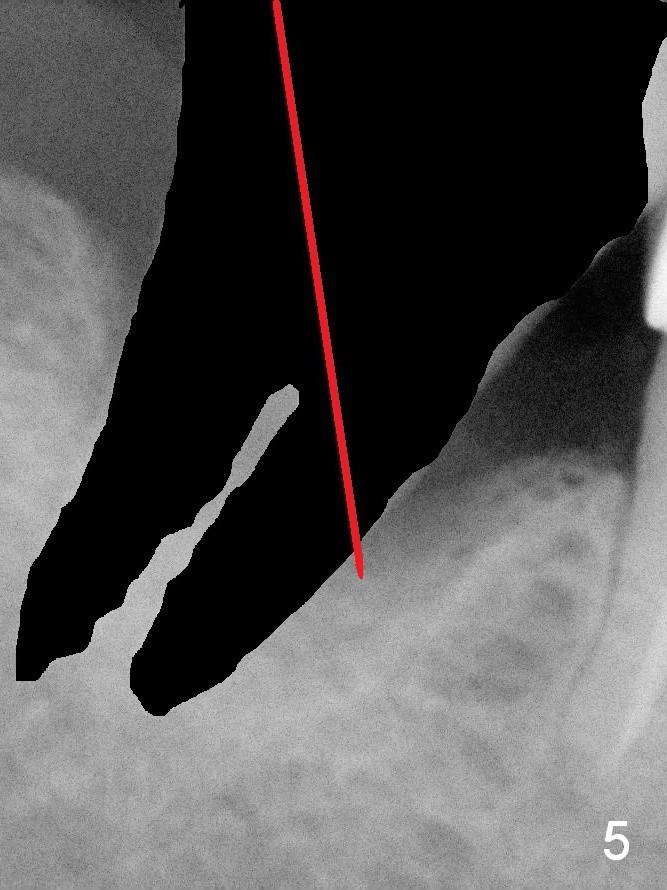
The tooth #31 of the 75-year-old lady has perio/trauma feature (Fig.1). When it is deemed non-salvageable, it will be replaced by a 7 or 8x14 mm tissue-level implant immediately (Fig.2). A bone-level implant may be used, since there are more diameters to choose from, e.g., 6.5 and 7.5 mm. Upon extraction, the septum is thin and lingually located (Fig.3 <). Osteotomy can be initiated along the original longitudinal axis (Fig.4 with or without septum removed) or obliquely in the mesial slope (Fig.5 with septum removed).
When the osteotomy starts along the axis (Fig.4), the depth is 2 mm beyond the bottom of the socket (Fig.2 (red line: the superior border of the Inferior Alveolar Canal (IAC))). The advantage of this orientation is to follow its anatomy and physiology. Minimal drilling is sometimes necessary, because without it, taps wobble, walking away from the intended position. If the buccal plate is thin or low, the osteotomy can be established slightly lingual. But the depth should be tightly controlled. The last reamer will 3.5 mm. Remember that her bone is soft.
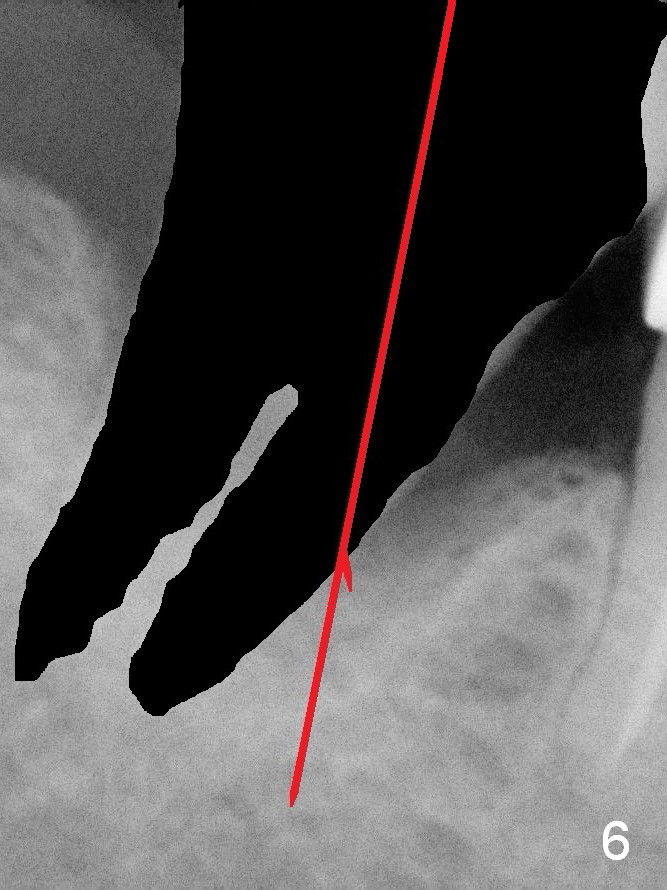
The advantages of establishing osteotomy in the mesial slope are two folded: more bone contact and safer (farther away from IAC). Once the 1st drill penetrates the mesial slope (Fig.5), it should change the trajectory (Fig.6). As drill diameters increase, the osteotomy tends to shift distally due to the mesial sloping. The depth should be also controlled, no more than 2 mm beyond the bottom of the socket.
Return to Lower Molar Immediate Implant
Xin Wei, DDS, PhD, MS 1st edition 08/09/2015, last revision 08/09/2015