|
|
|
|
|
|
How to Fix A Fibrointegrated Implant in the Lower 2nd Molar?
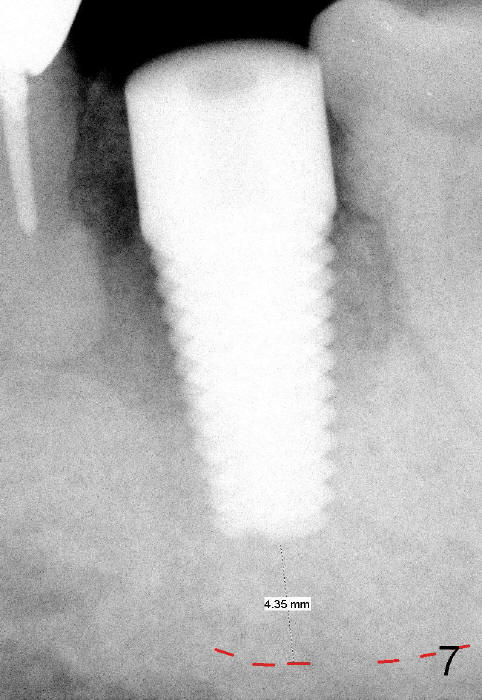
A 7x17 mm immediate implant is placed at the site of #18 with insertion torque 40 Ncm for a 84-year-old man (Fig.7). It is estimated that there is 4 mm bone between the implant and the upper border of the inferior alveolar canal.
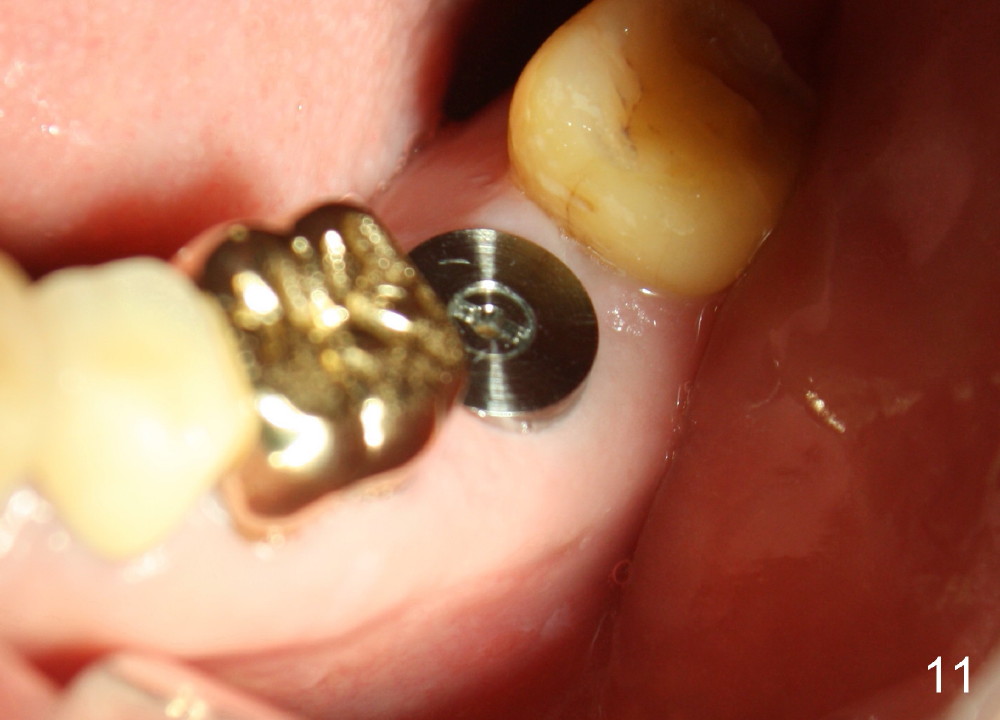
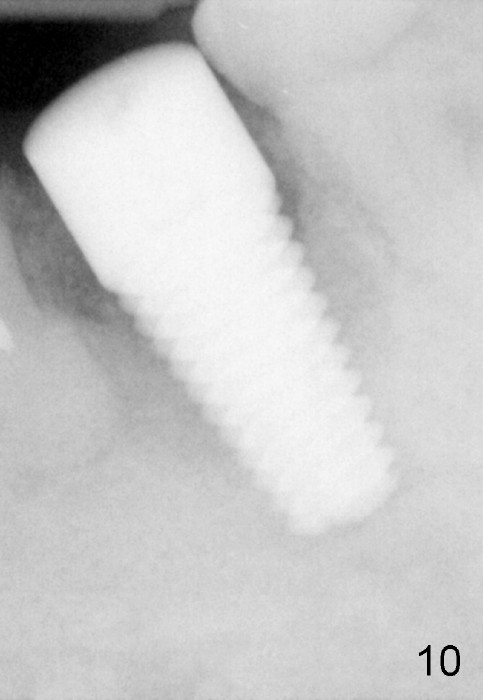
Three months postop, the buccal fistula disappear (Fig.11). But the implant has mild mobility, as evidenced by a narrow band of radiolucency immediately around the apical portion of the implant (Fig.10).
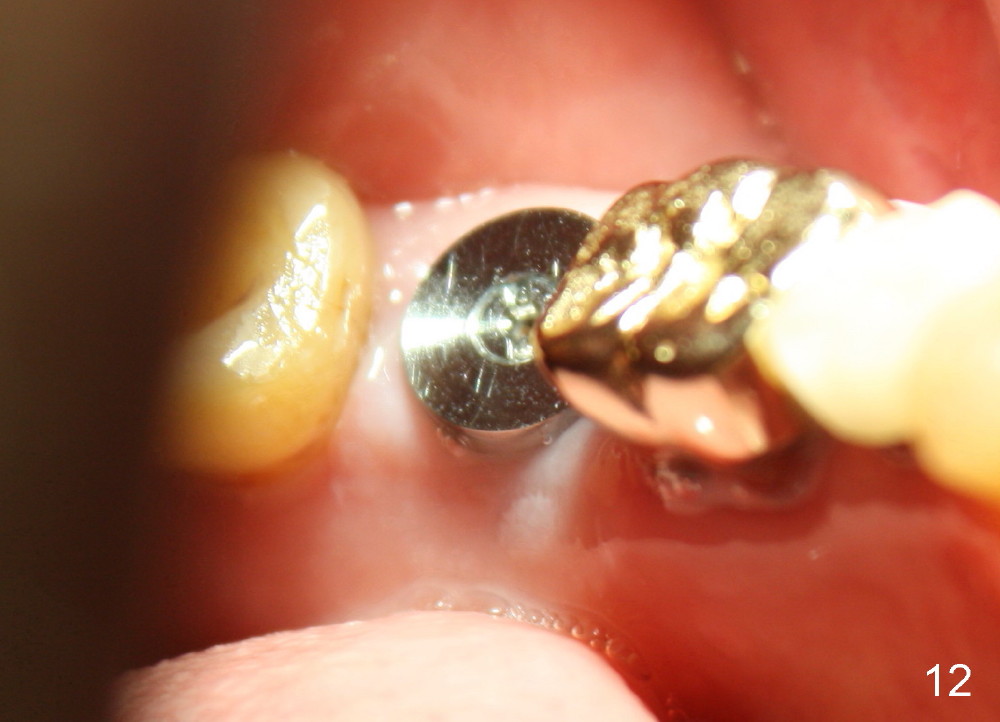
The first option is to place the same implant 2-3 mm deeper, if the implant surface is clean when it is removed. The patient is a bruxer. The crown height is limited, while the fibrointegrated implant is ~ 2 mm supragingival (Fig.11,12). After the existing implant is removed, the implant site is inspected. Remove any pathology if present. Increase osteotomy depth by 2-3 mm using 2 mm pilot drill, followed by 2.5-3.5 mm reamers. Take multiple intraop PAs for drill depth and watch for excessive bleeding from the osteotomy.
The 2nd option is to use a 7x17 mm round implant with increased osteotomy depth by 2-3 mm.
The 3rd option is to use a 7x20 mm round implant. The drawbacks include limited crown height and higher possibility of nerve injury. There is no problem to increase implant length in the maxillary 1st molar.
The 4th option is to use 8x17 mm tapered implant with increased osteotomy depth by 2-3 mm. The shortcoming is mesiodistal width. The 3rd molar may be extracted. In fact, the upper left 3rd molar is functional.
The last option is bone graft and 2nd stage of implant.
In fact a 7x17 mm straight implant is placed with insertion torque more than 60 Ncm.
Professionals, When
Implants Fail, Lower Molar Immediate Implant
Xin Wei, DDS, PhD, MS 1st edition 01/21/2014, last revision 01/19/2018