.jpg)


|
|
|
|
|
||
|
|
|
|
|
|
|
|
|
|
|
|
||
|
|
|
|
|
||
|
|
|
|
|||
|
|
|
|
|||
|
|
|
|
|
|
|
|
|
|
|
|
||
|
|
|
|
|
||
Anterior Cross Bite/Edge-to-Edge
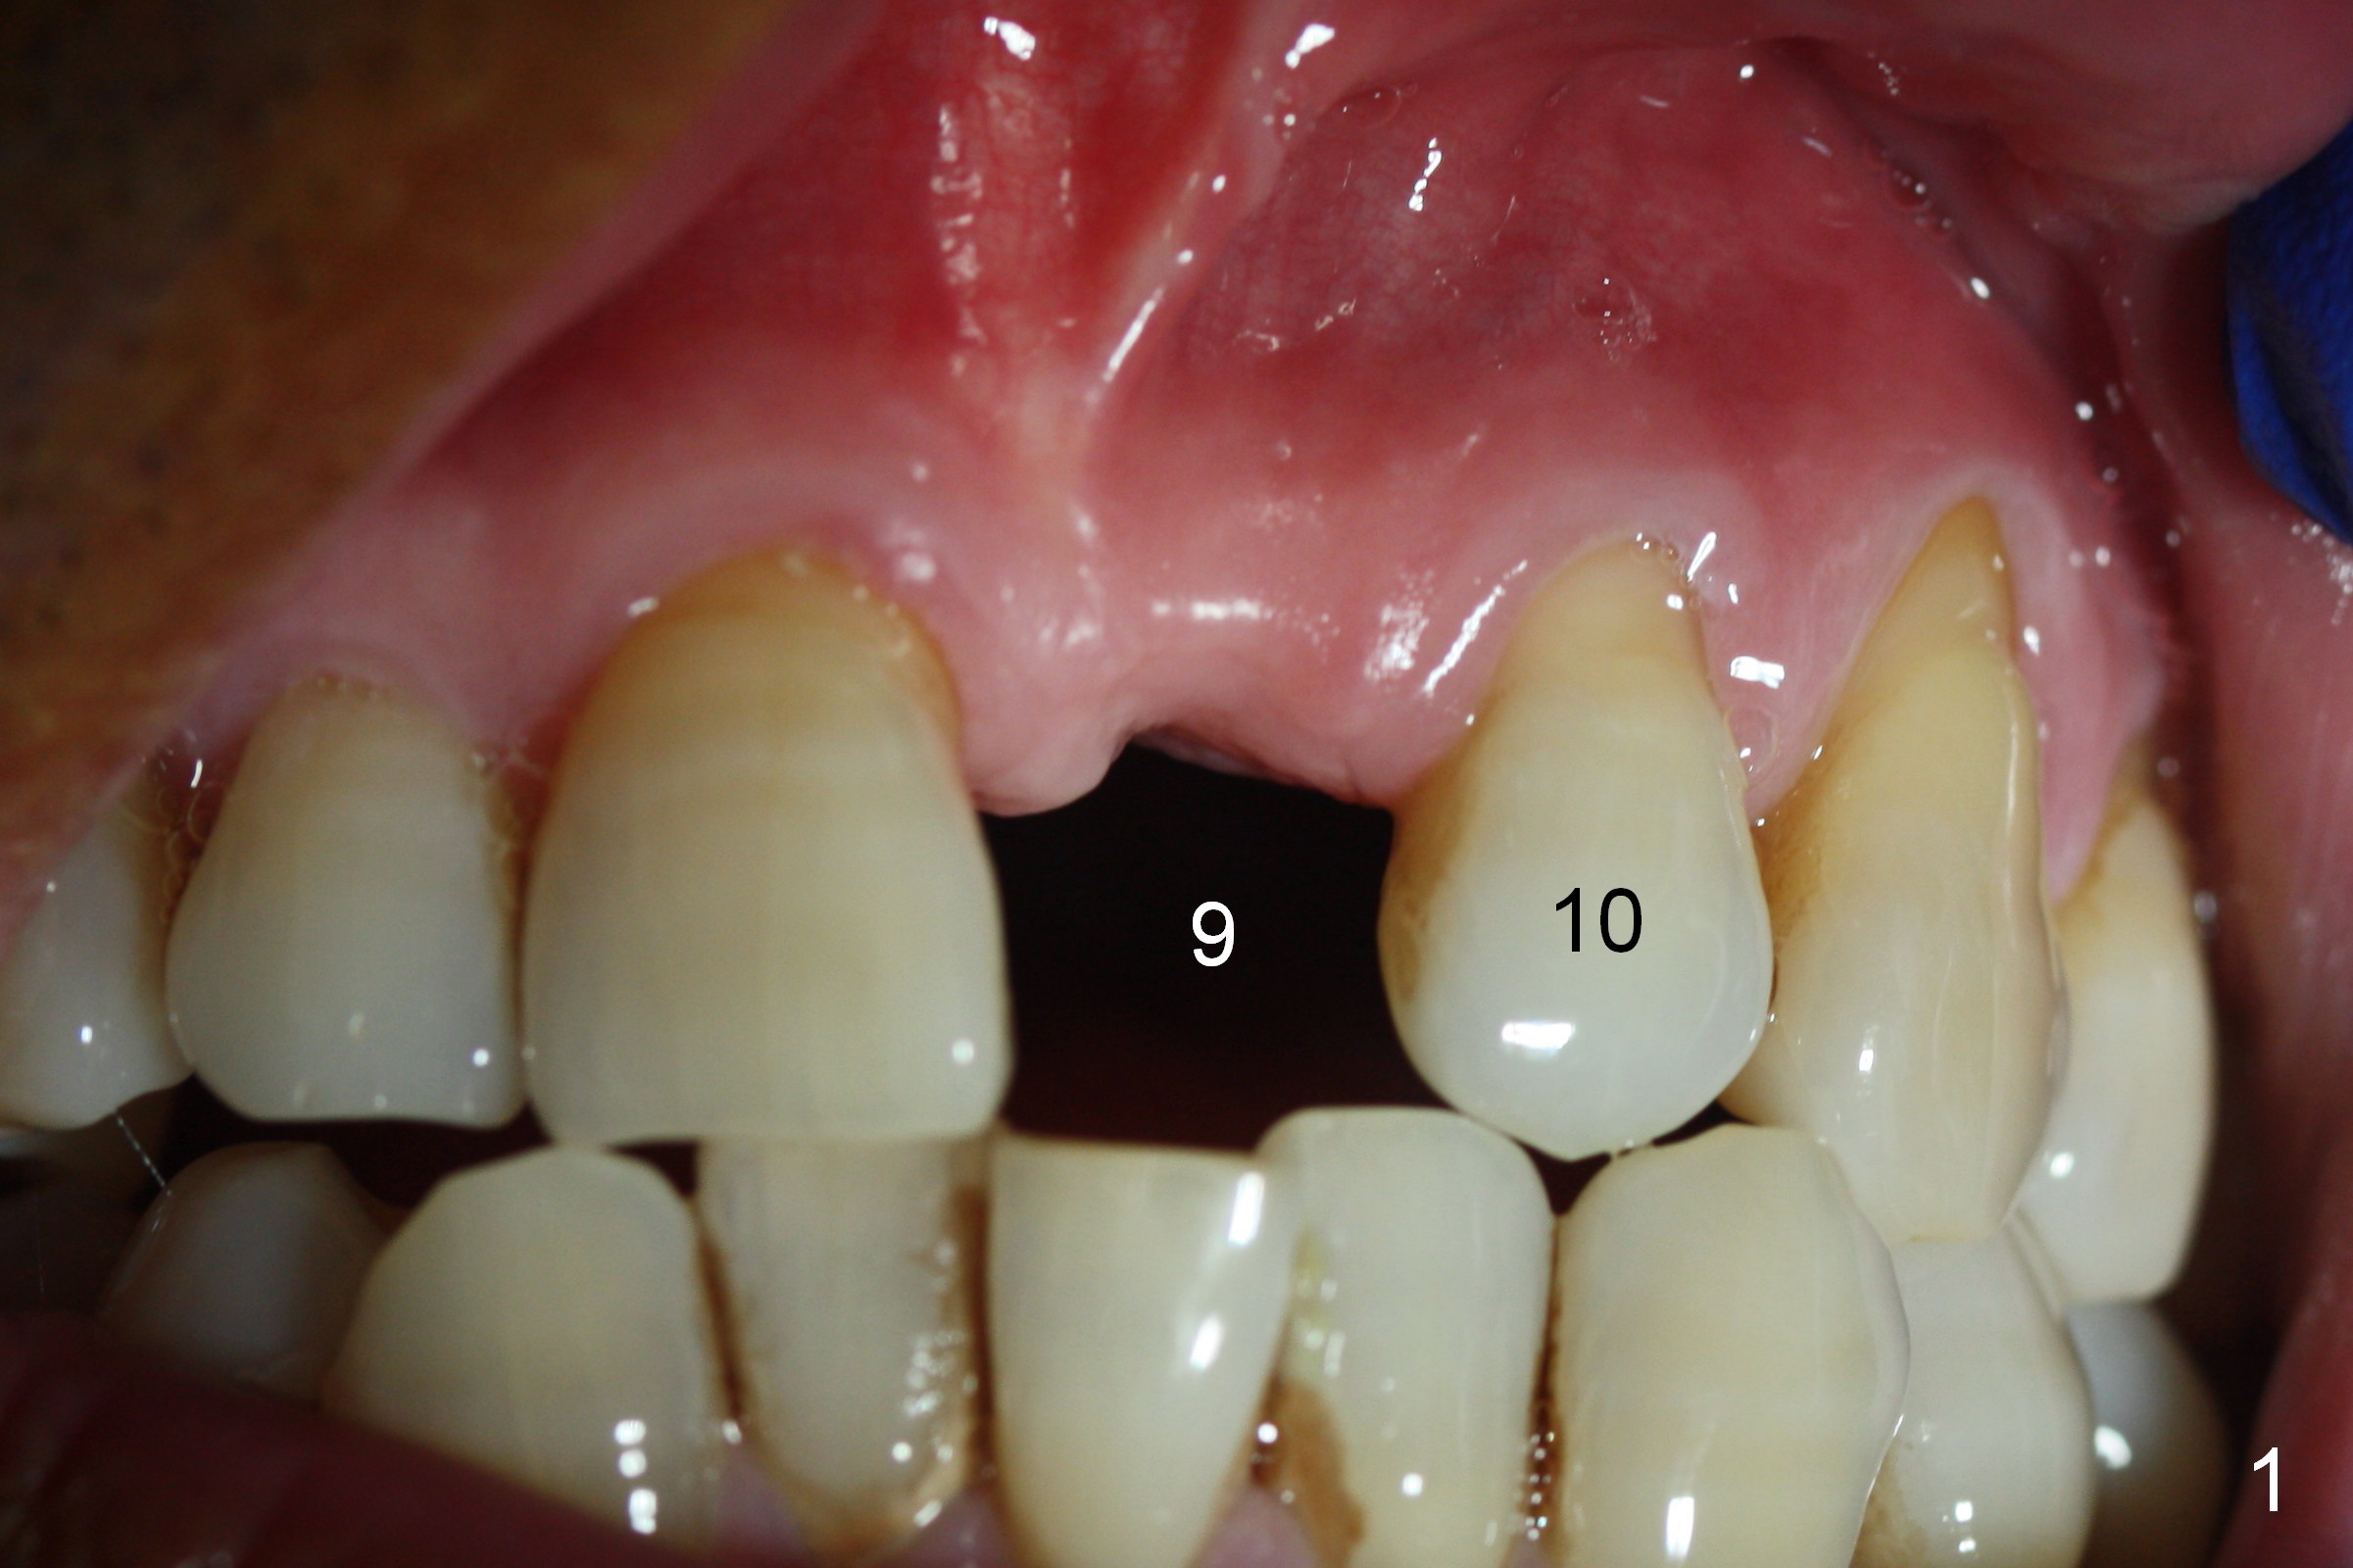
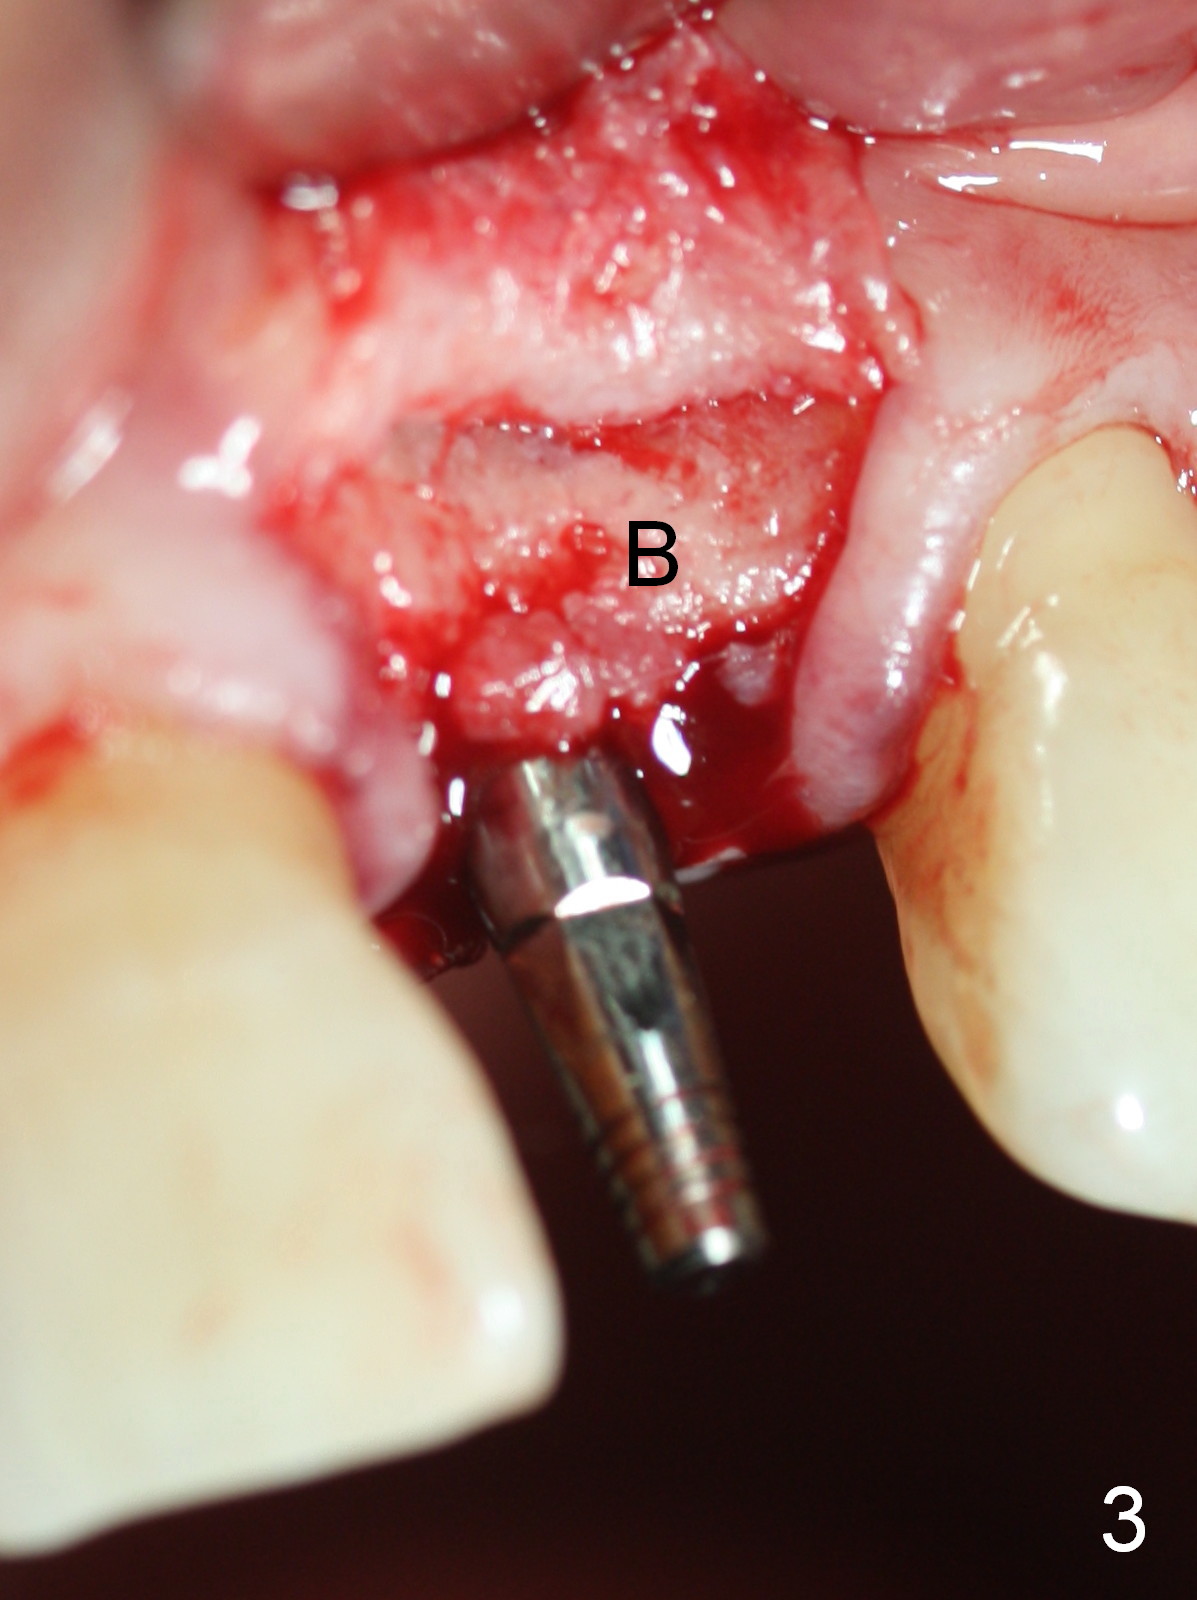
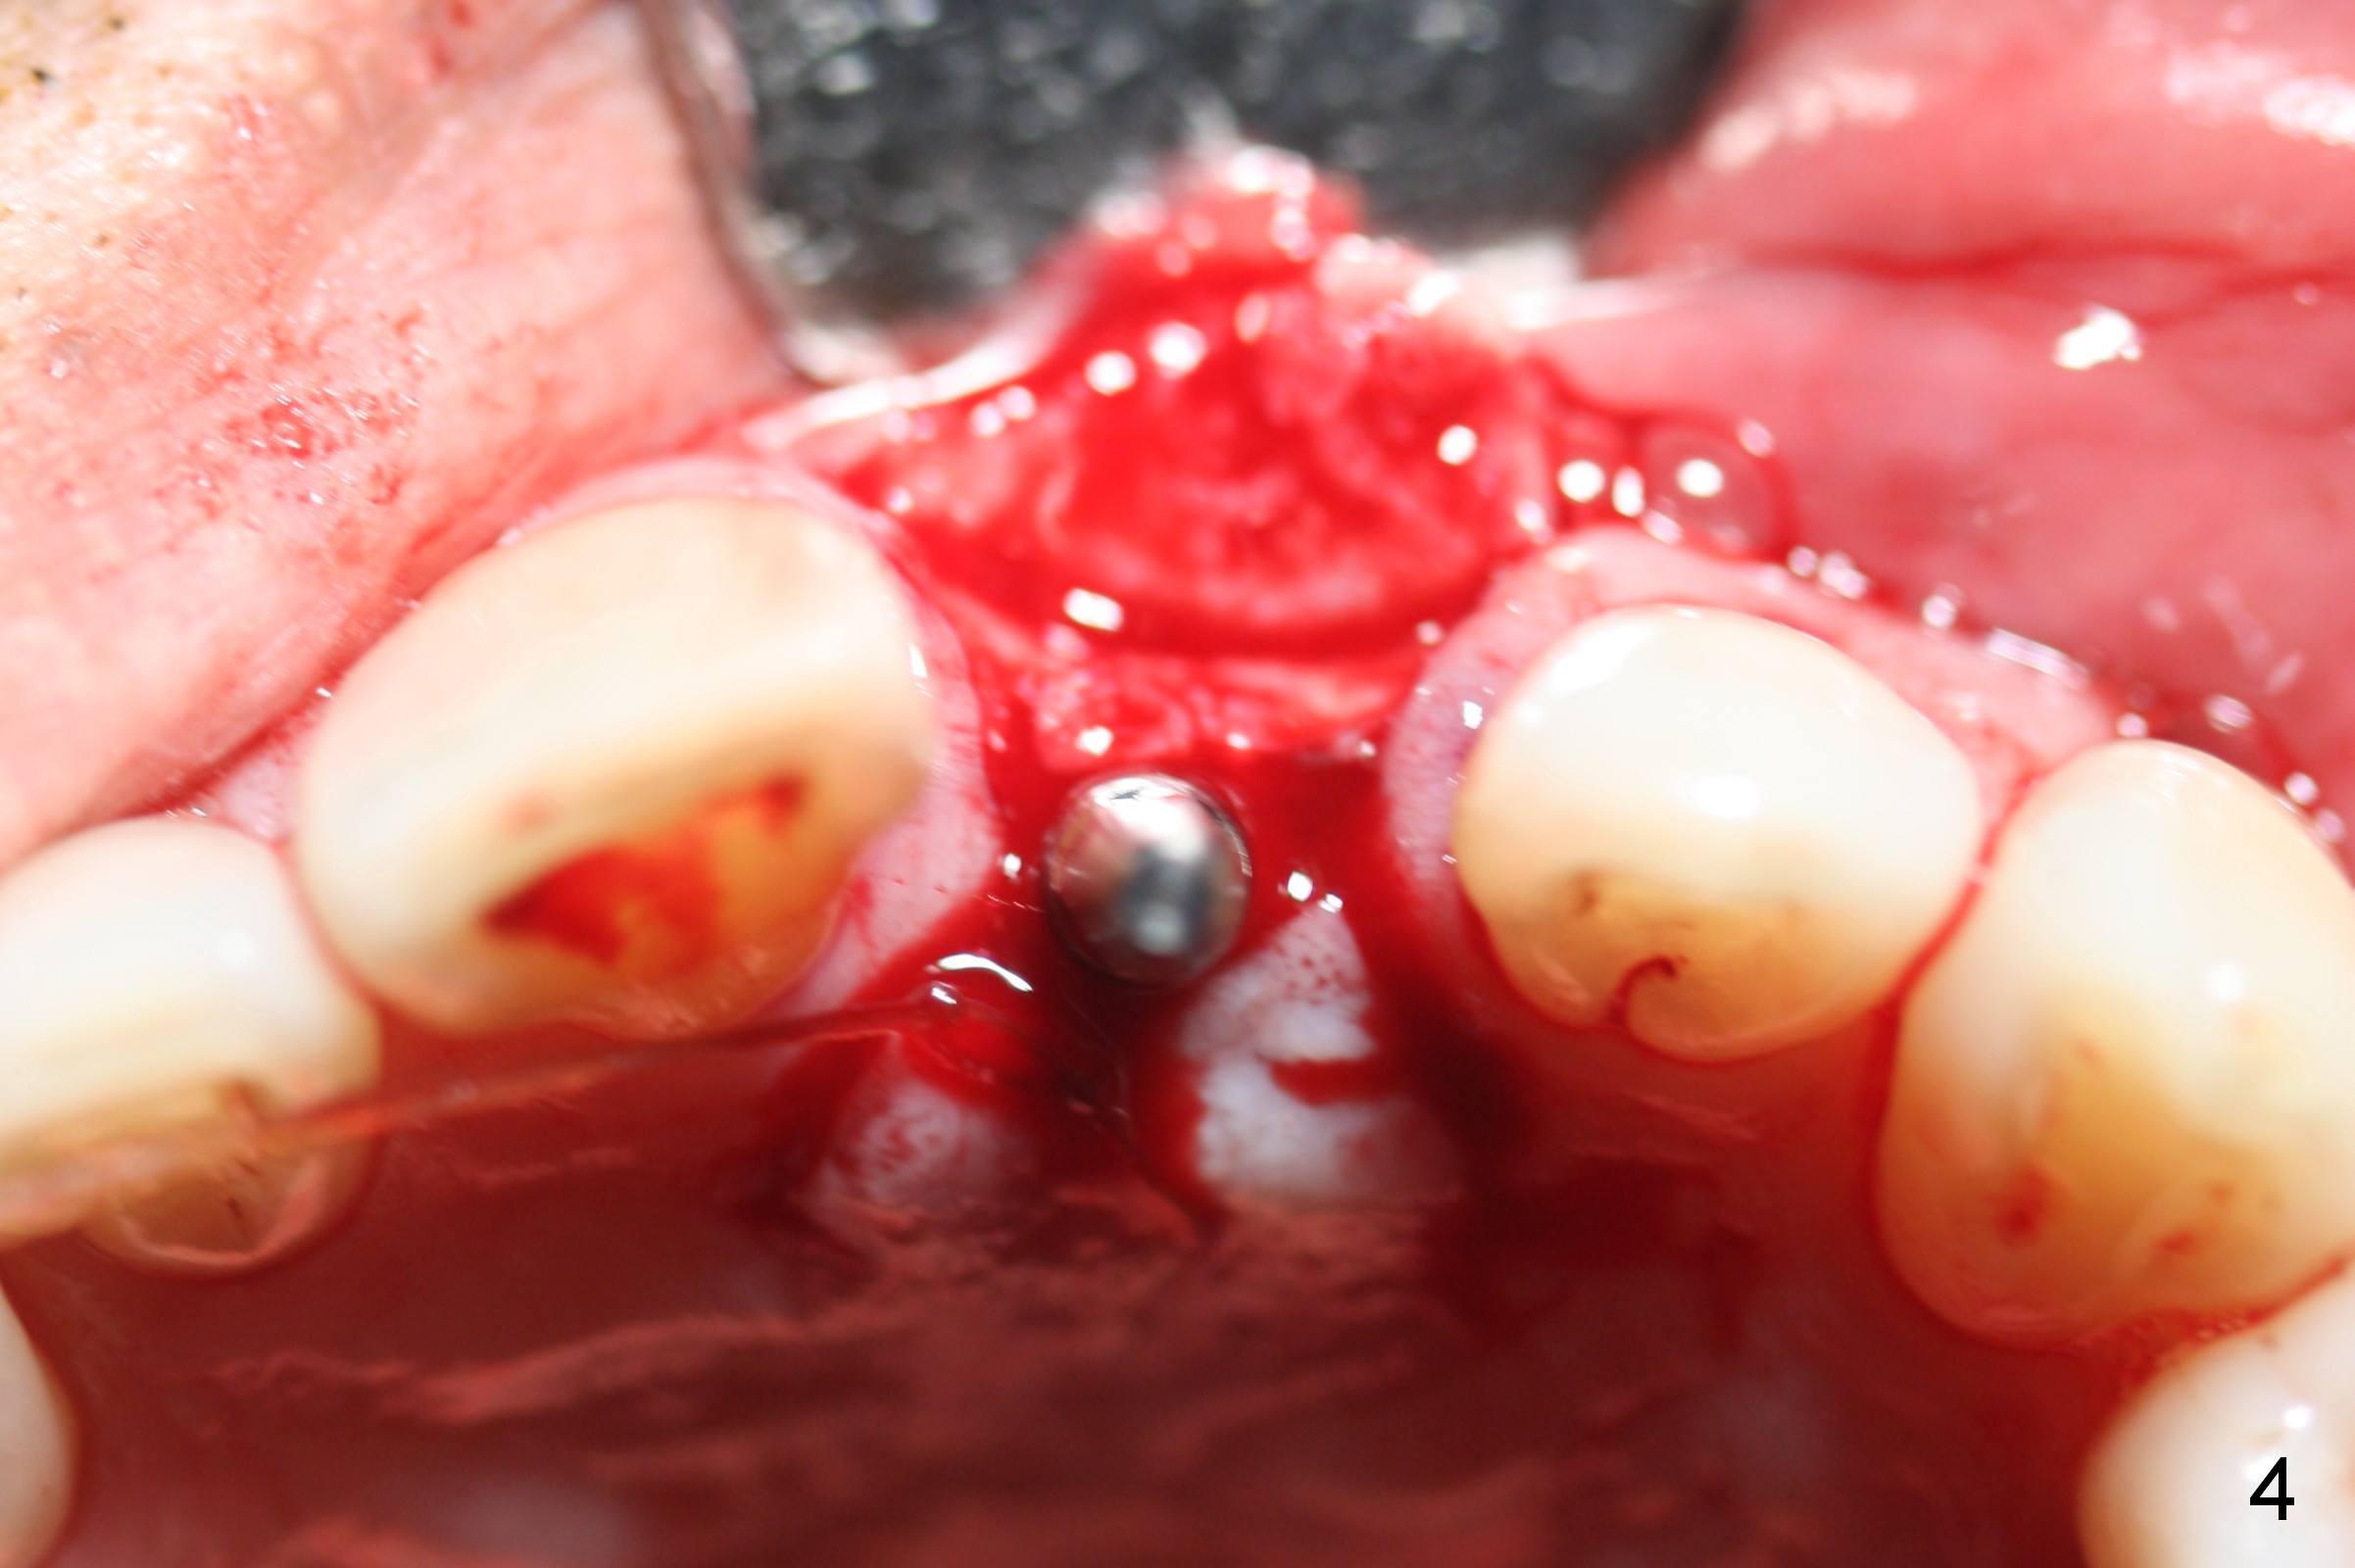
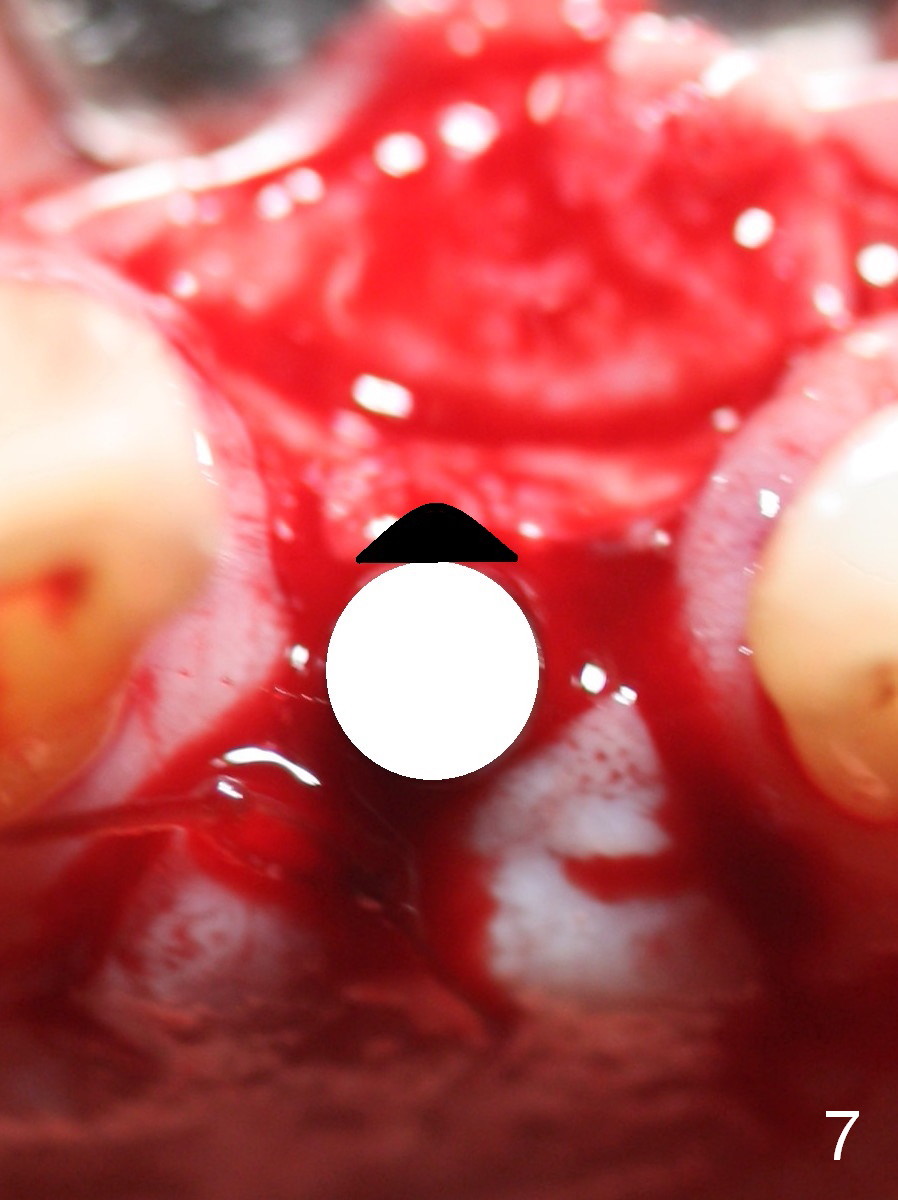
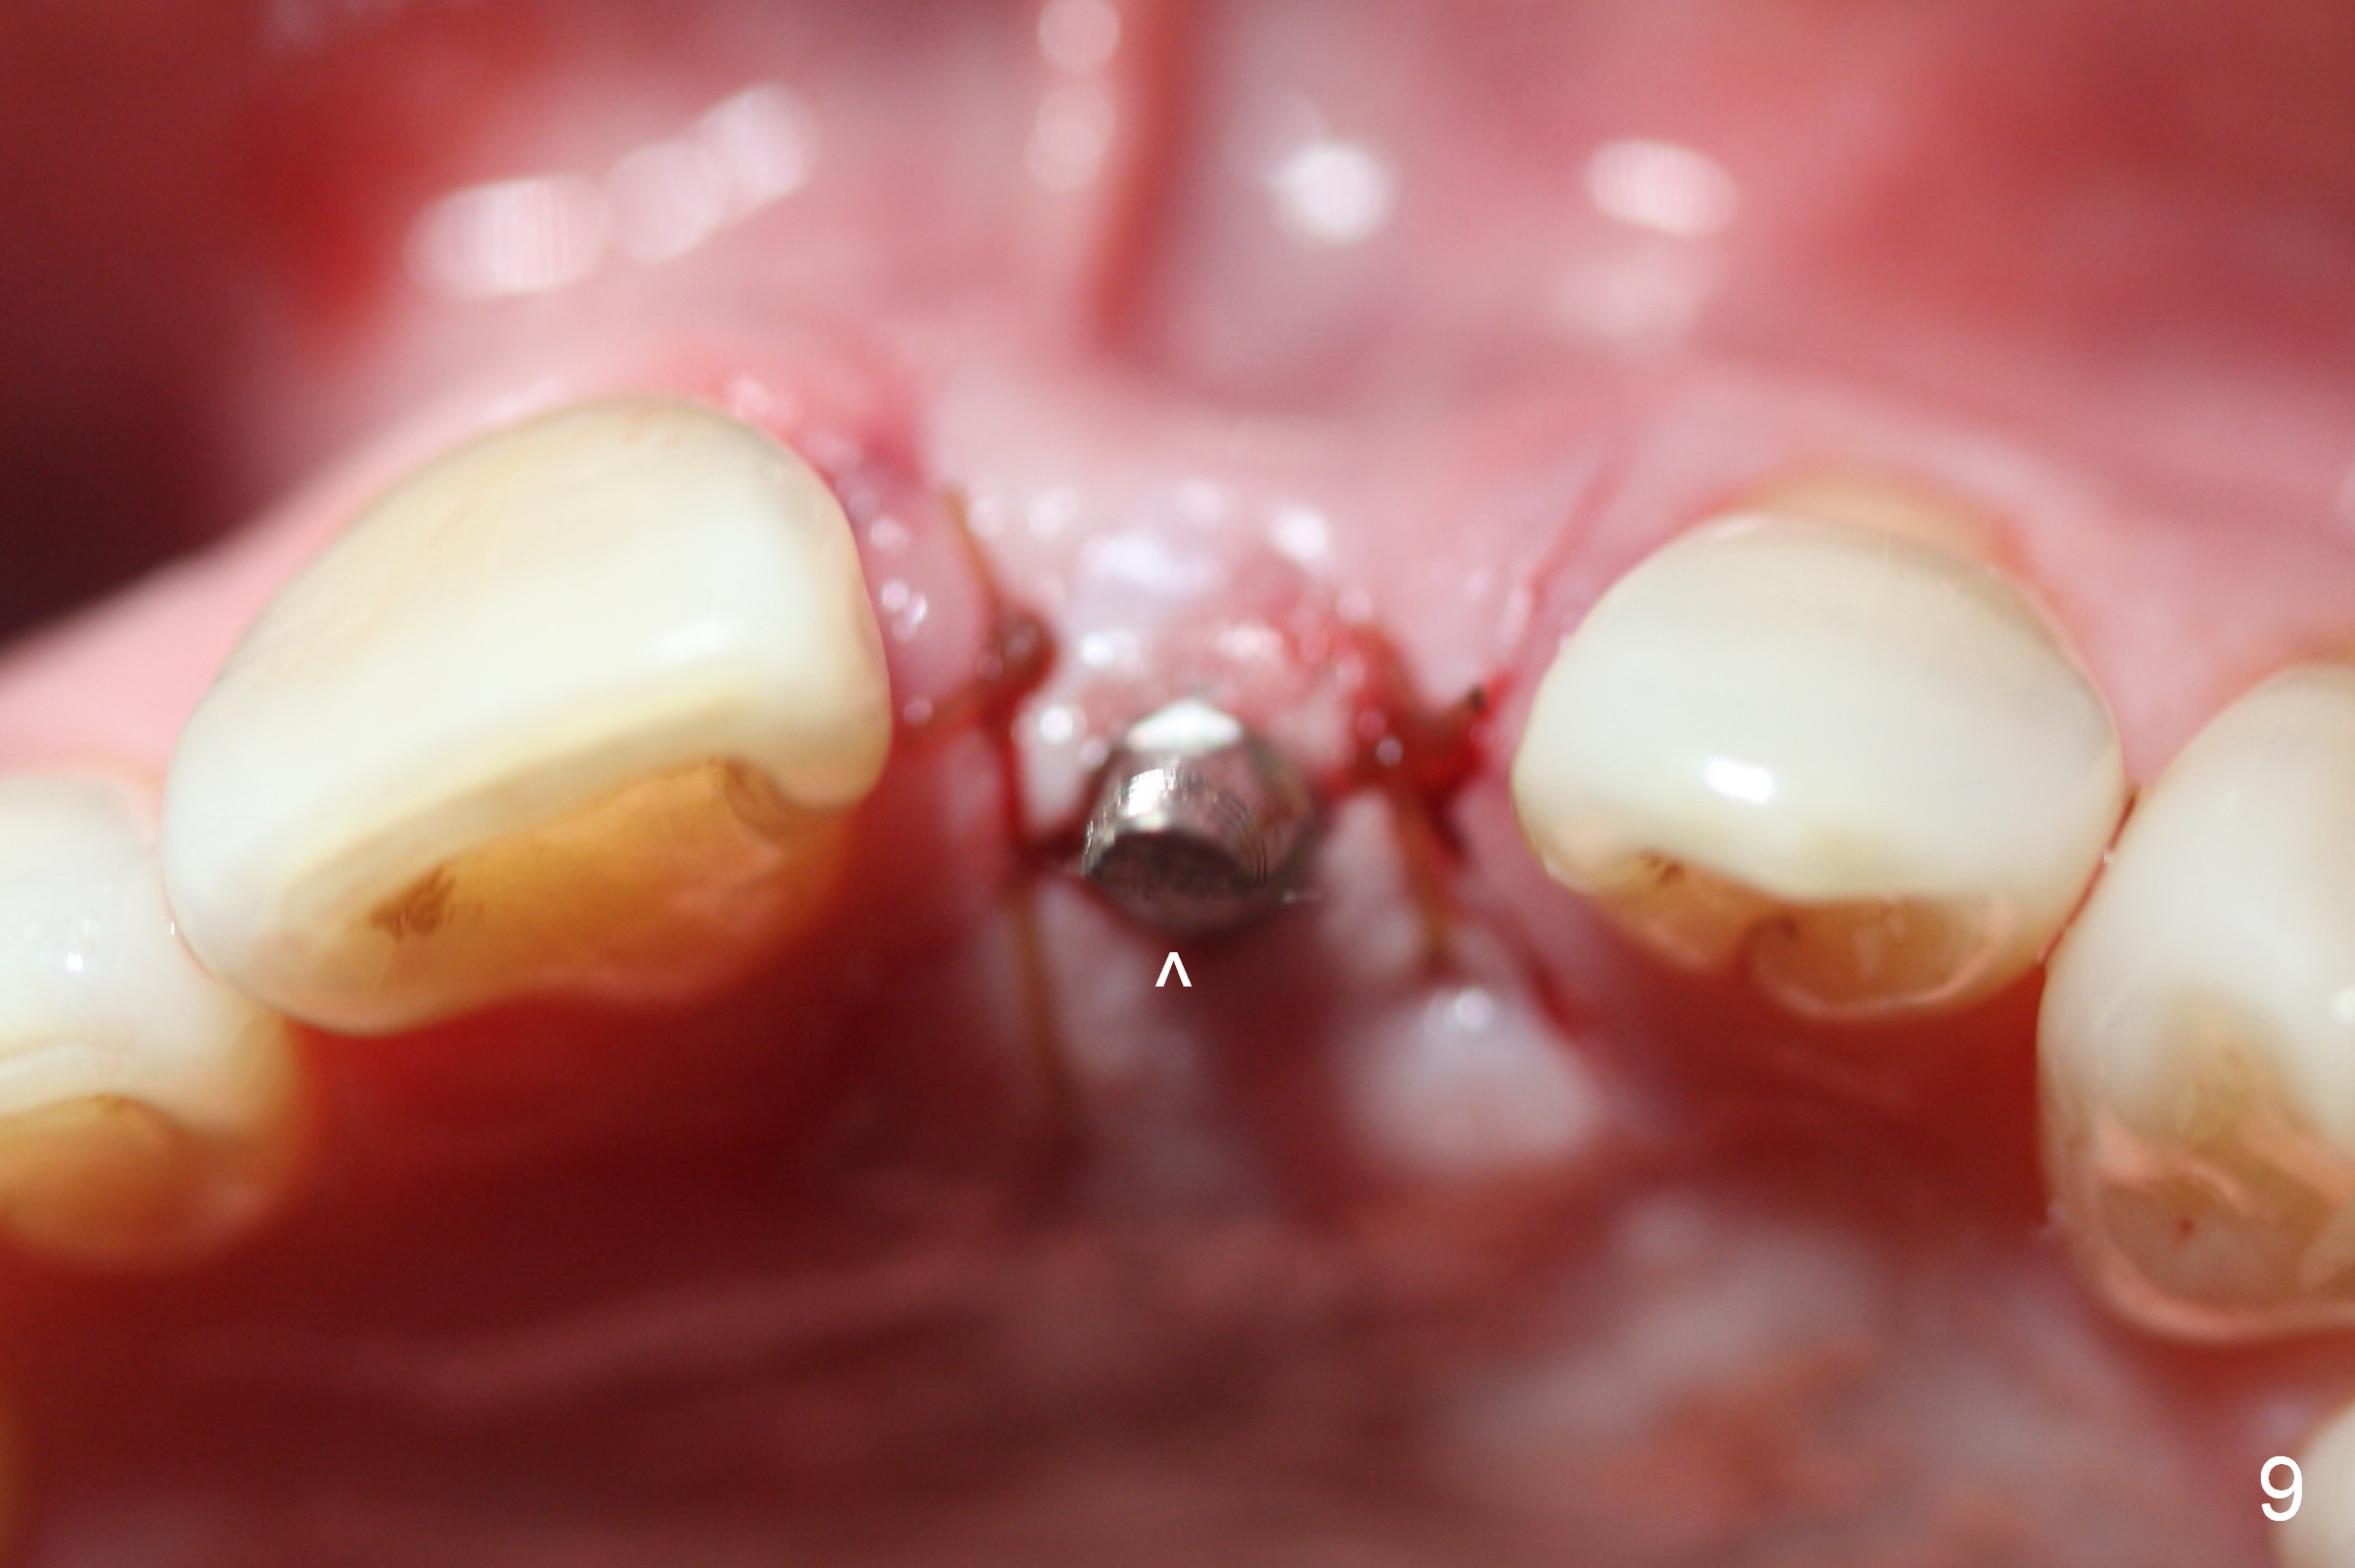
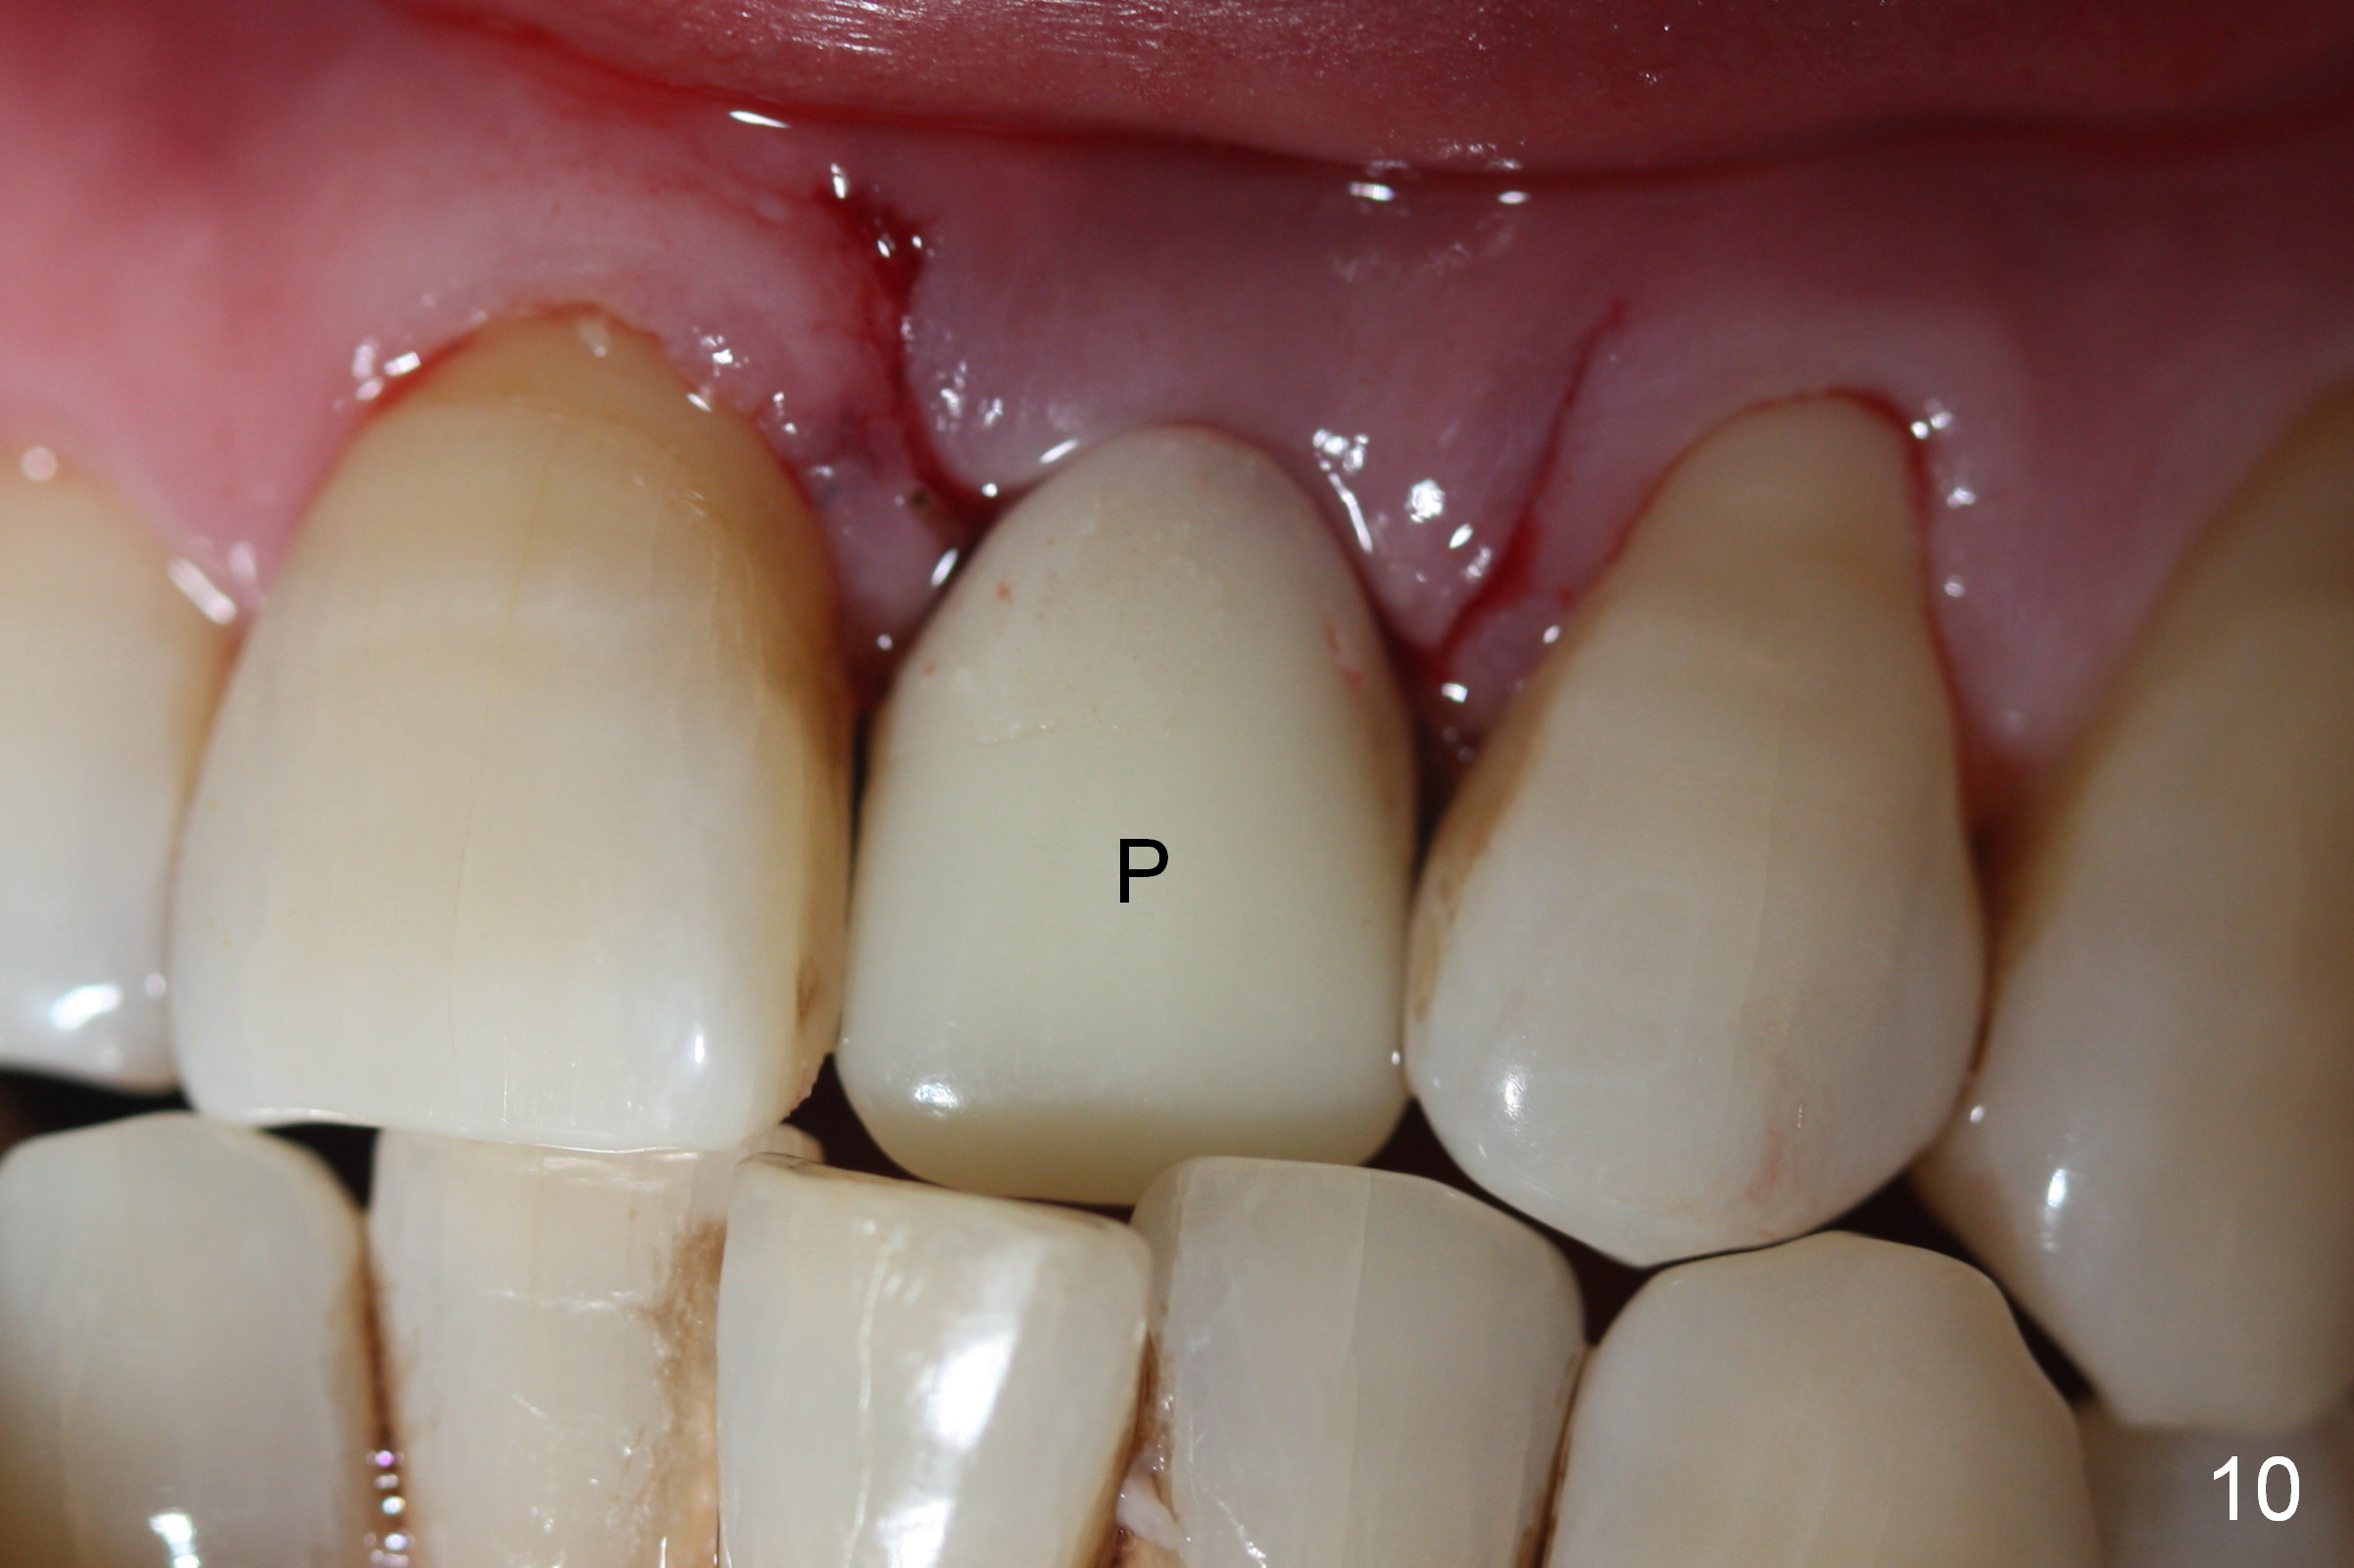
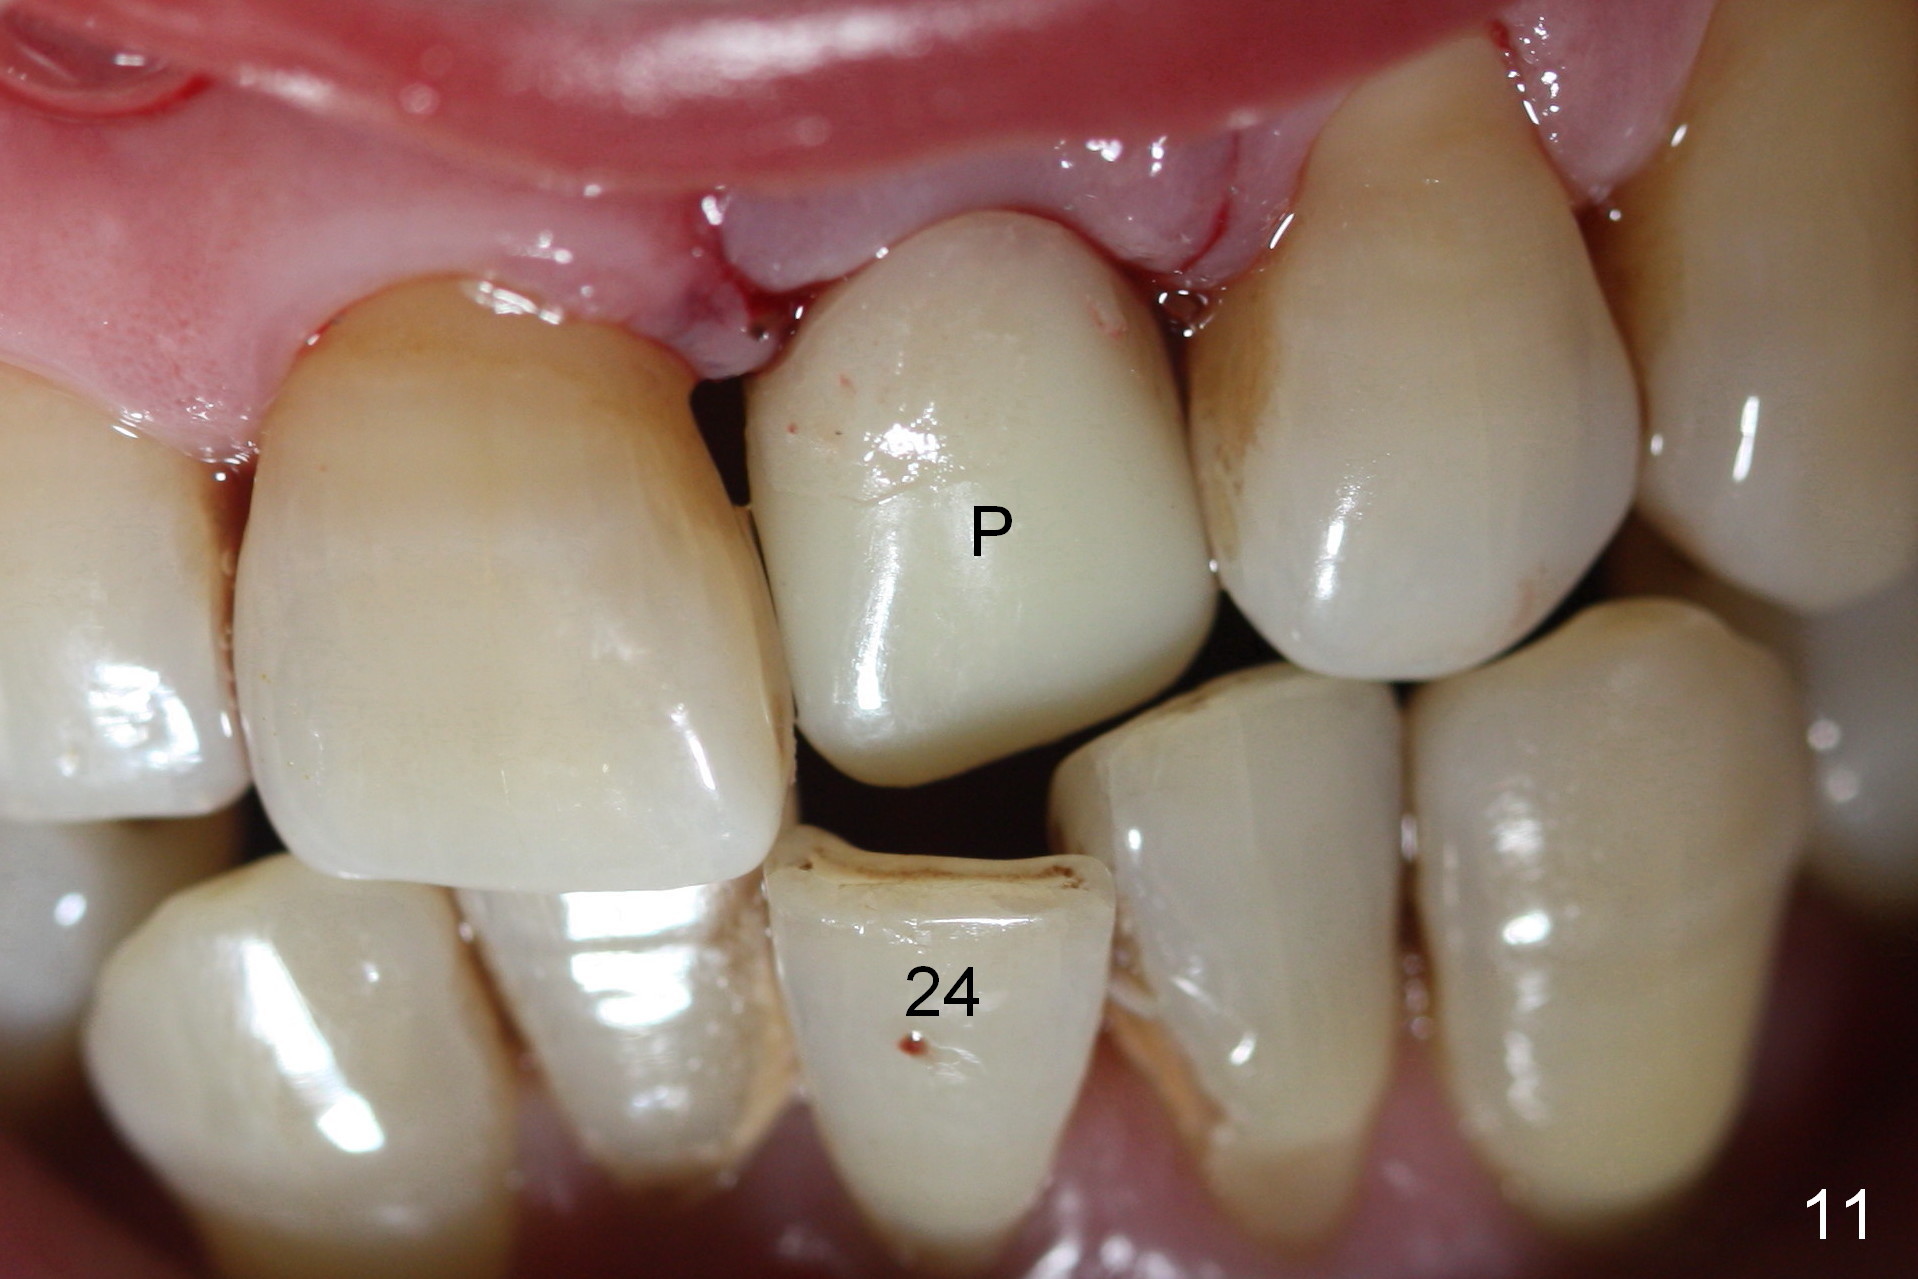
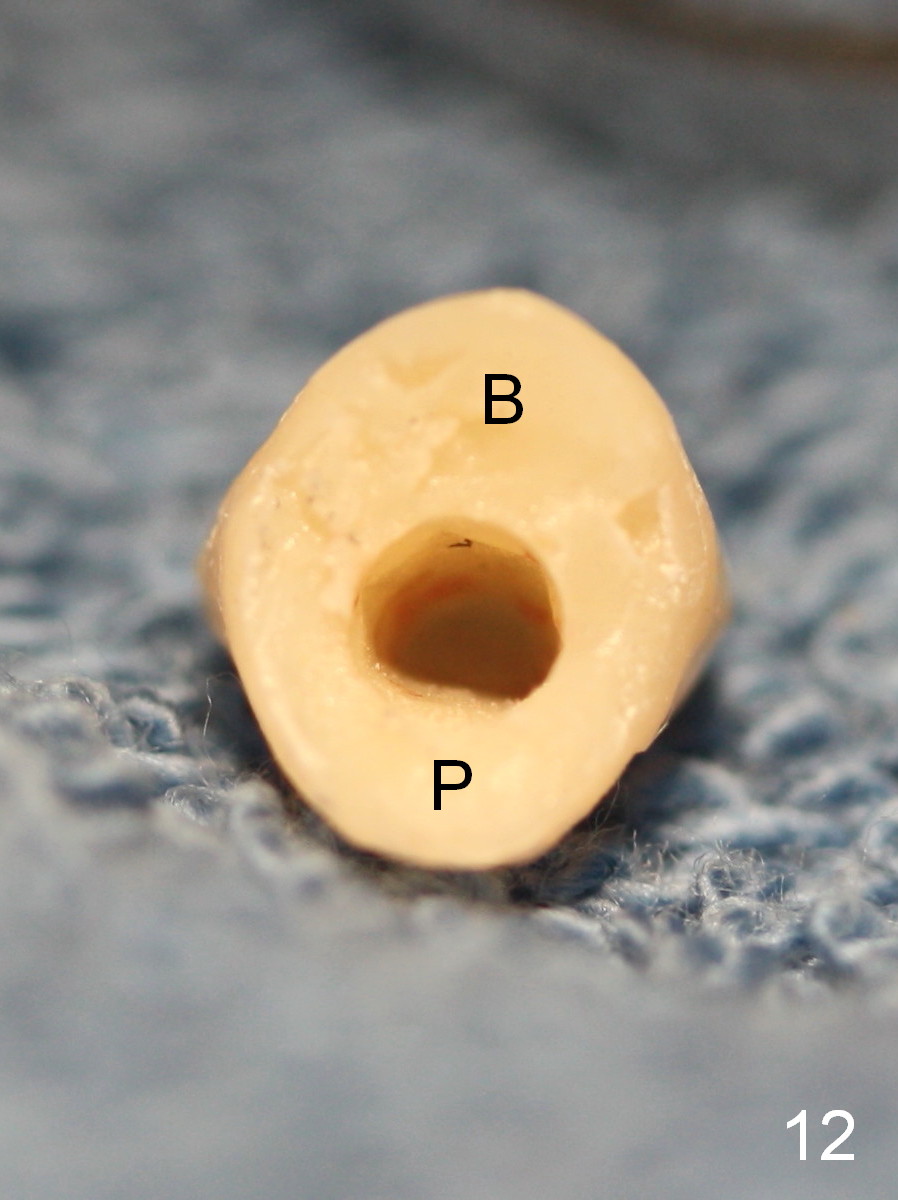
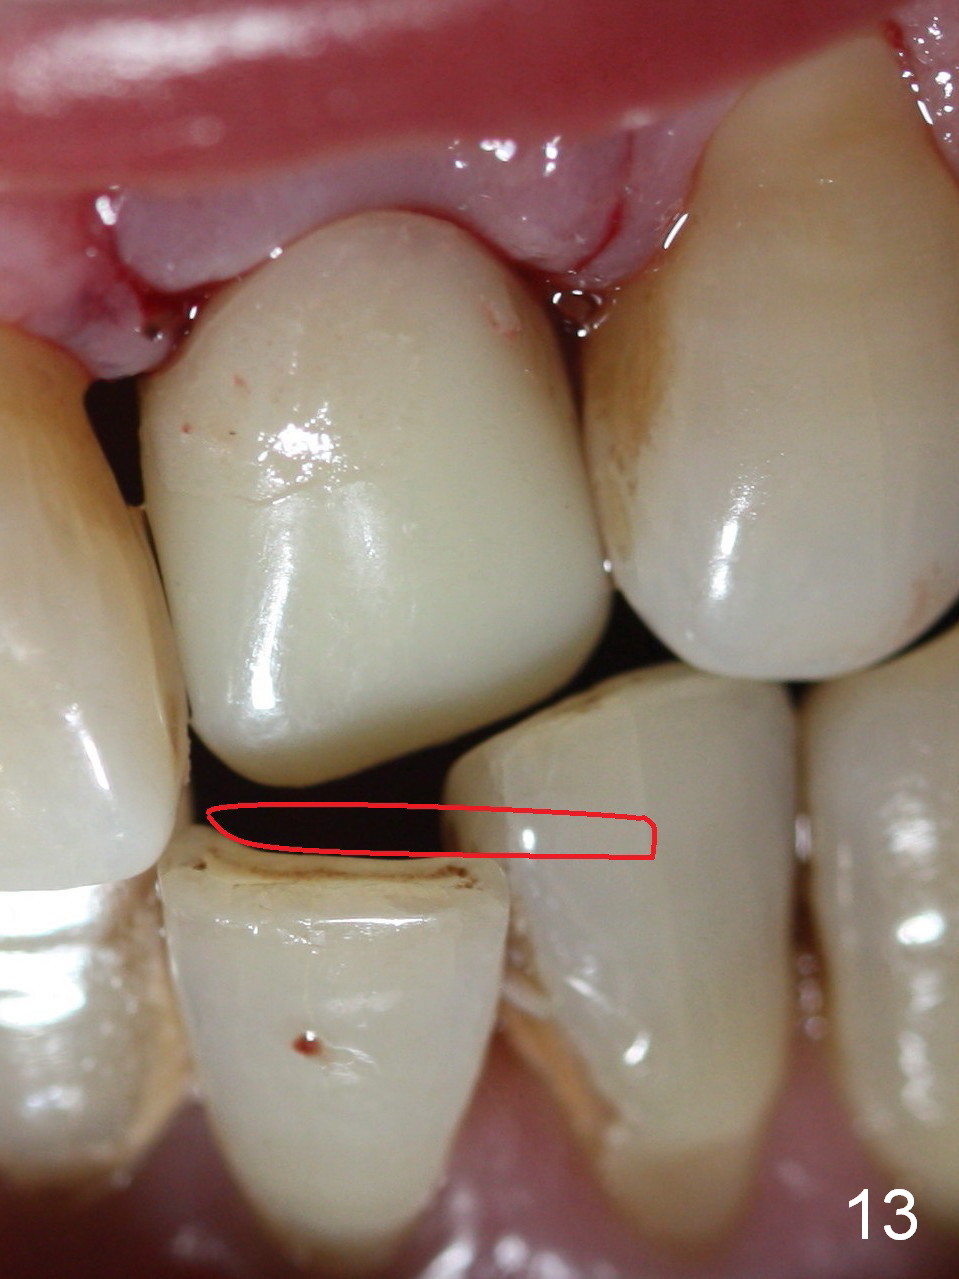
Preop photo shows malocclusion, including #10 edge to edge (Fig.1). When a 3x14(2) mm 1-piece implant is placed (Fig.2) palatally, the buccal plate is intact (Fig.3 B). However, the implant is apparently too palatal for restoration (Fig.4). In fact the implant was removed, and re-placed with intention to change trajectory. The trajectory appears to have been corrected minimal; insertion torque reduces from 50 to 35 Ncm. After palatal reduction of the 1-piece implant (Fig.9 ^), an immediate provisional at #9 (Fig.10,11 P) is fabricated. Since the tooth #24 is protruded, the provisional has to be in cross bite (Fig.10,11) so that the provisional is somewhat harmonious (Fig.12 tissue surface). When the wound heals, the incisal edge of the provisional (Fig.13 red outline) can be made to be seated between the teeth #23 and 24 so that the left central incisor may look as wide as the right one.
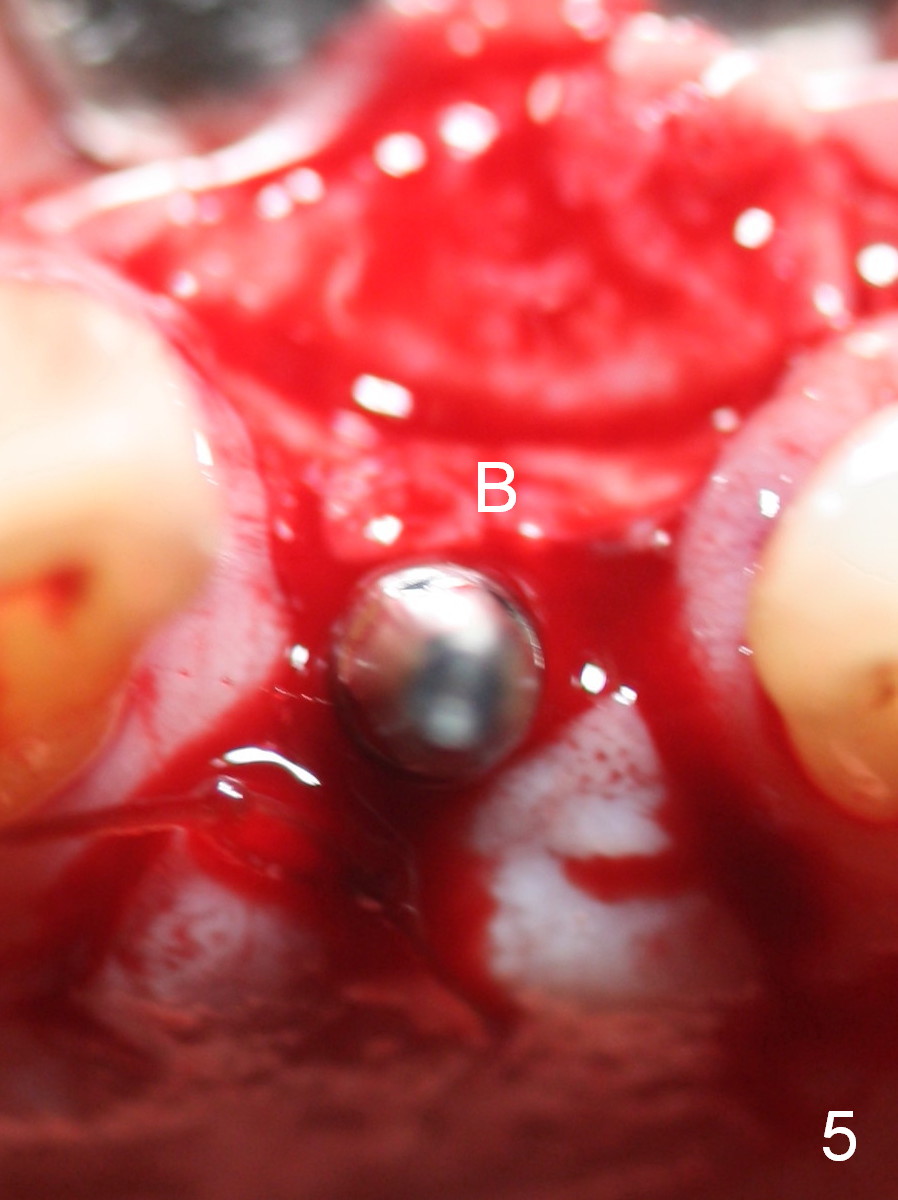
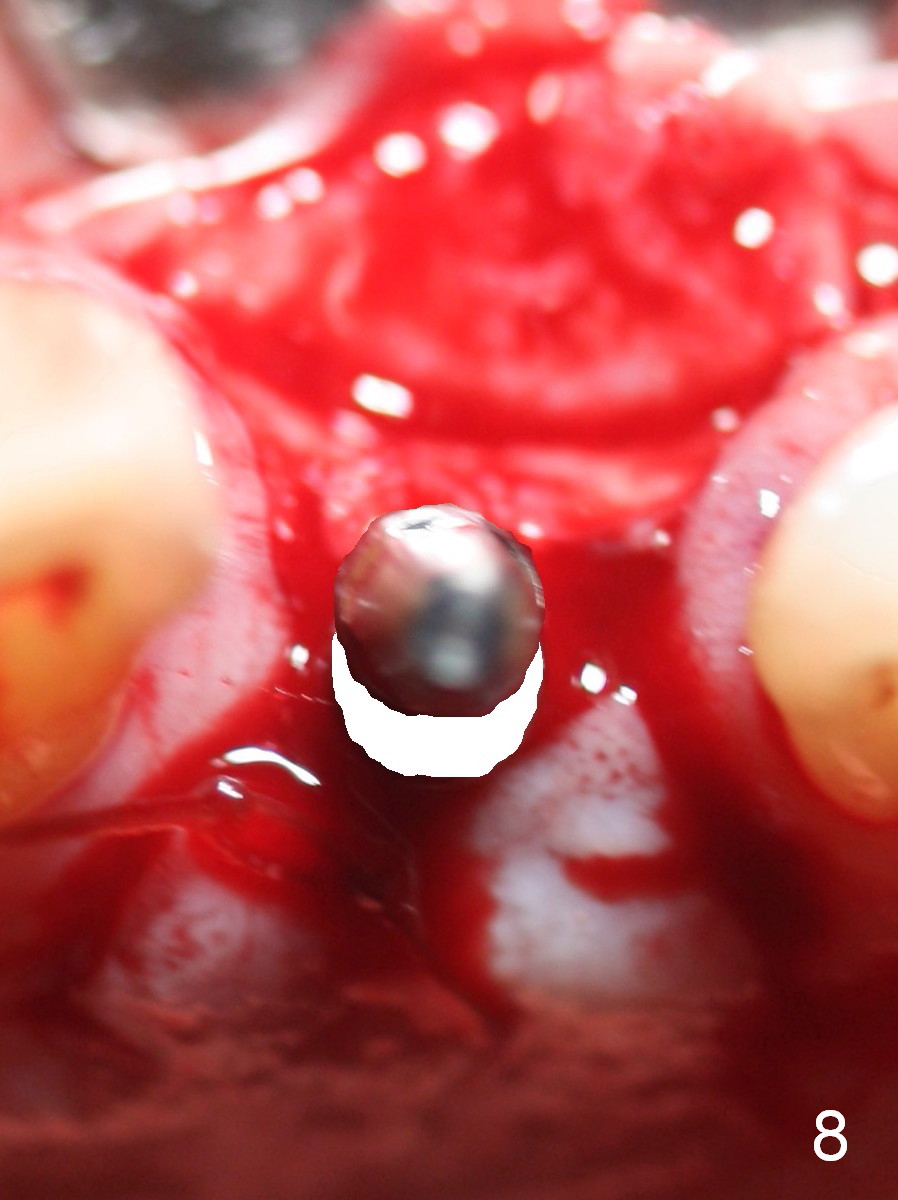
There are 2 methods to correct the position of the 1-piece implant for restoration: 1. use an angled implant; 2. as shows in Fig.5-8. Fig.5 is the magnification of Fig.4. With the malpositioned implant removed (Fig.6 white circle), use bur to make a notch in the palatal surface of the buccal plate (black area). The same implant is re-placed, exerting it against the buccal plate so that the seated implant may be more or less normal in position (Fig.8).
In fact, a surgical stent is used to check the position of a 1.2 mm pilot drill, which is barely correct. It is obvious when 1.5 and 2 mm pilot drills are being used, they are deviated palatally. It appears that the surgical stent should be used at each step, including when the implant is partially seated (when implant motor stalls). If the trajectory is not right, remove the implant, make a notch in the buccal plate and reseat the implant in a more ideal position. It would be the best to try in a used straight 1-piece implant initially. If the trajectory is questionable, use an angled implant.
Asking the history of a missing anterior tooth (position) and checking occlusion prior to surgery are equally important to avoid surgical and restorative complications. In fact the patient does not recall what the tooth's position was prior to extraction.
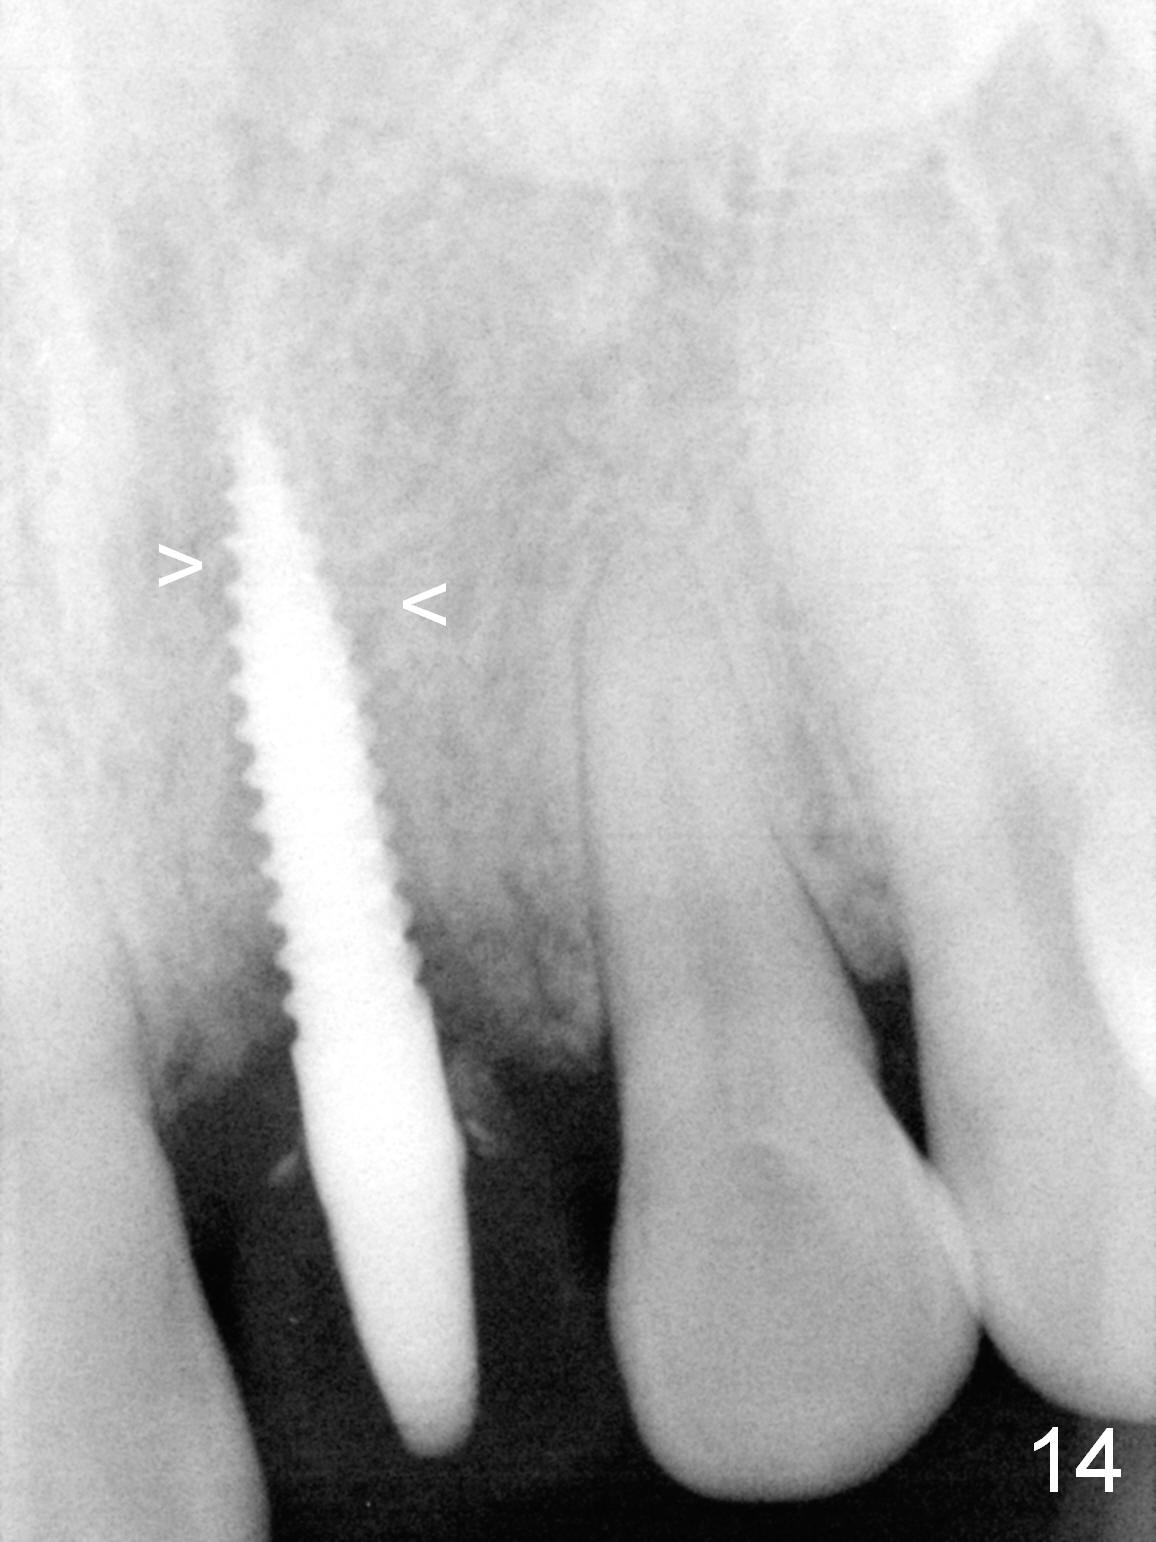
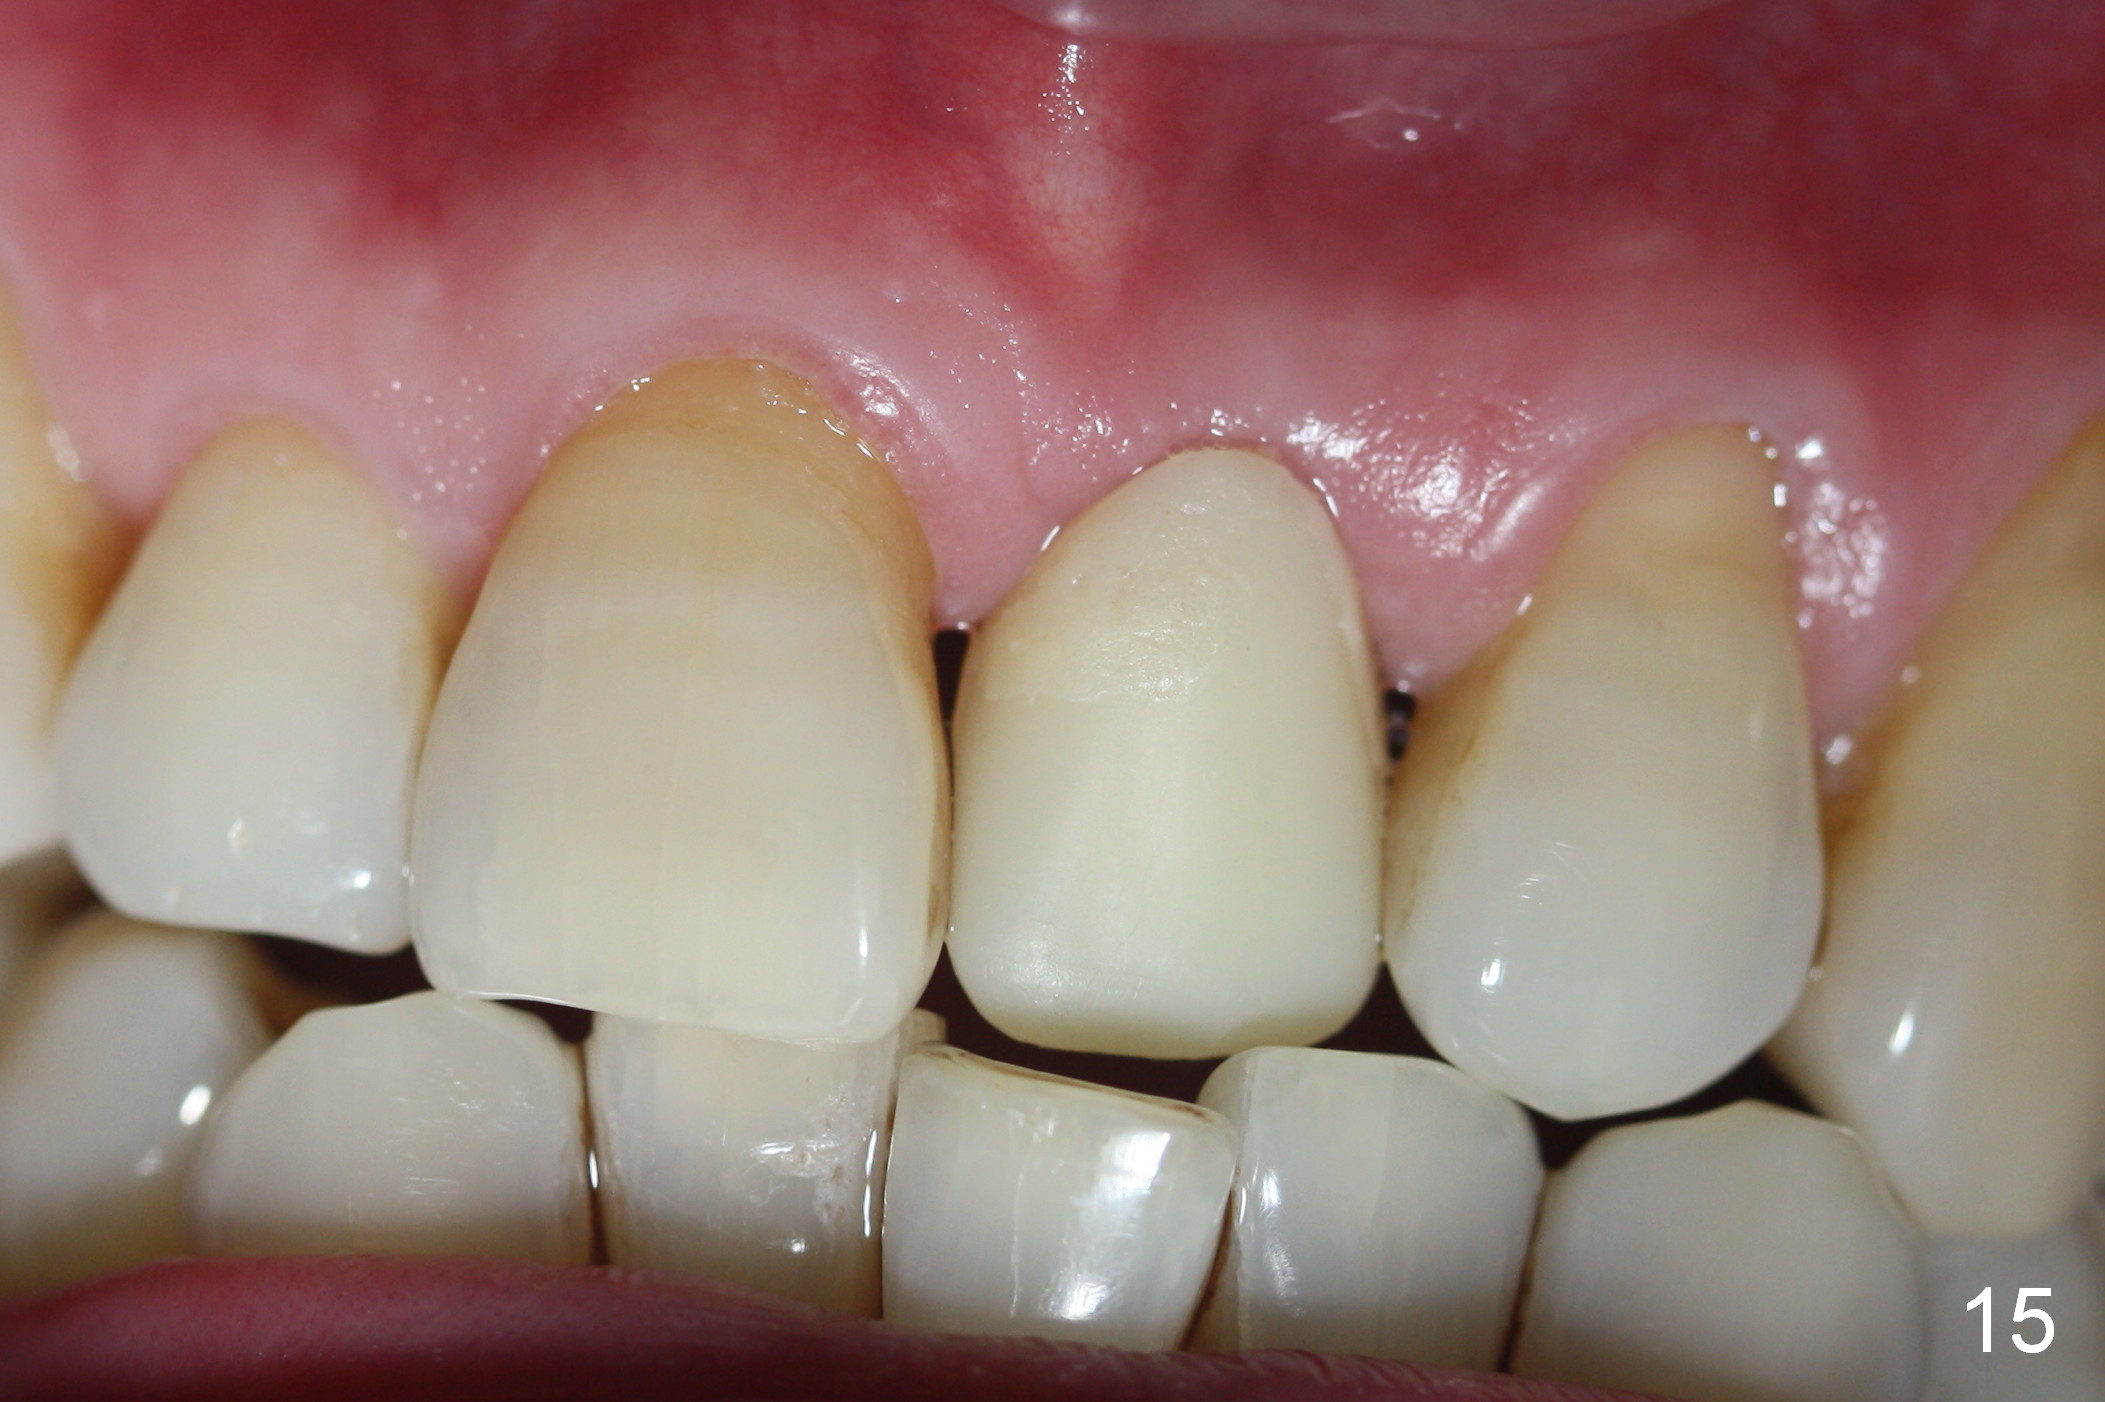
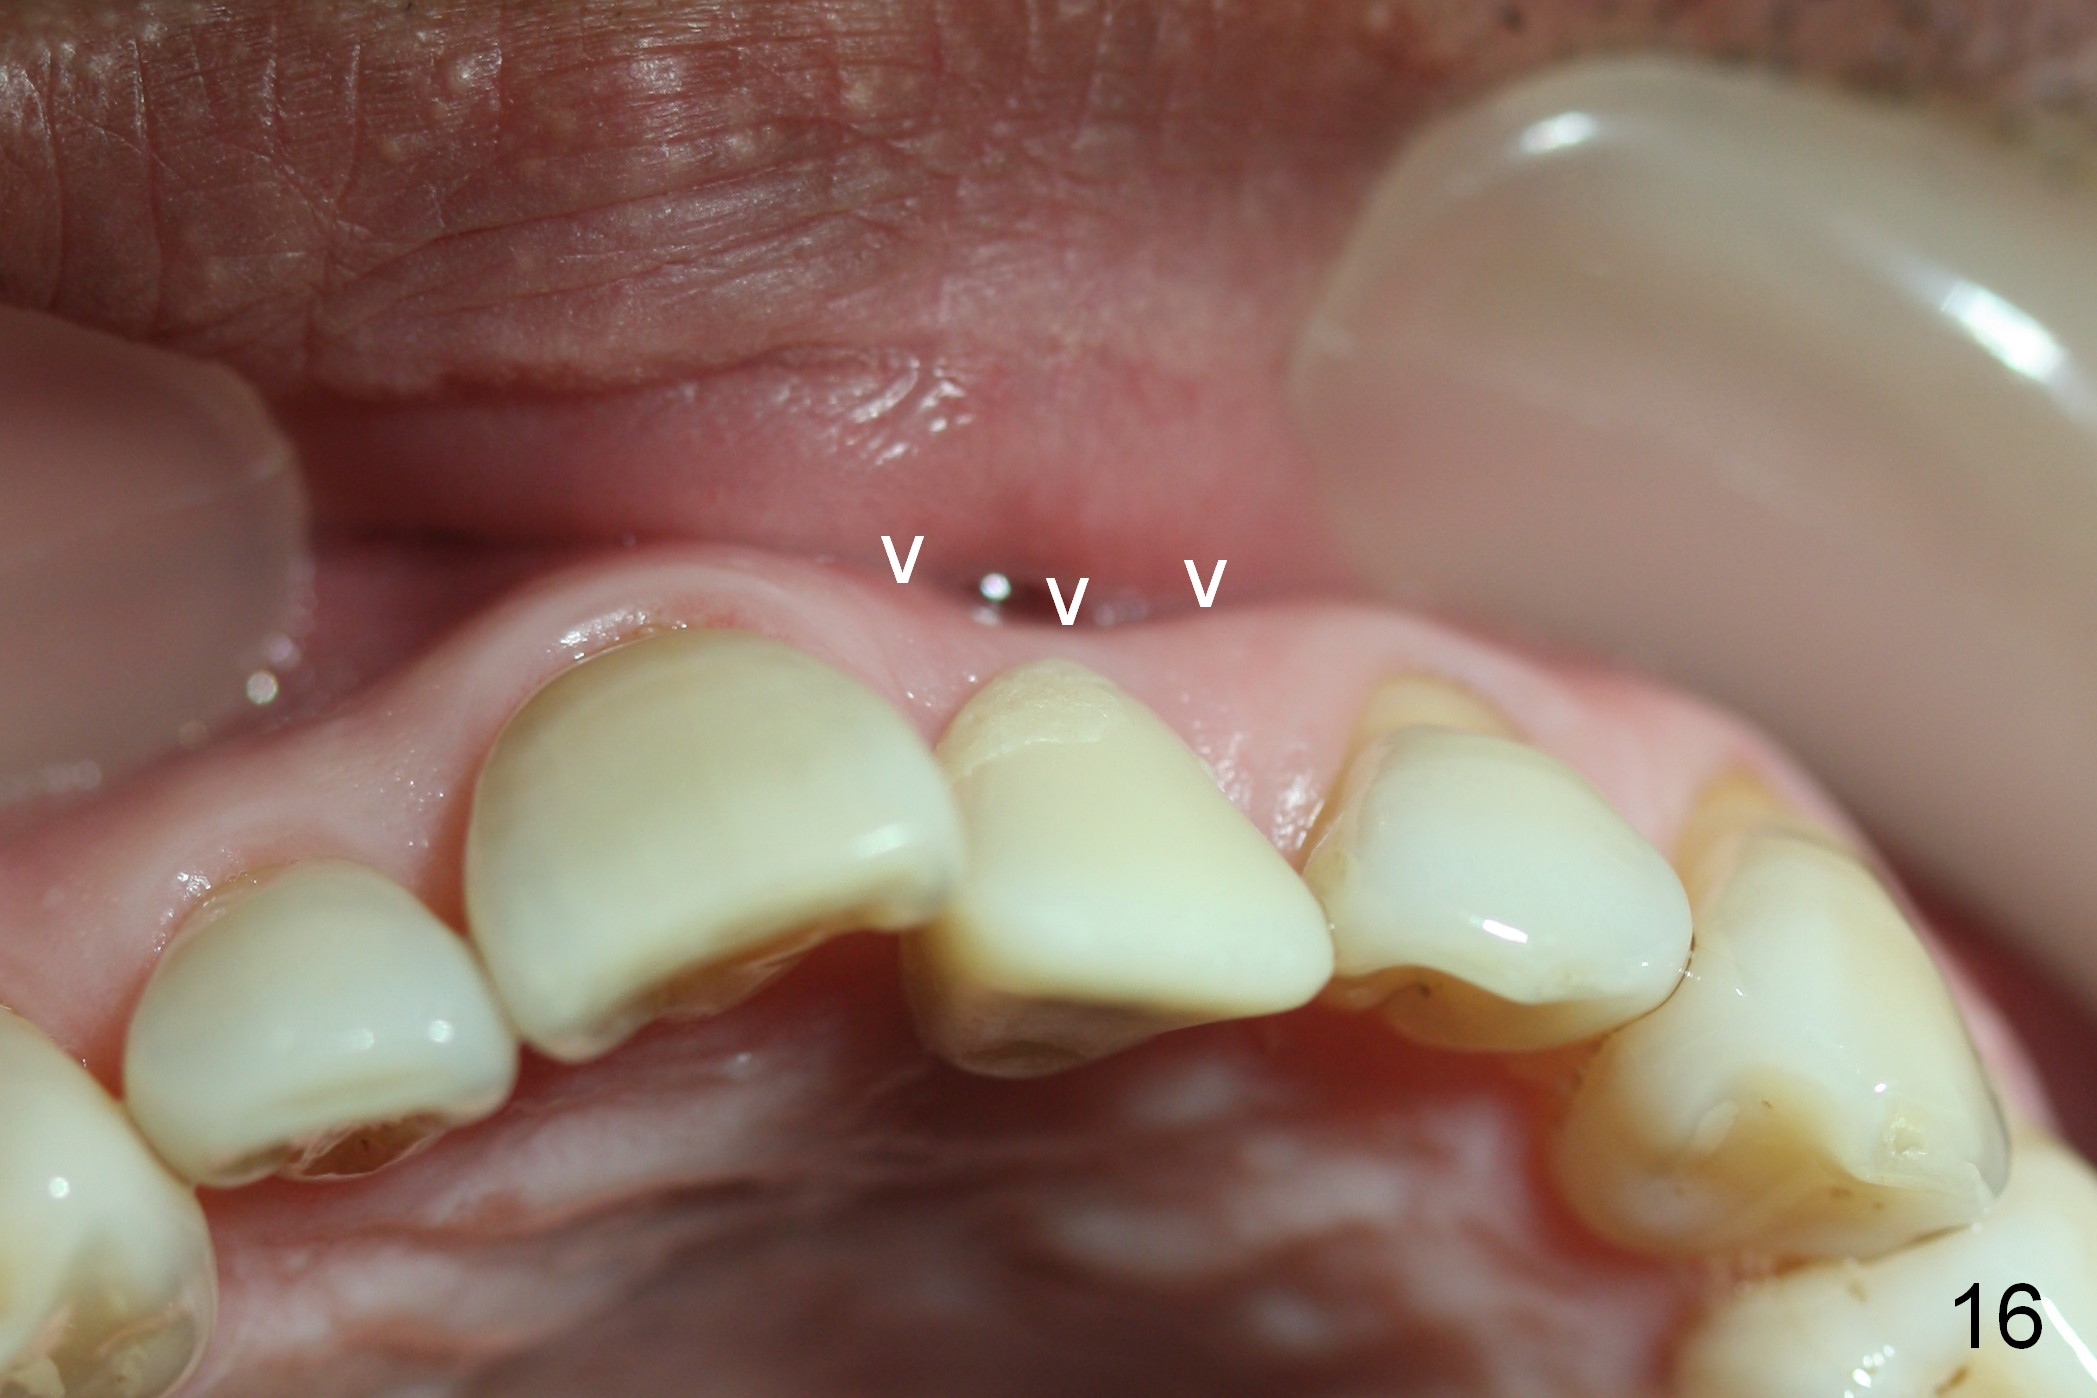
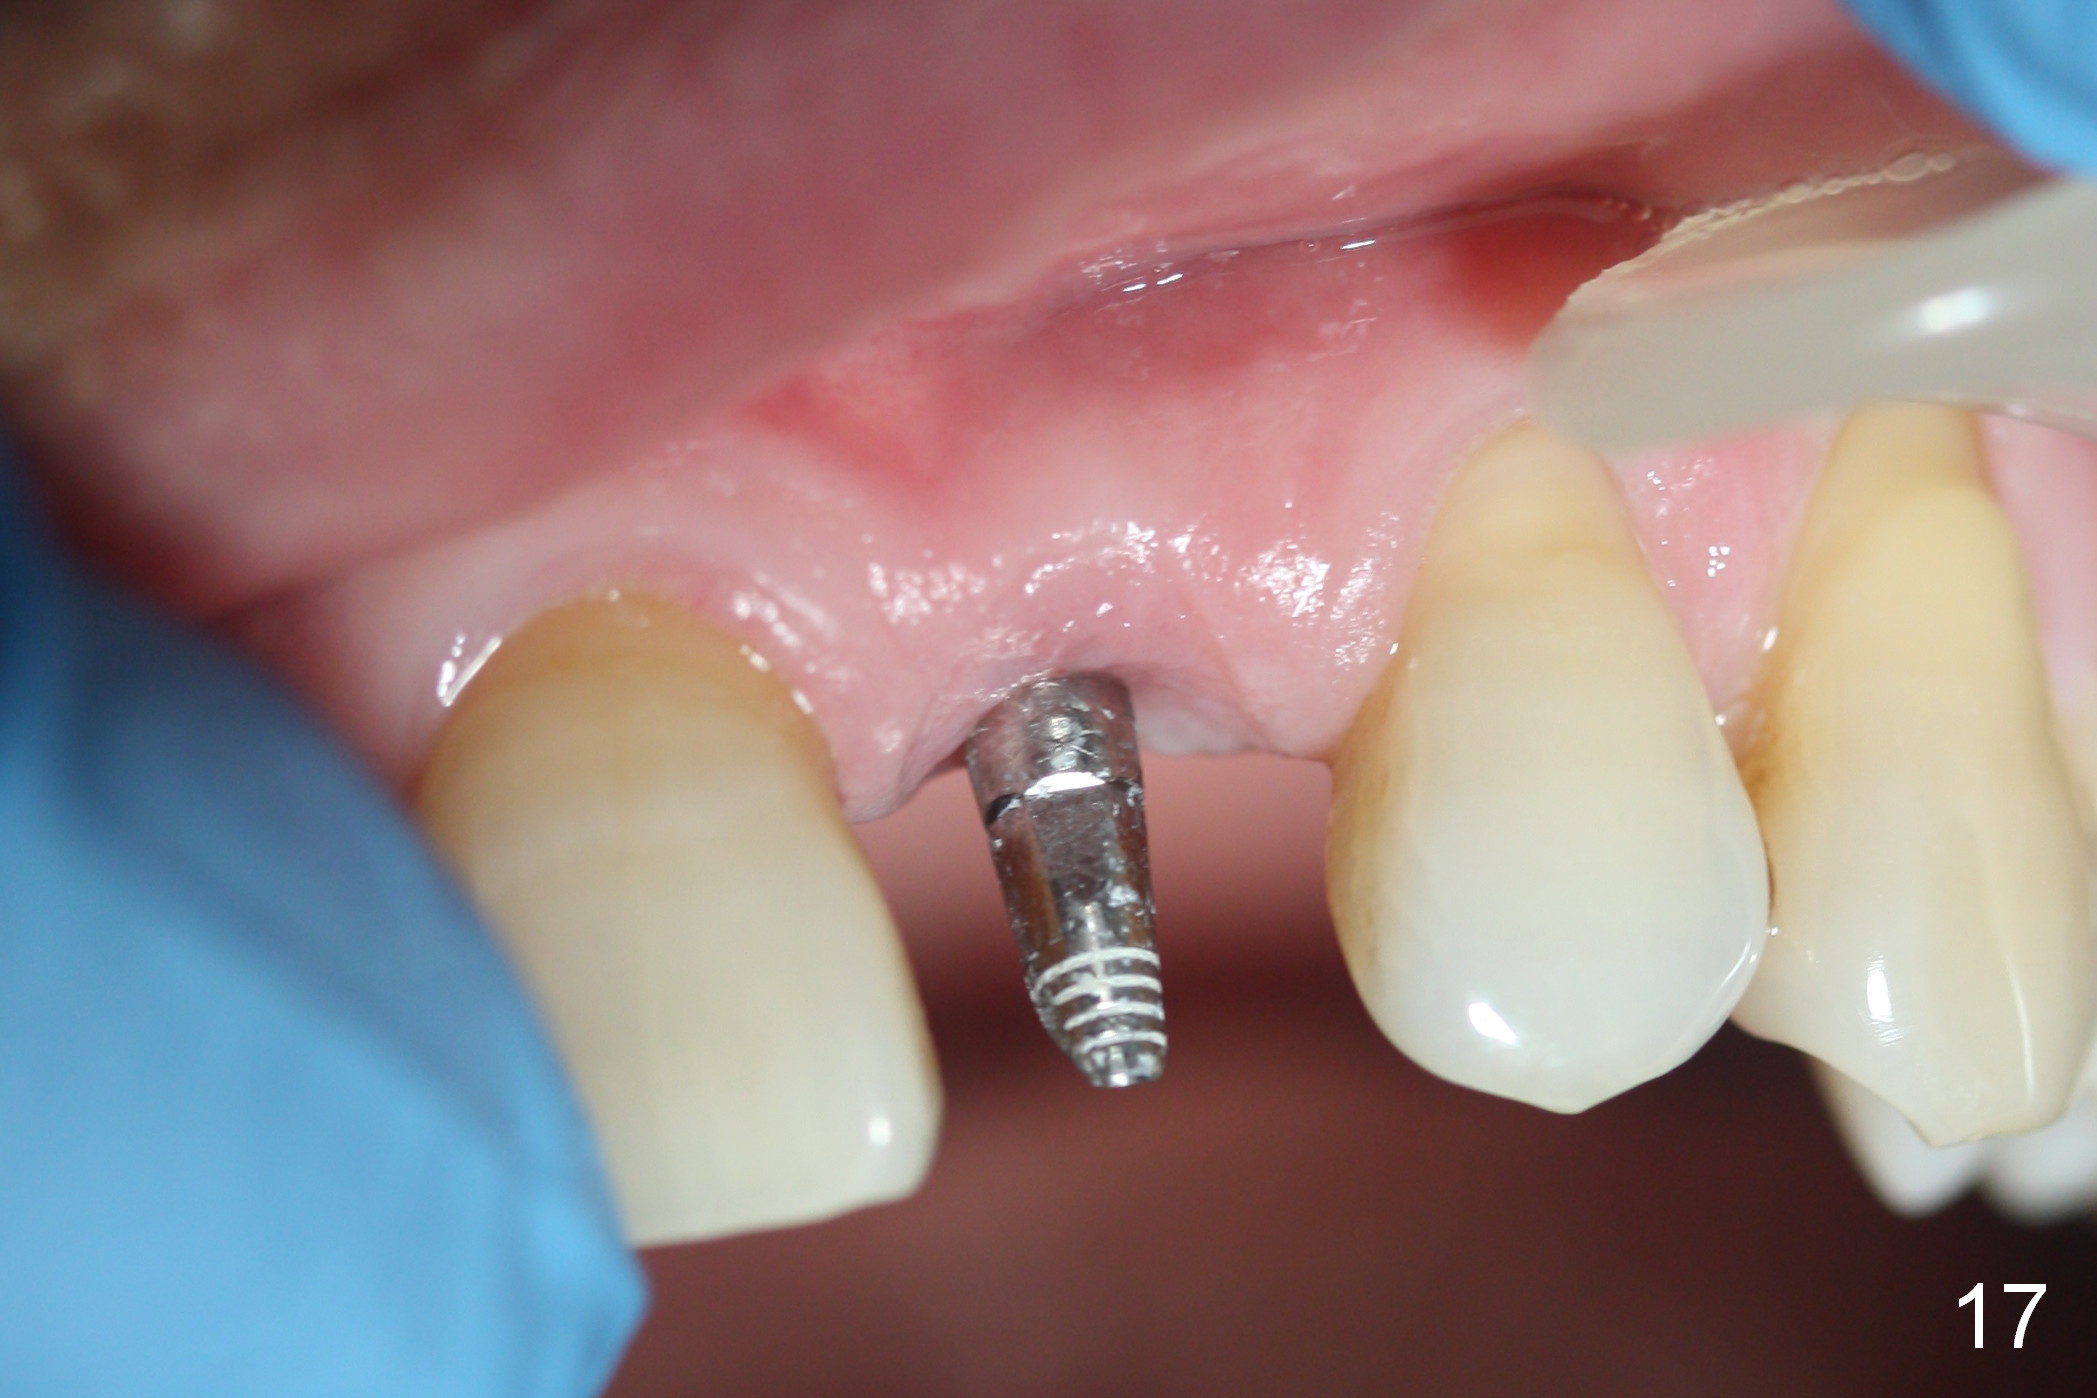
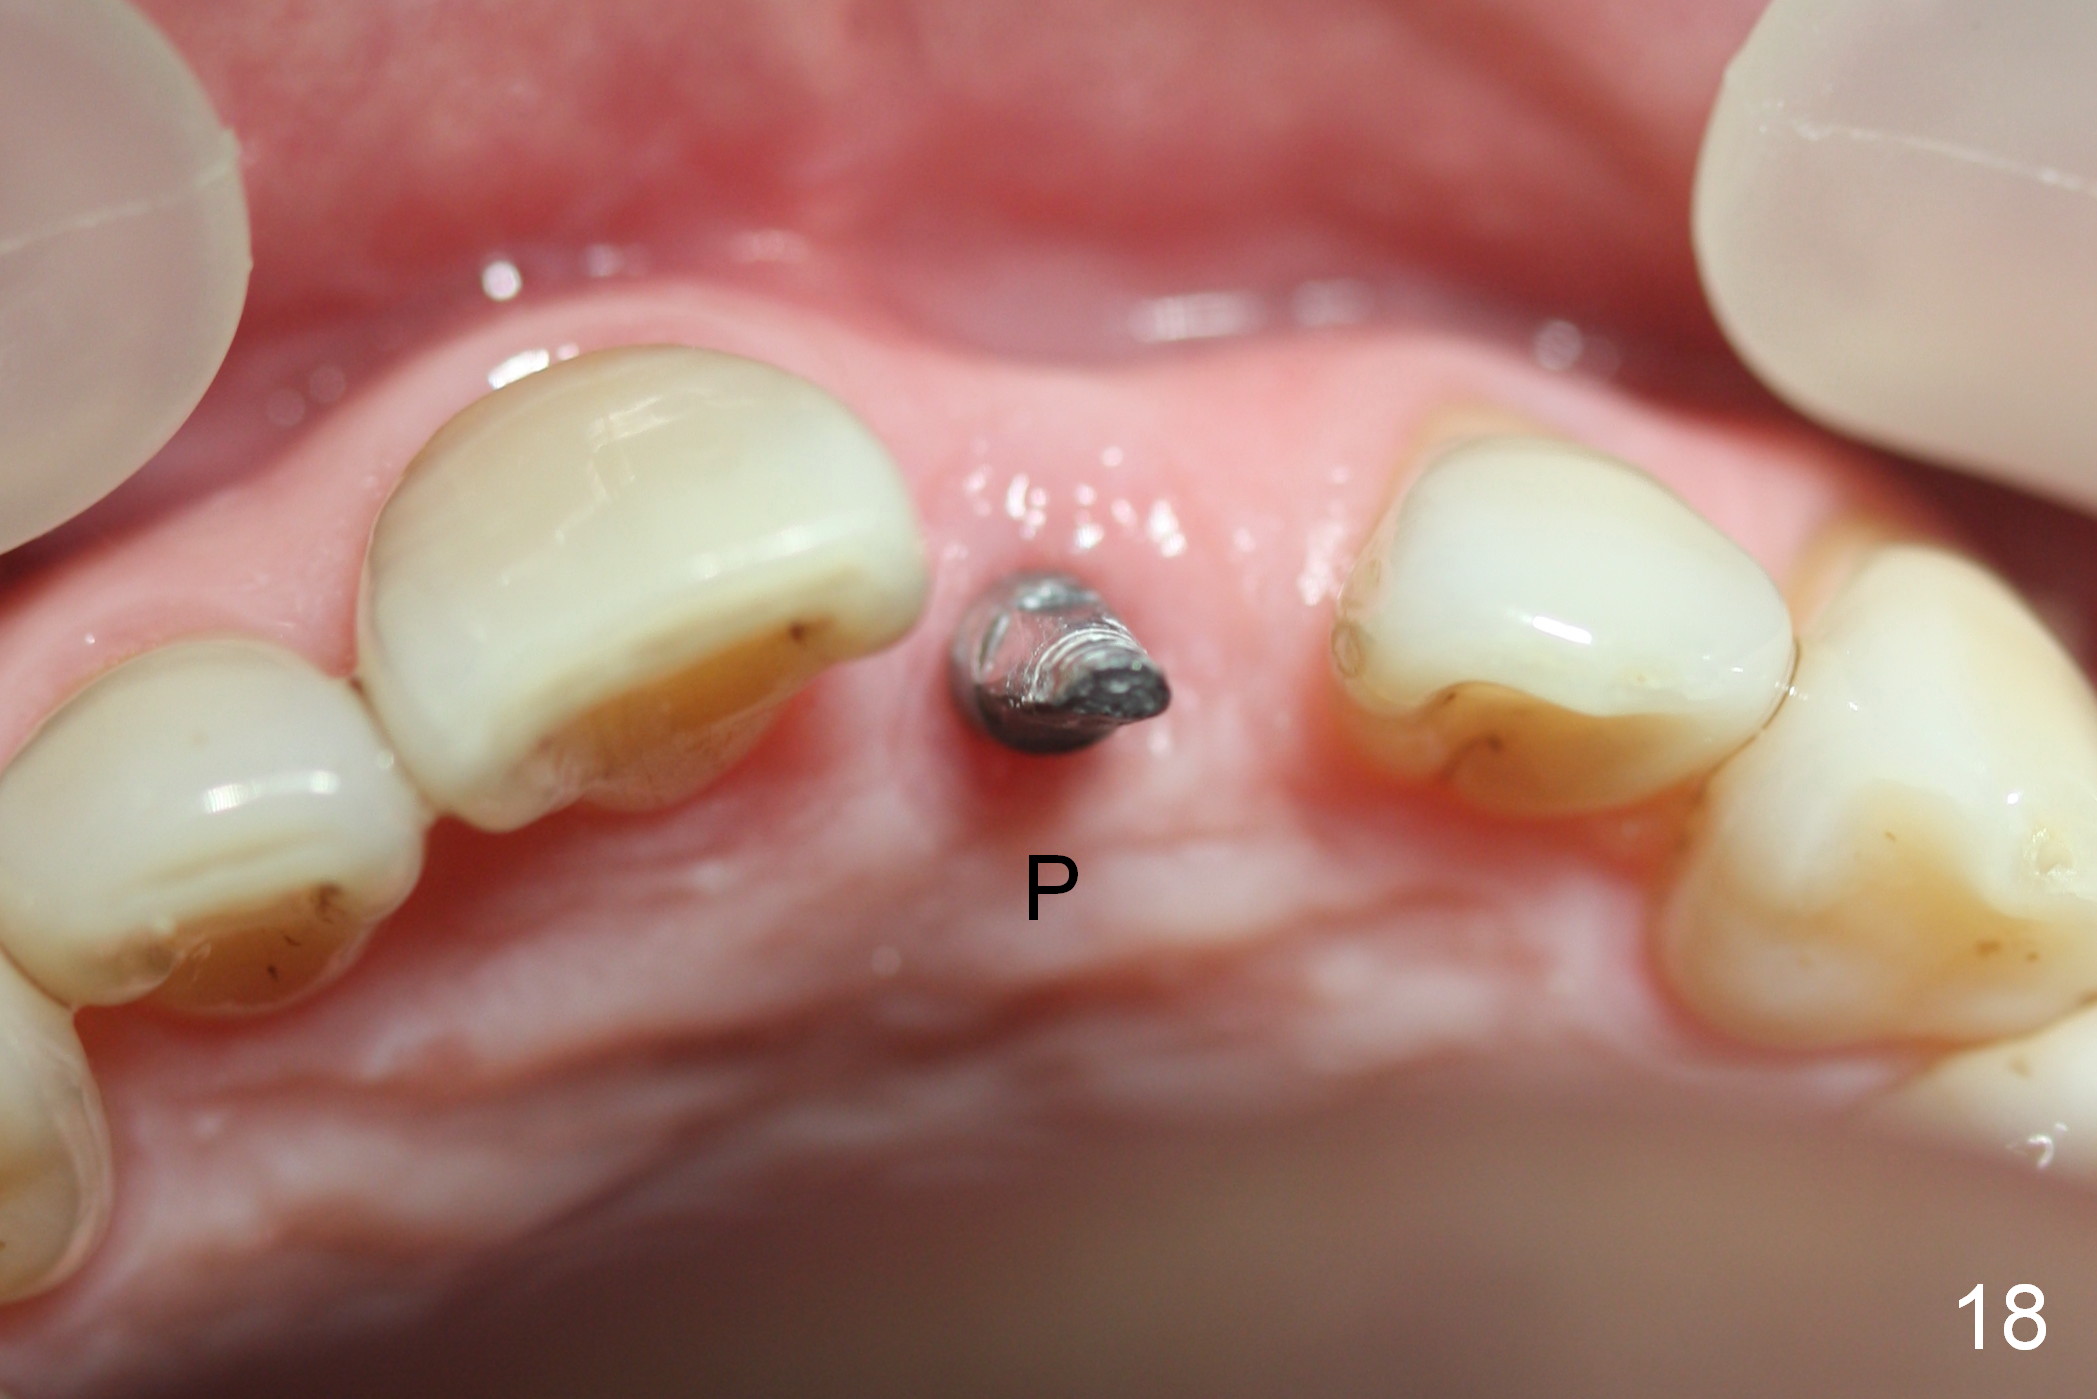
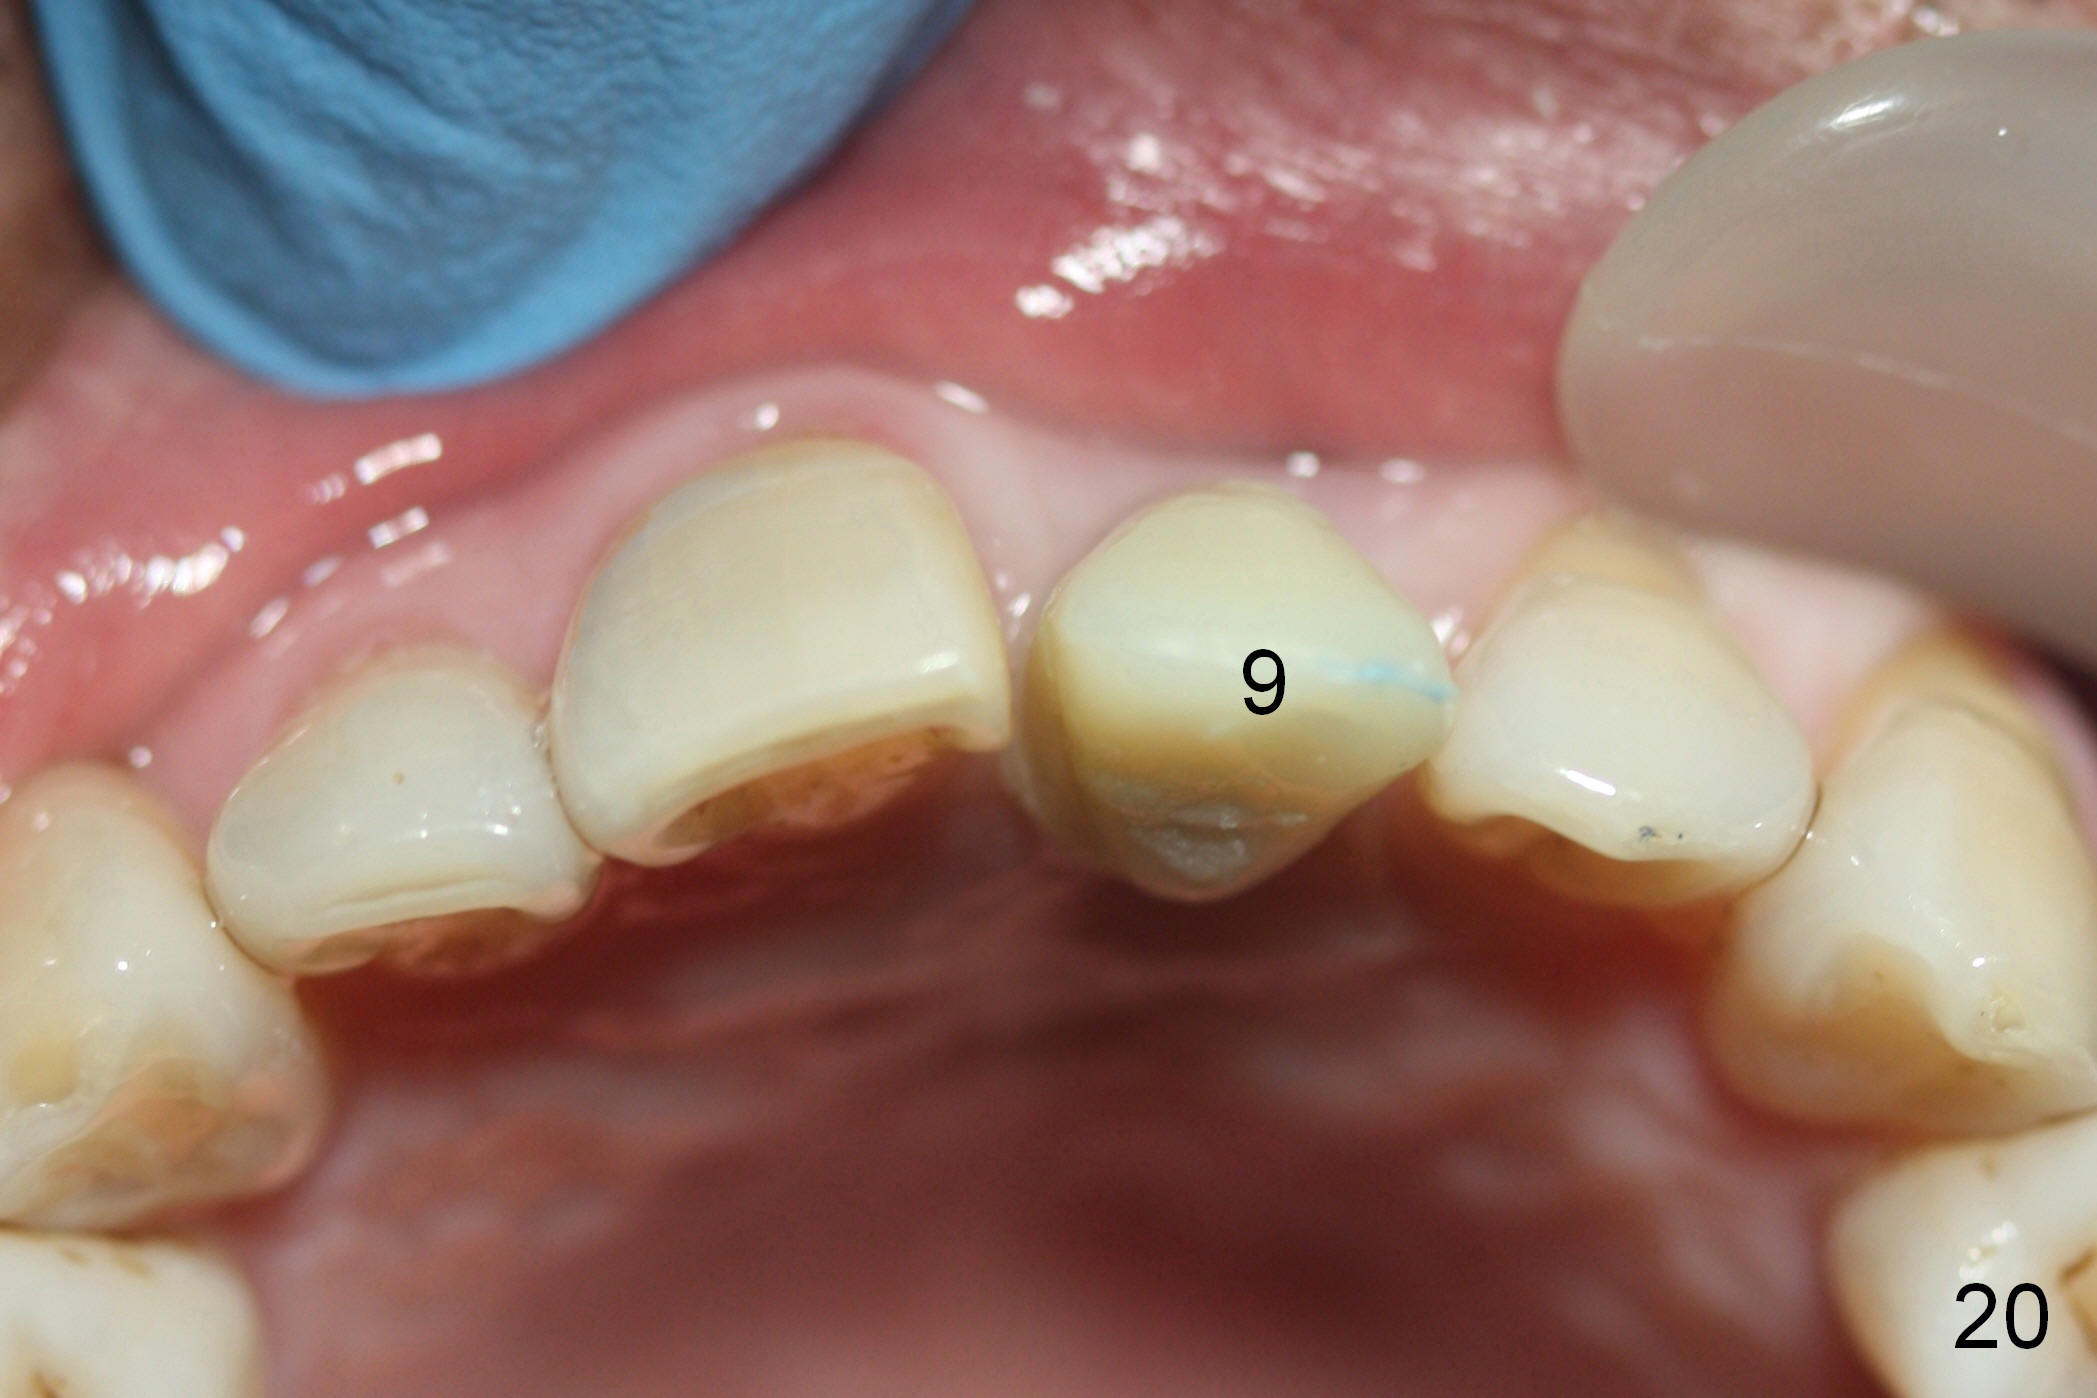
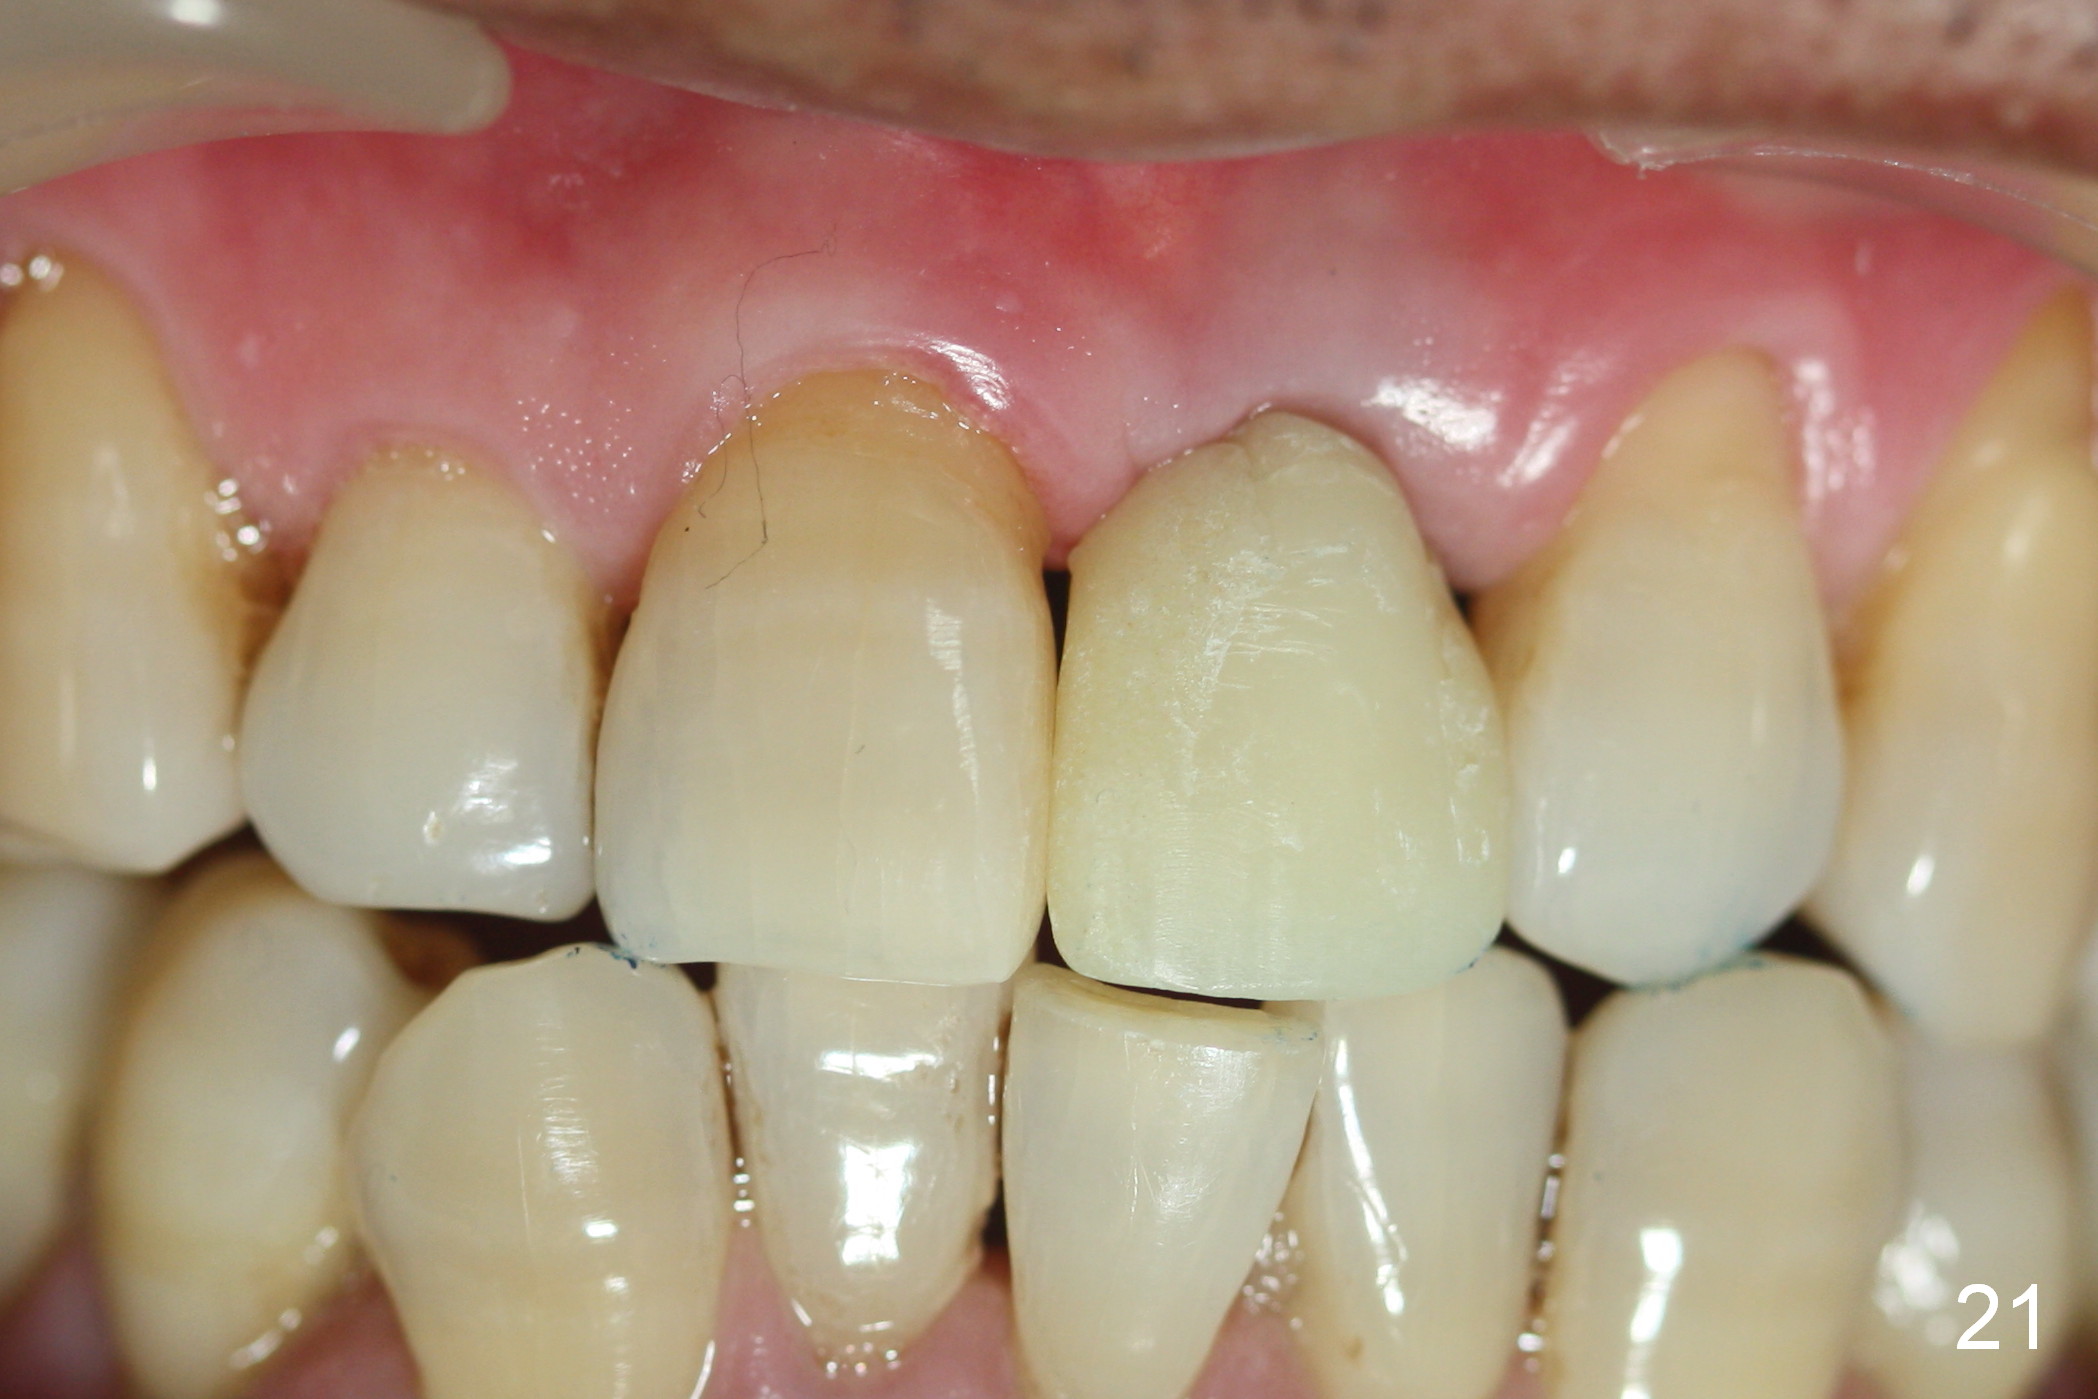
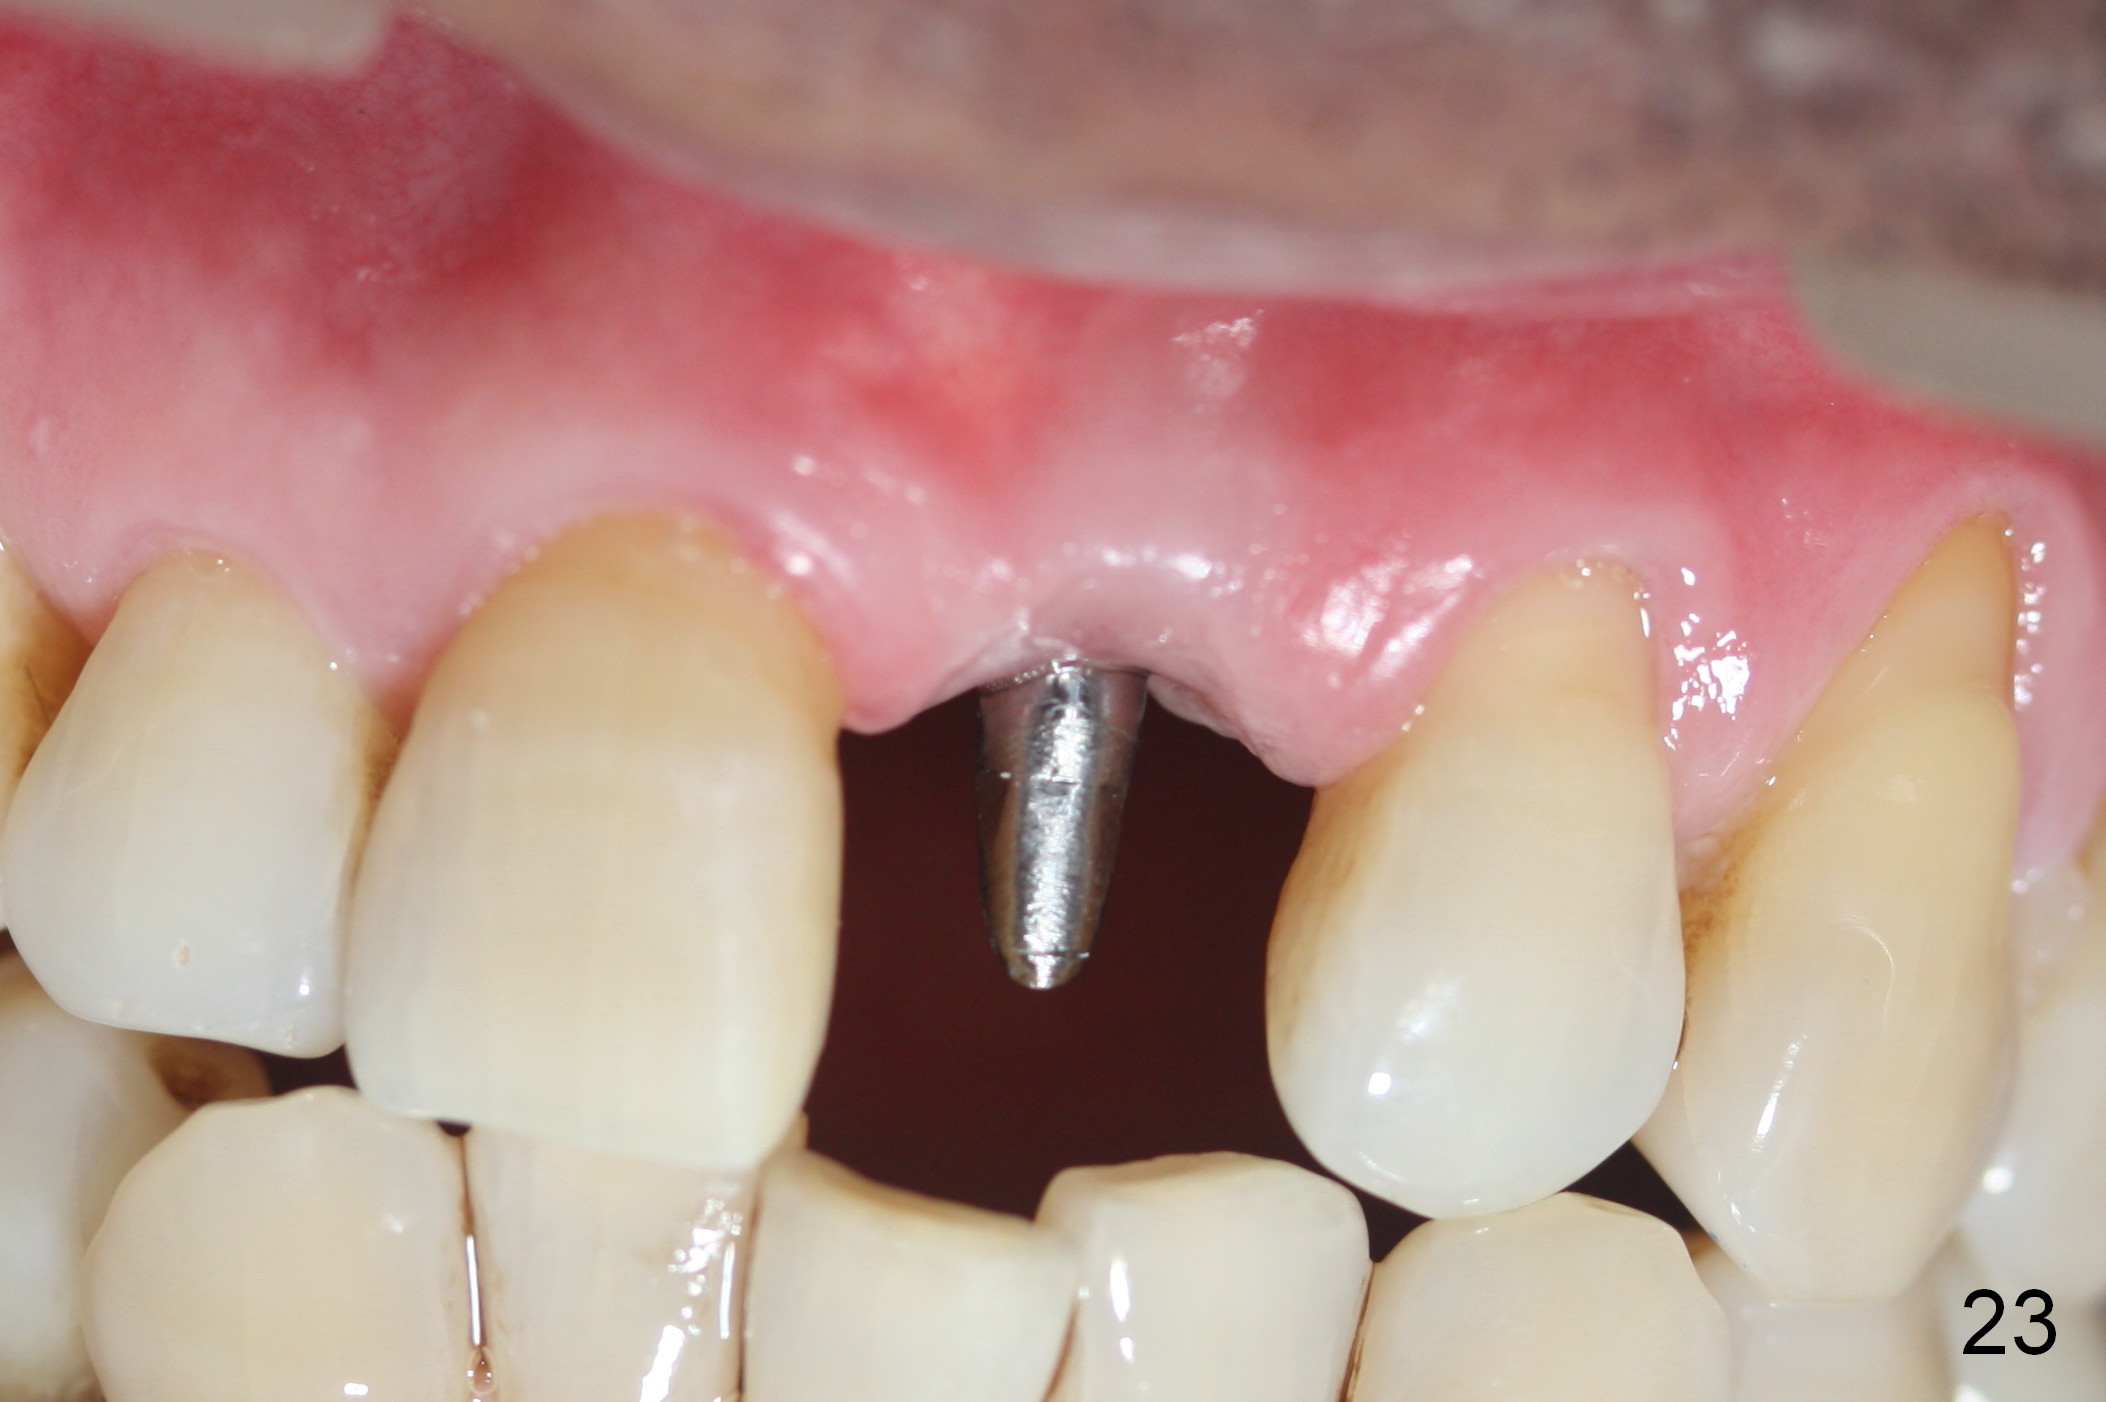
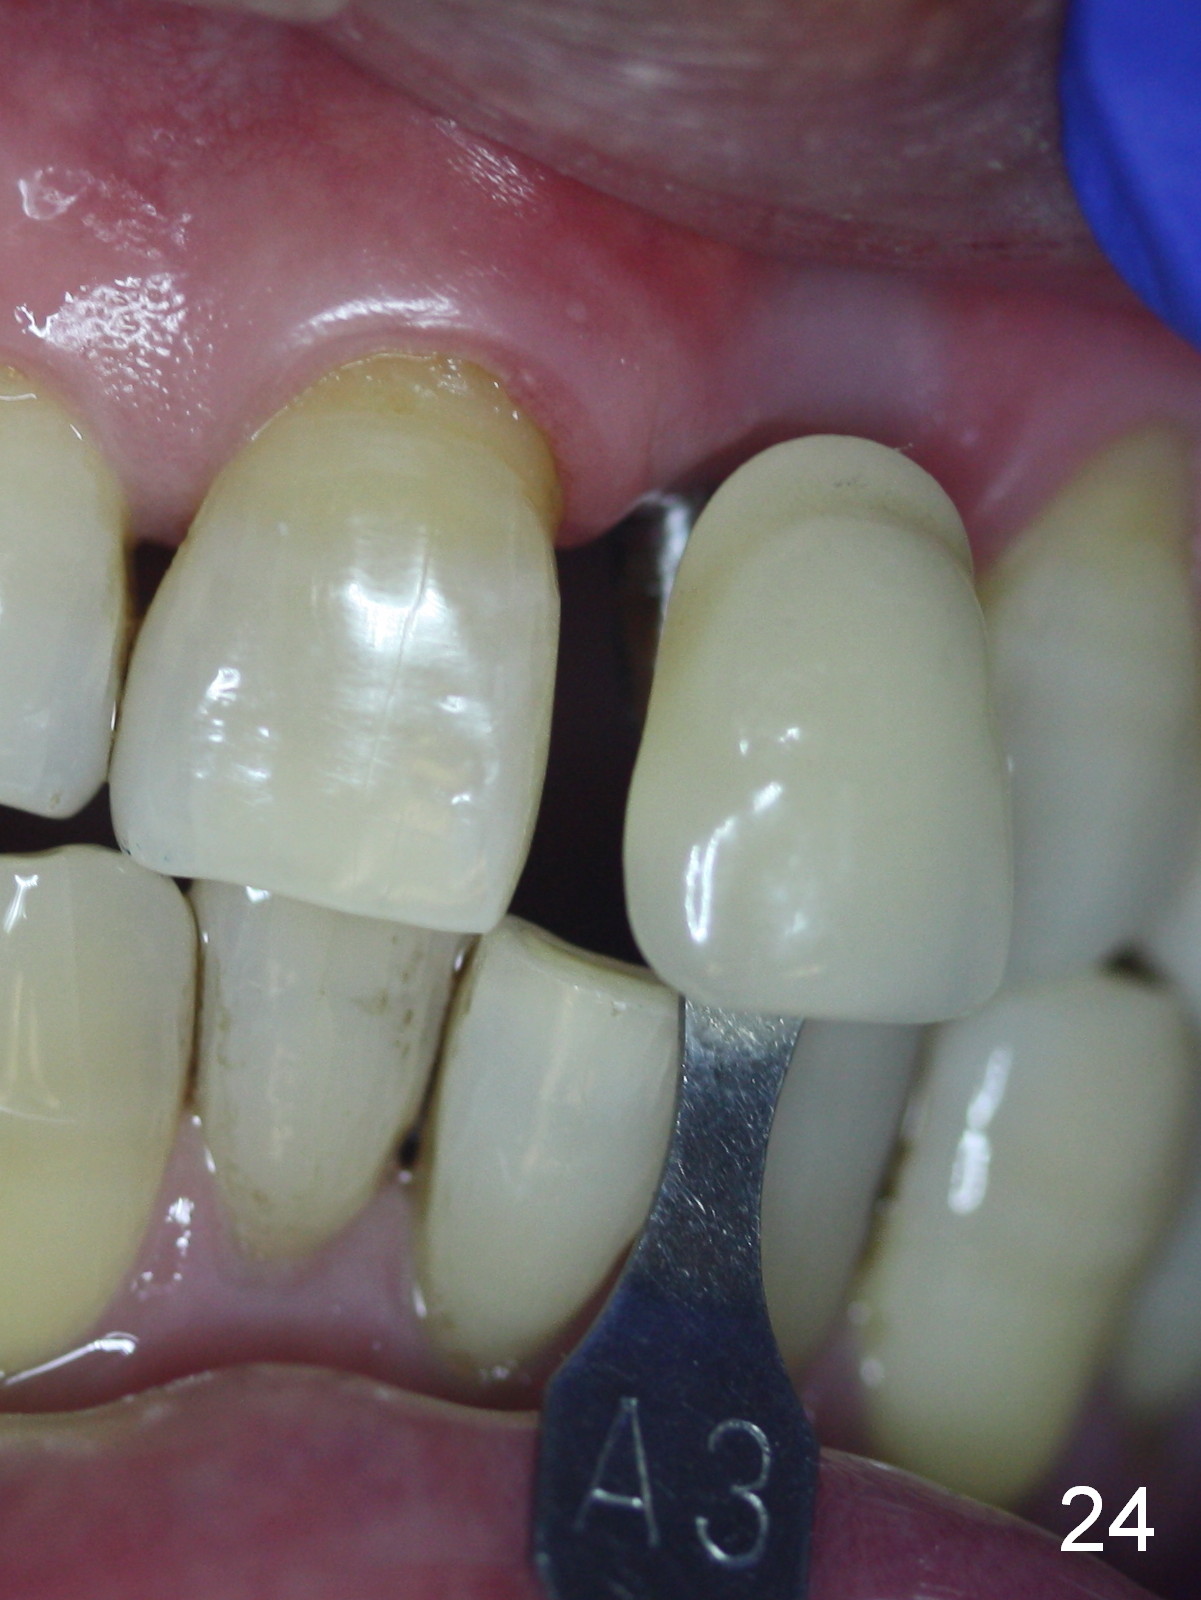
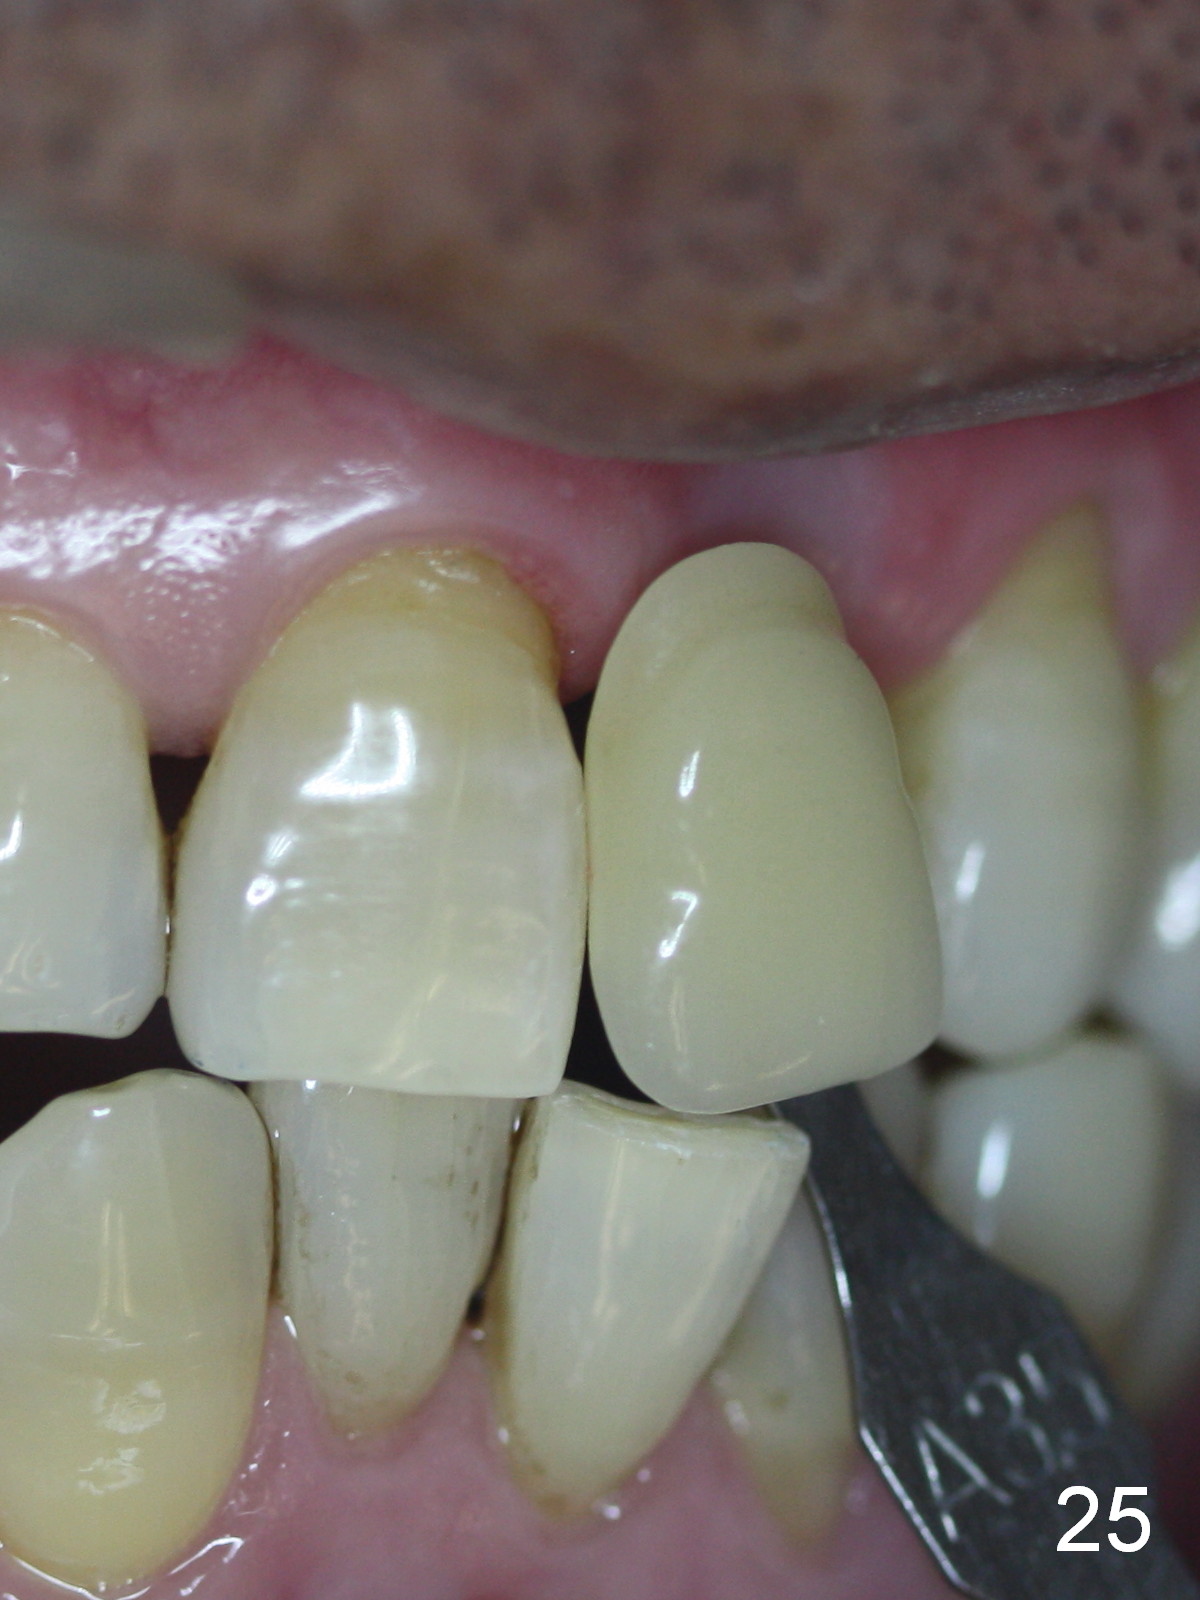
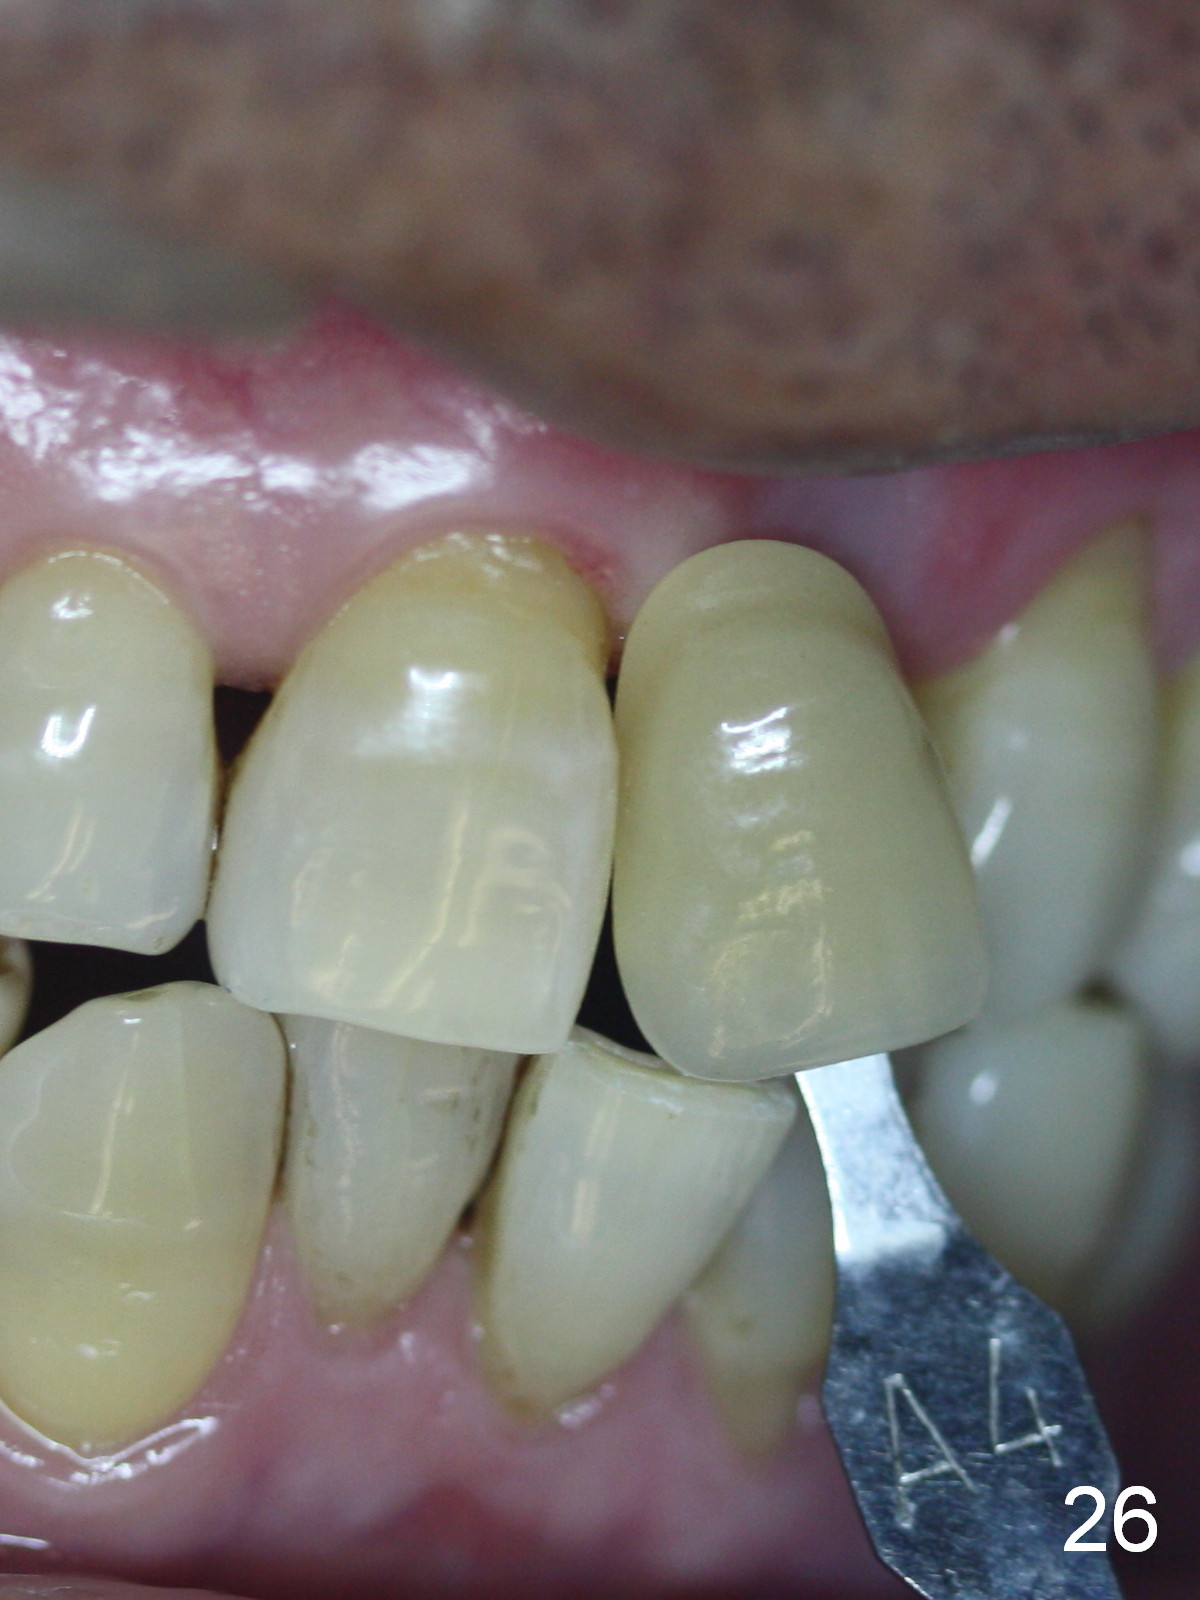
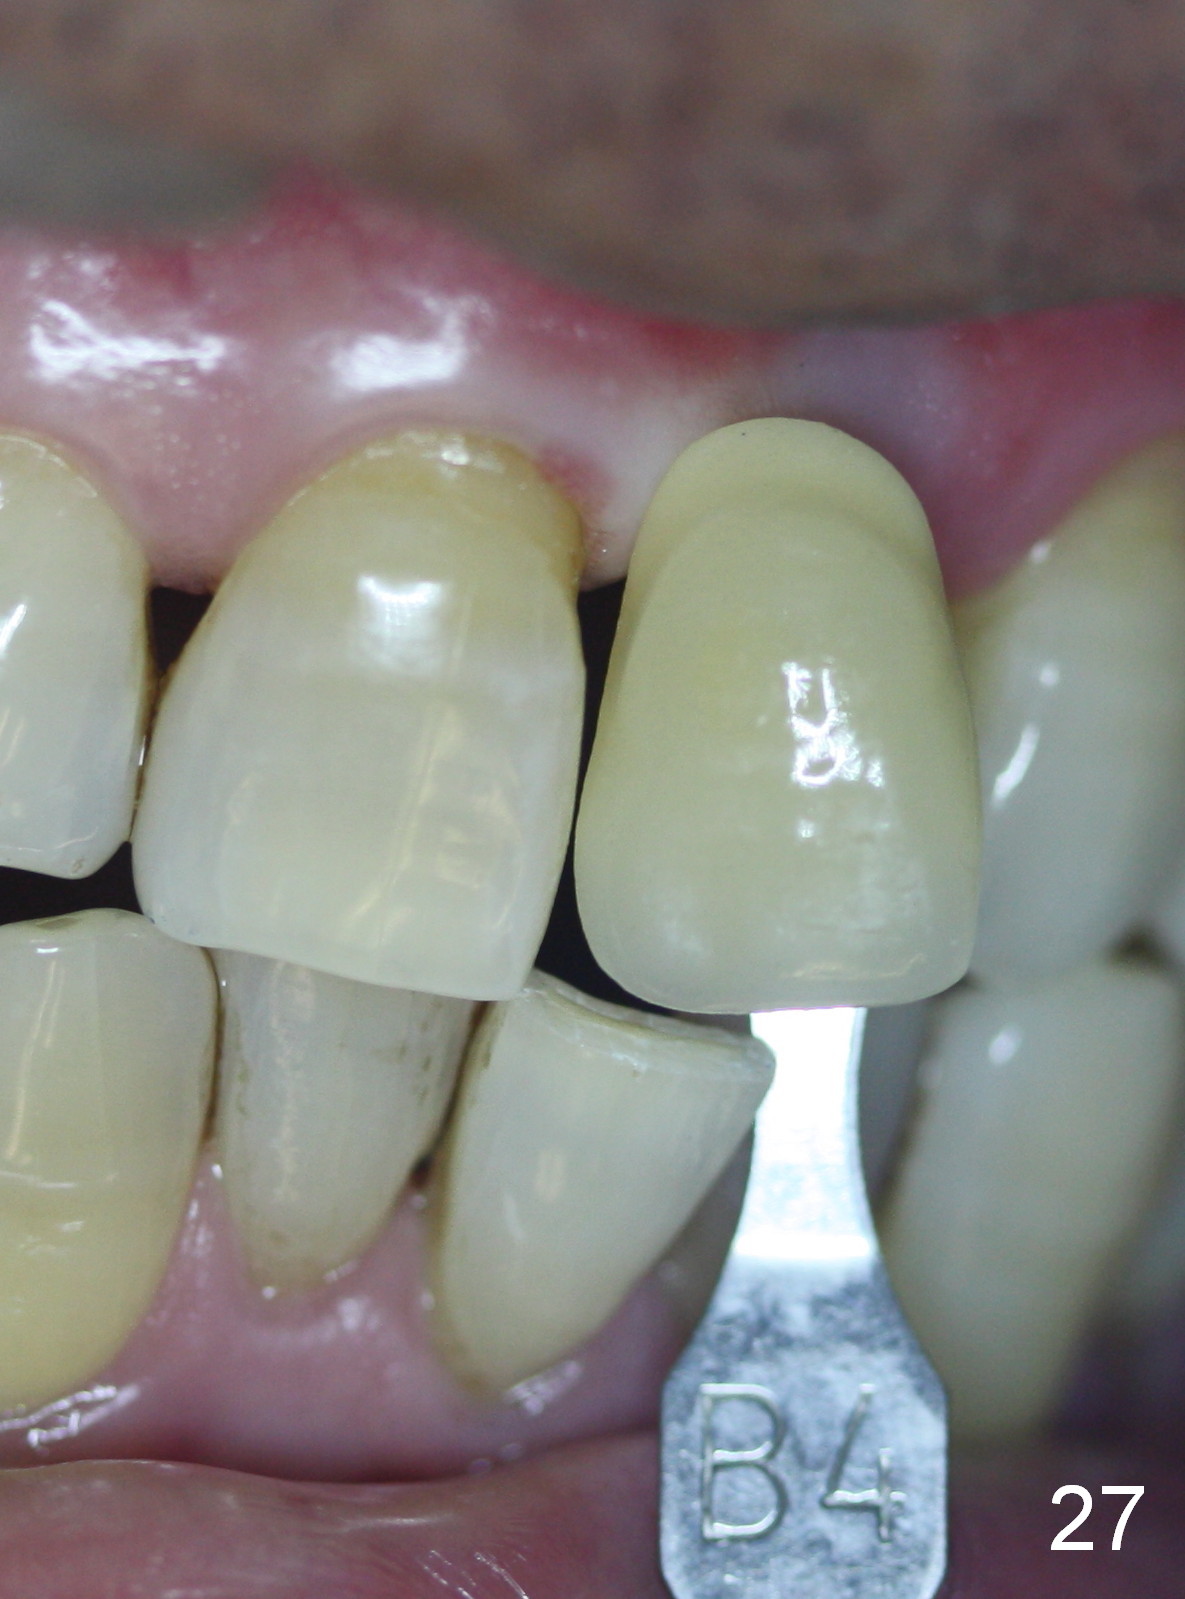
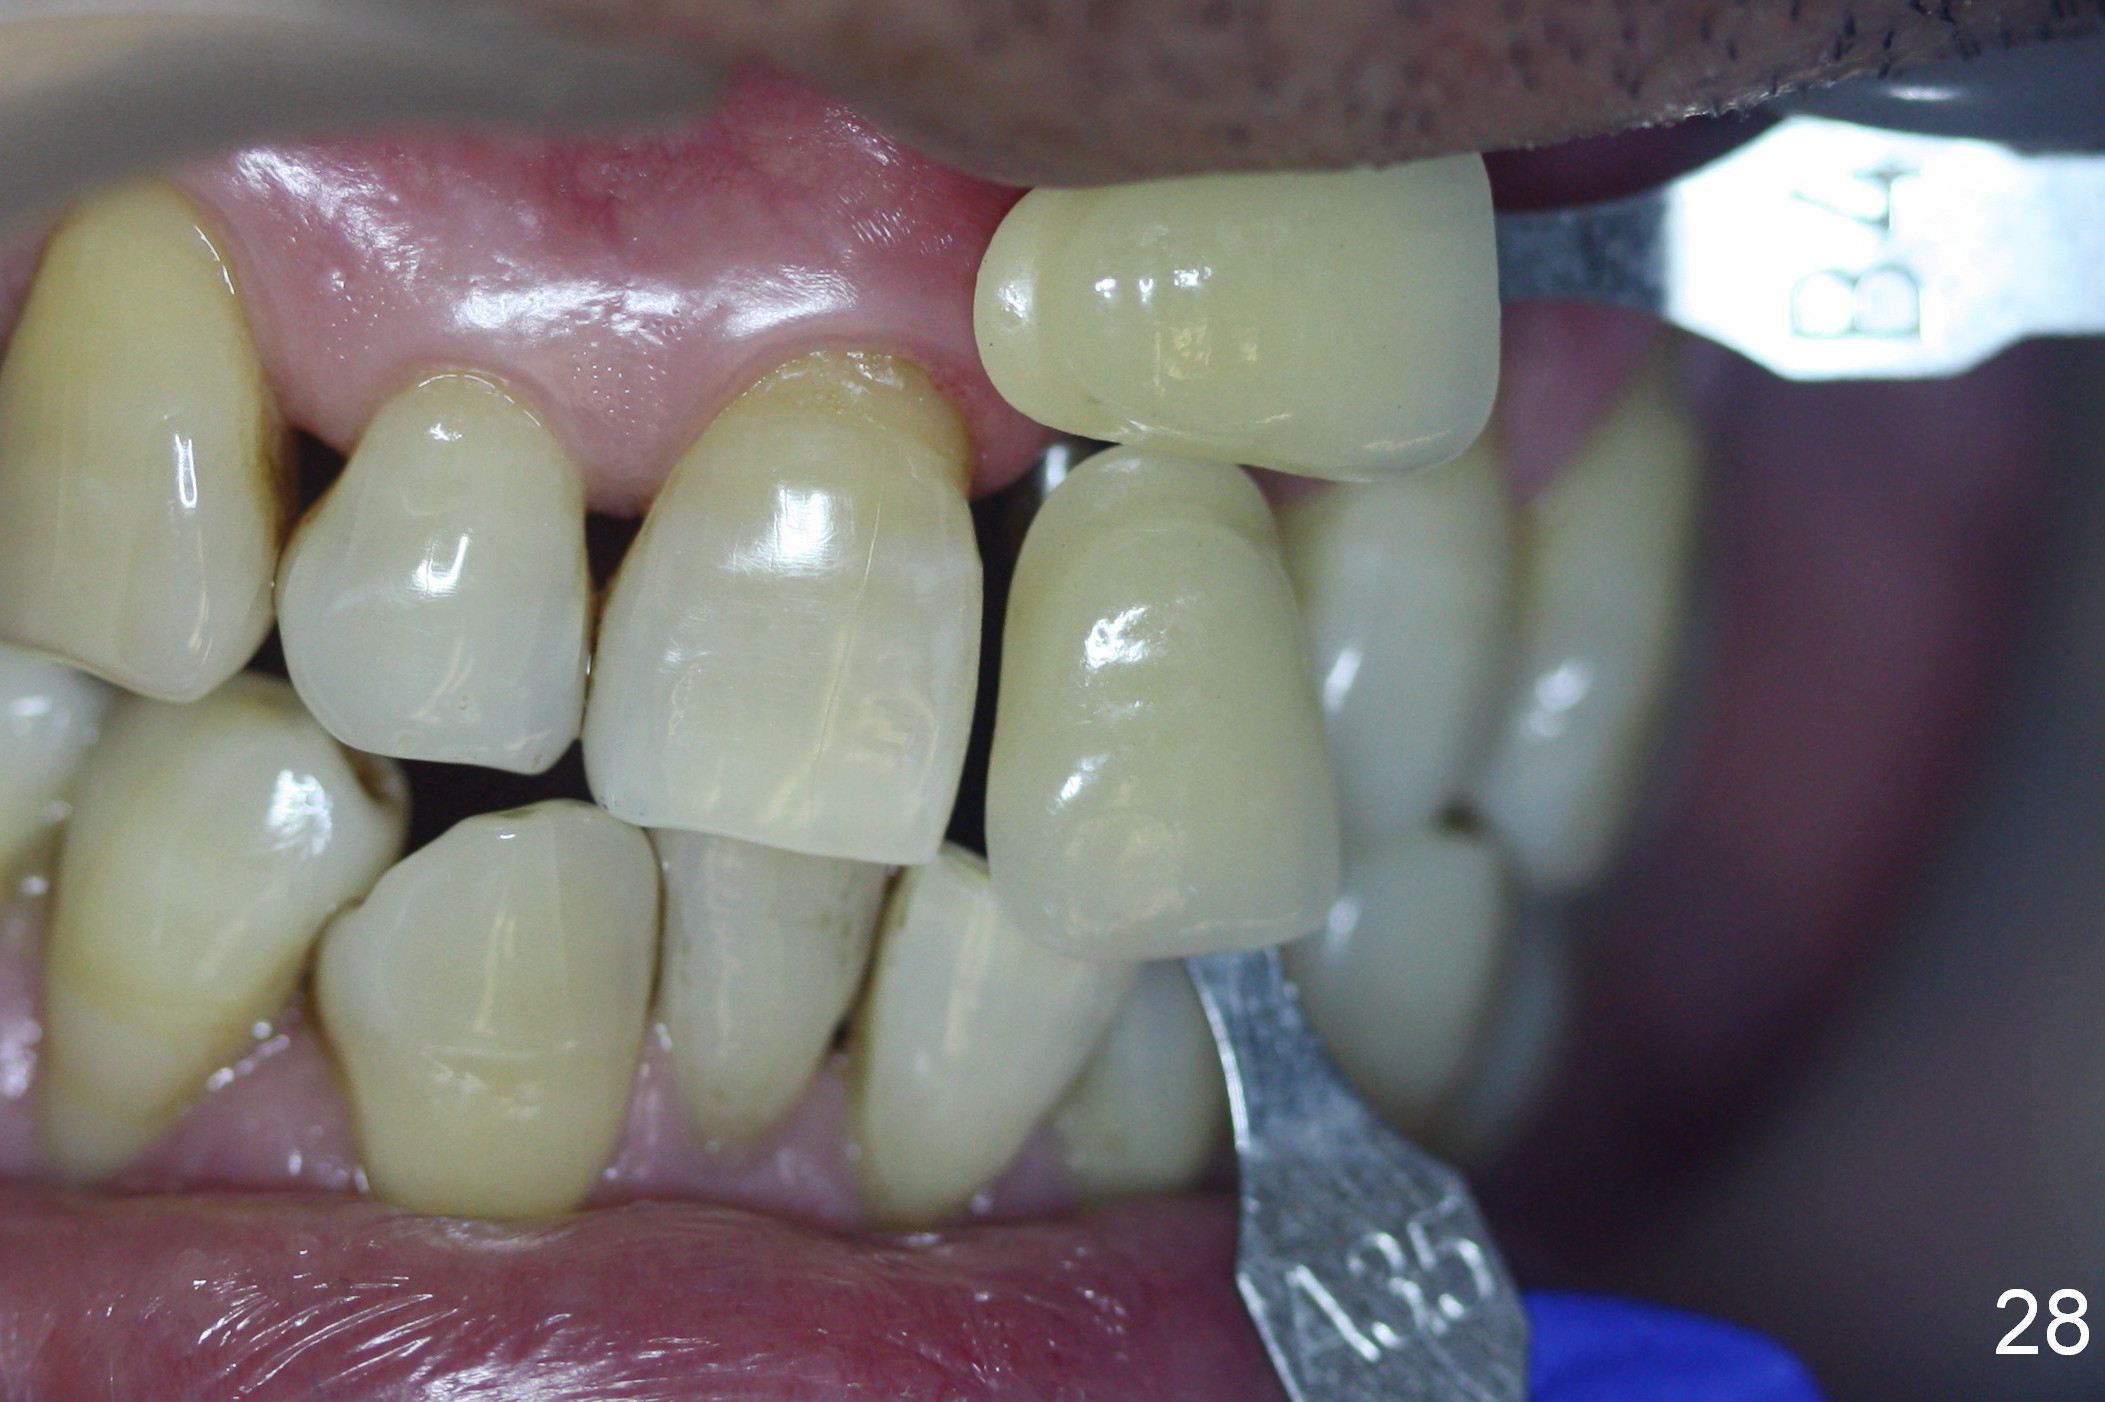
Two months postop, peri-implant space remains (Fig.14 arrowheads, as compared to Fig.2); the provisional and implant are stable. The patient returns for final restoration impression 3 months postop (Fig.15). The buccal atrophy remains the same (Fig.16). The gingiva is healthy buccal (Fig.17) and palatal to (Fig.18 P) the implant. After adjustment of the abutment (Fig.23), a new provisional is being fabricated (Fig.19). It is difficult to establish edge-to-edge relationship as planned (Fig.13); the normal bite is being set up. It appears that the mesiodistal width is narrower than the counterpart (Fig.20). After enamolplasty on the meisal surface of the tooth #8, the new provisional has increased dimension, probably too much a little (Fig.21,22). The final crown should be fabricated in a way that the tooth looks "skinny". Analysis of Fig.24-28 shows that the best shade combination is A3.5/4 (for body) and B4 (for gingiva).
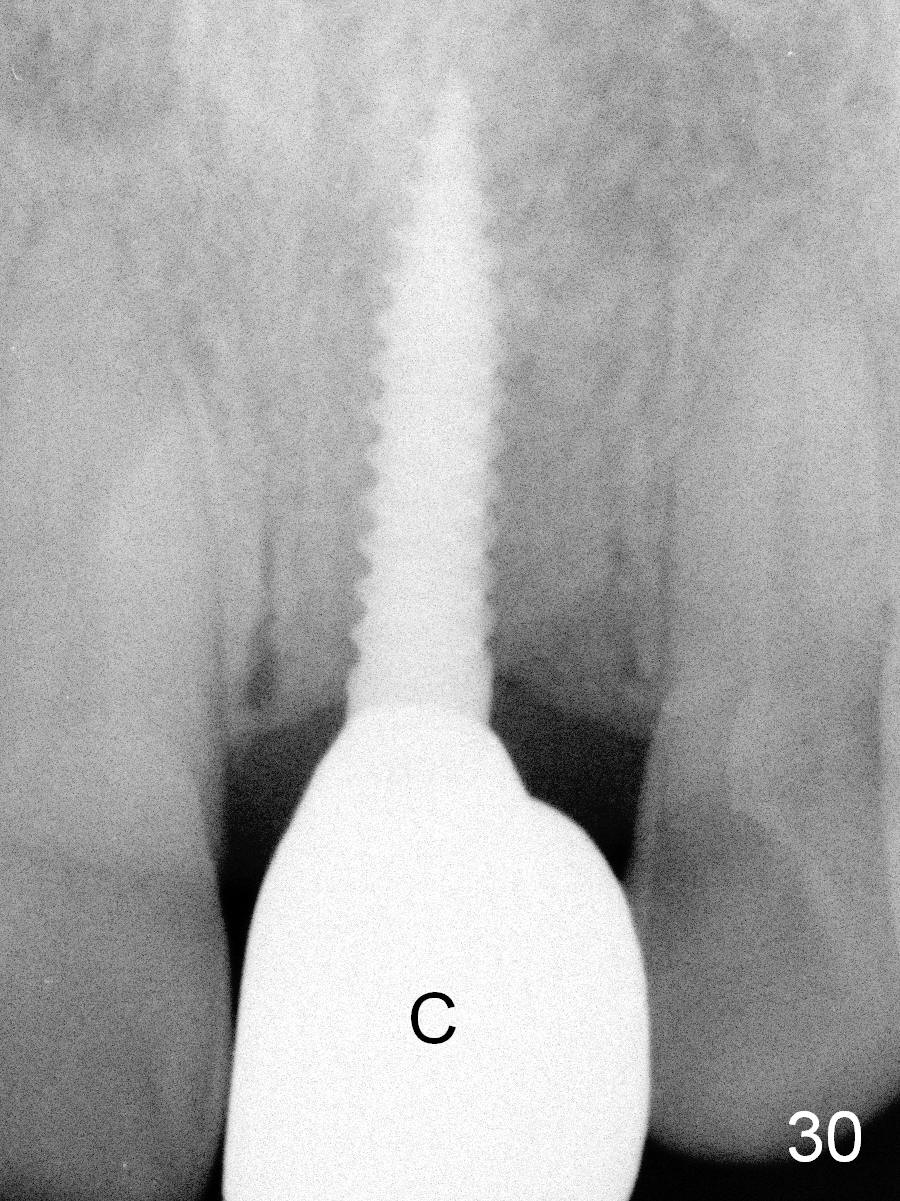
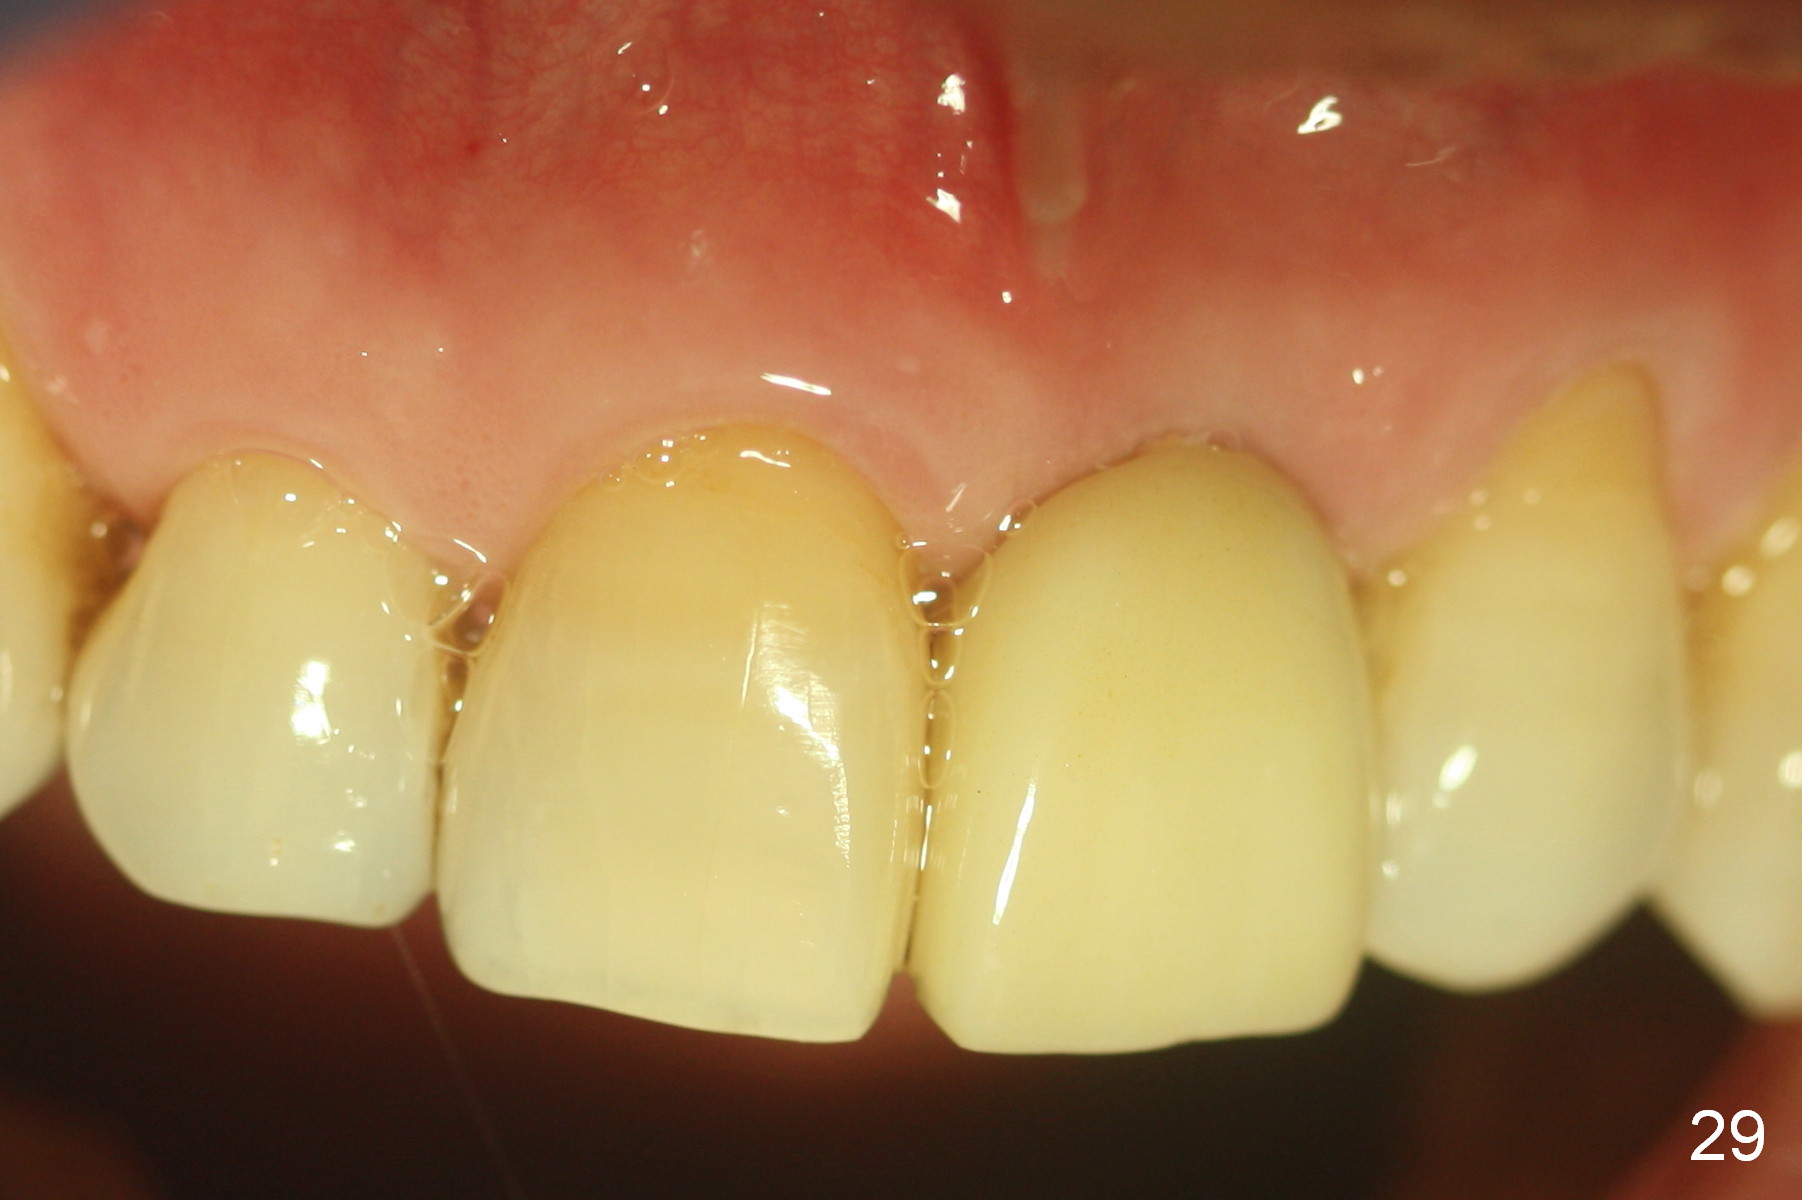
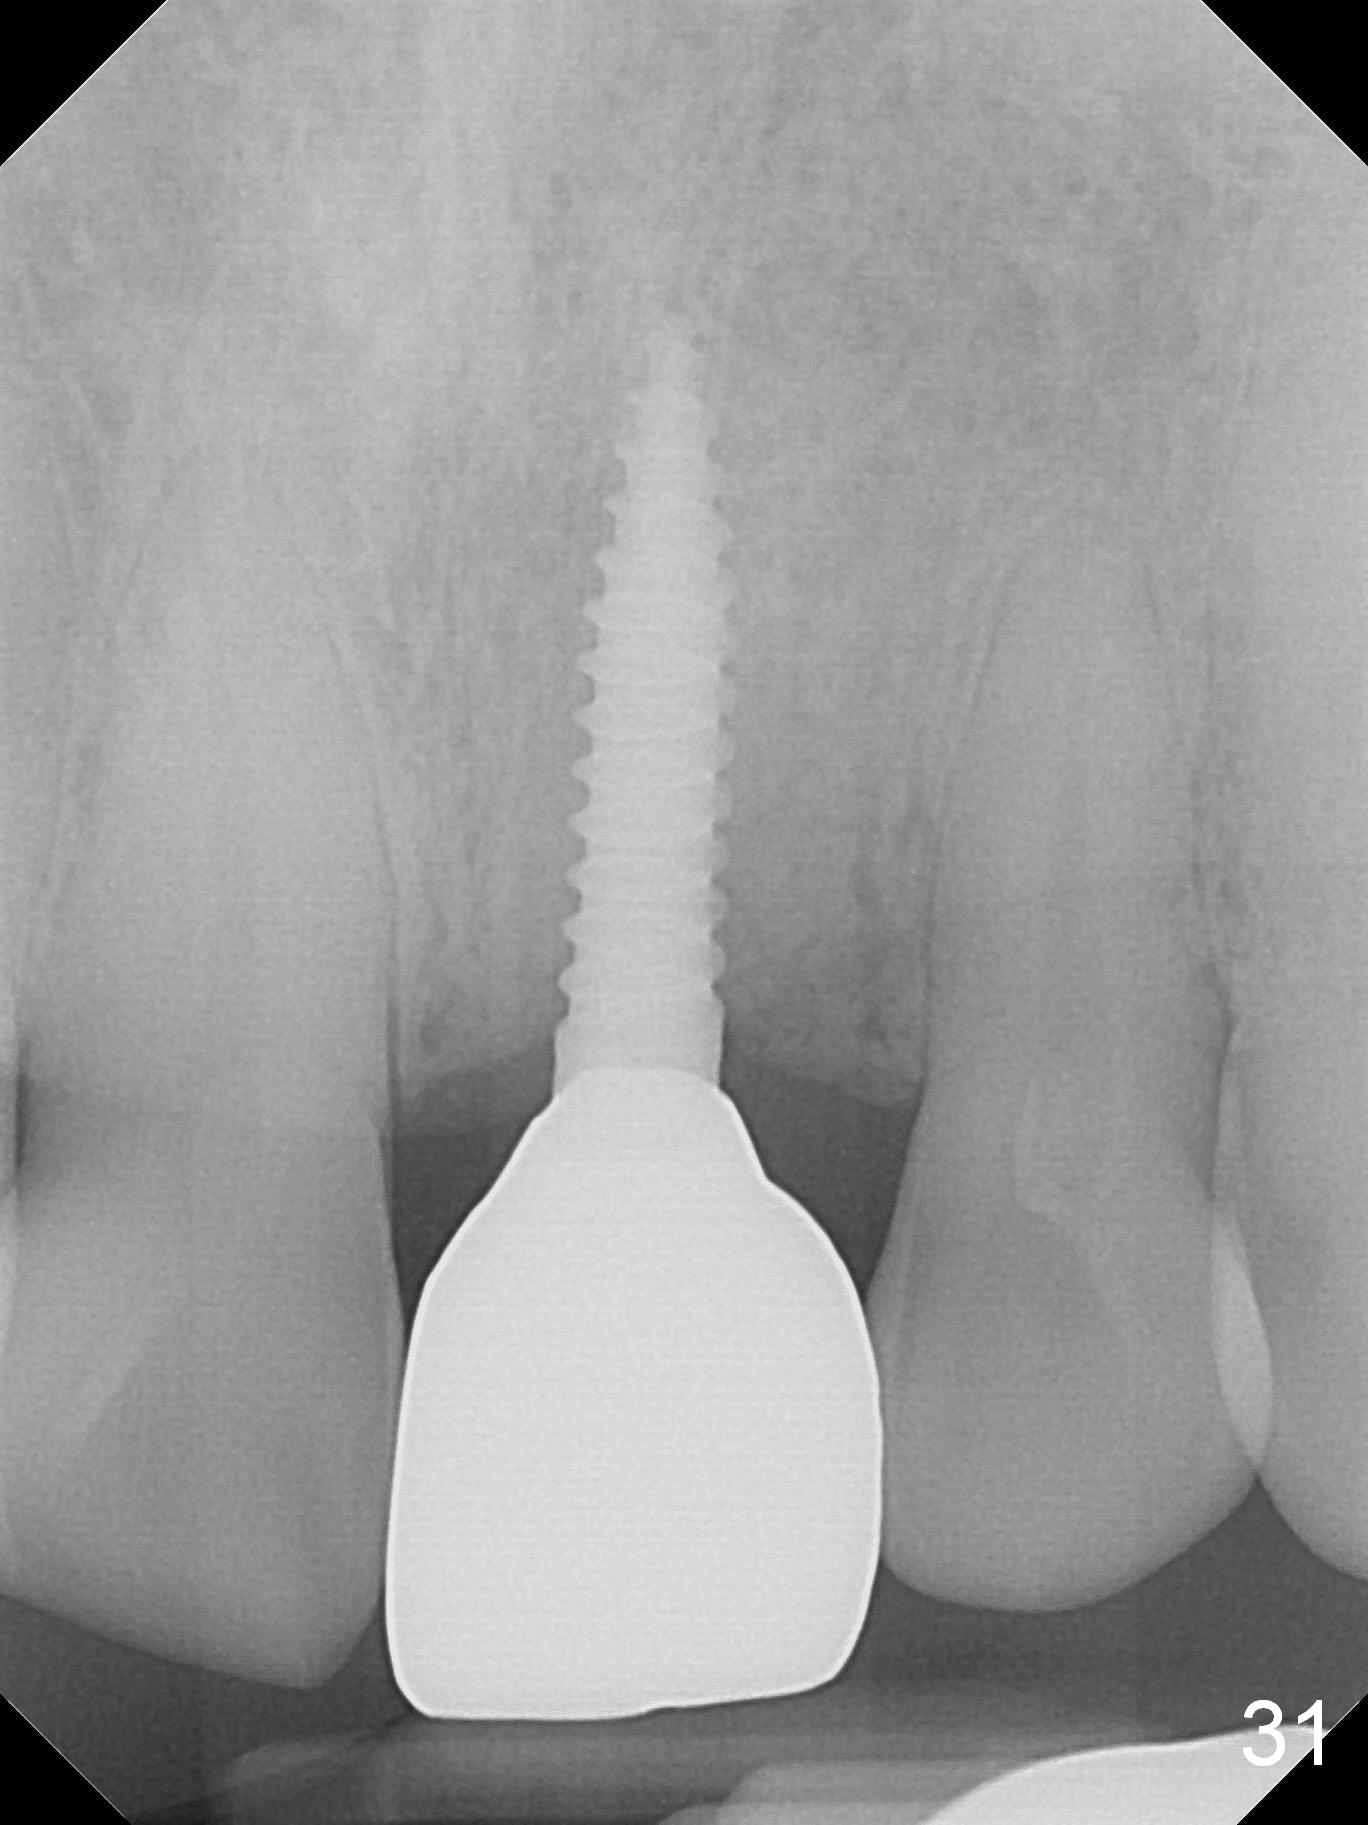
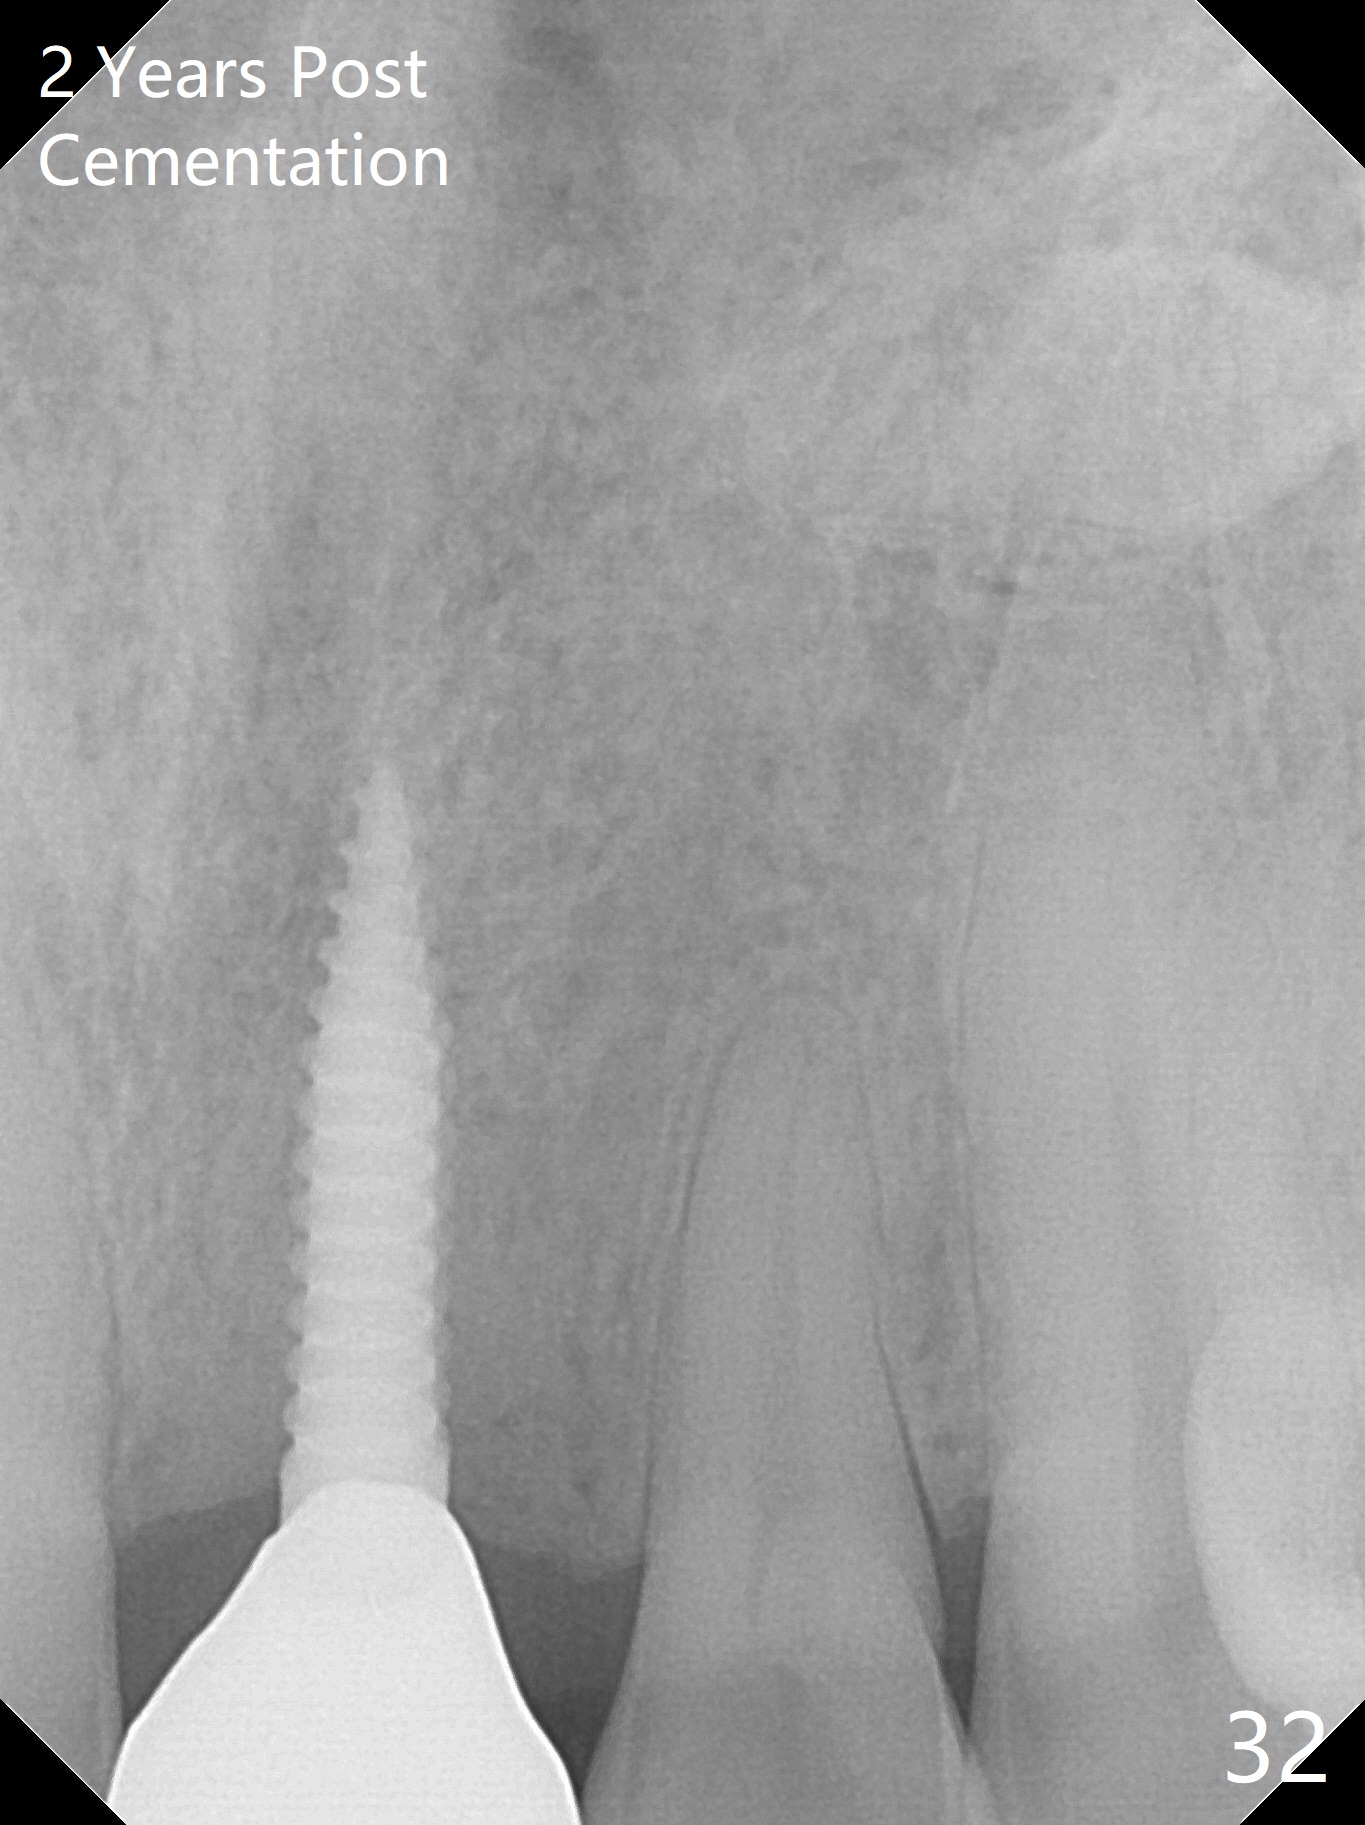
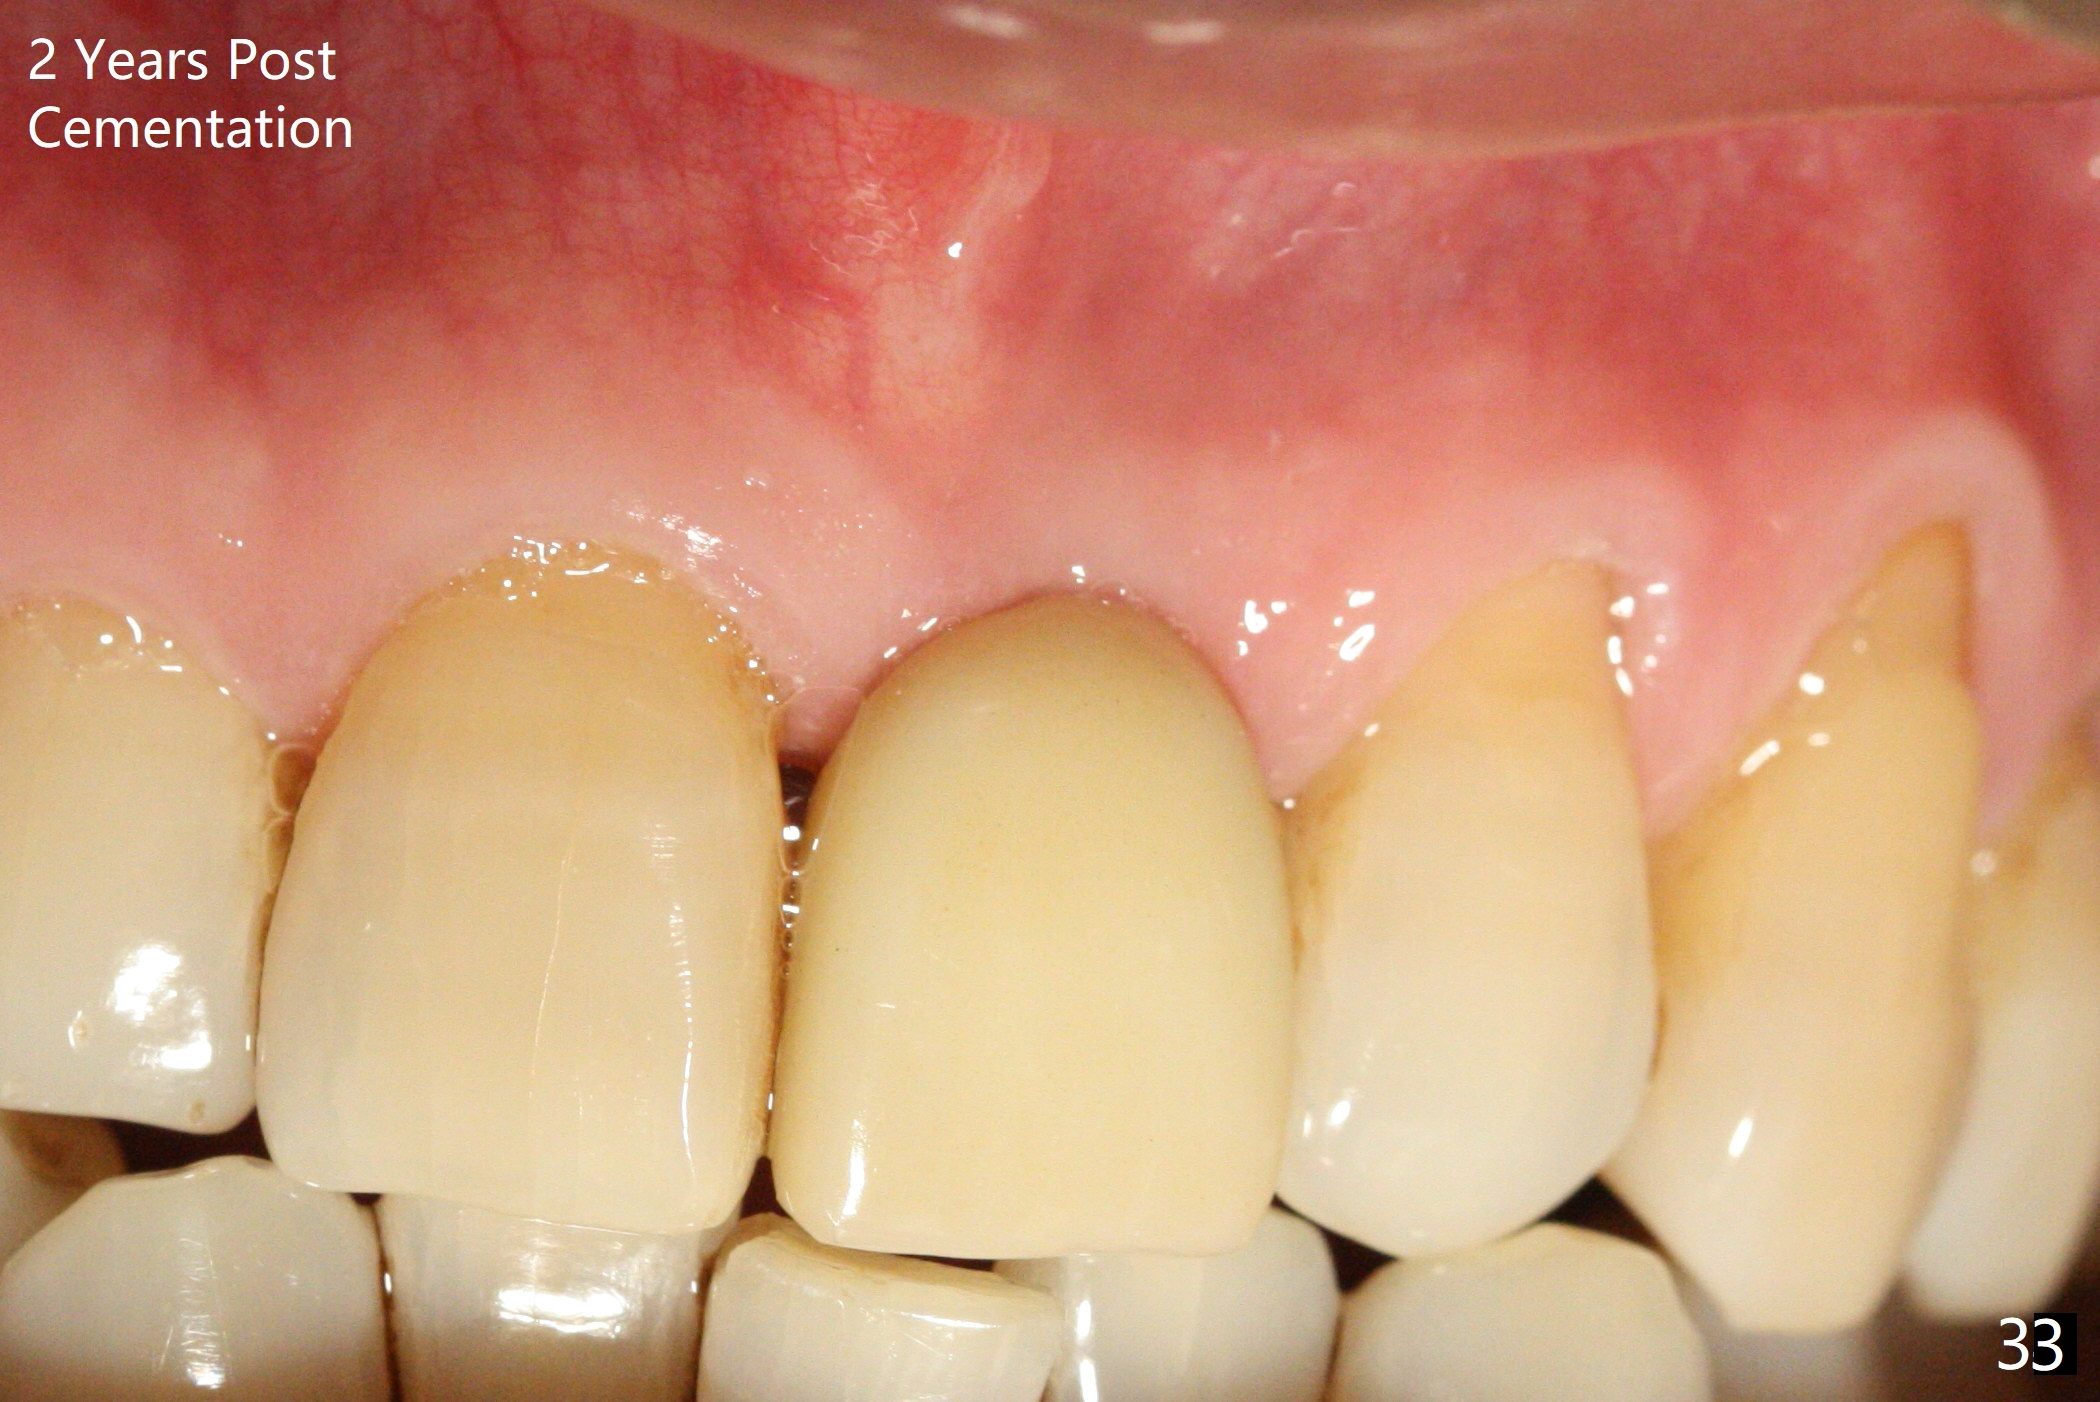
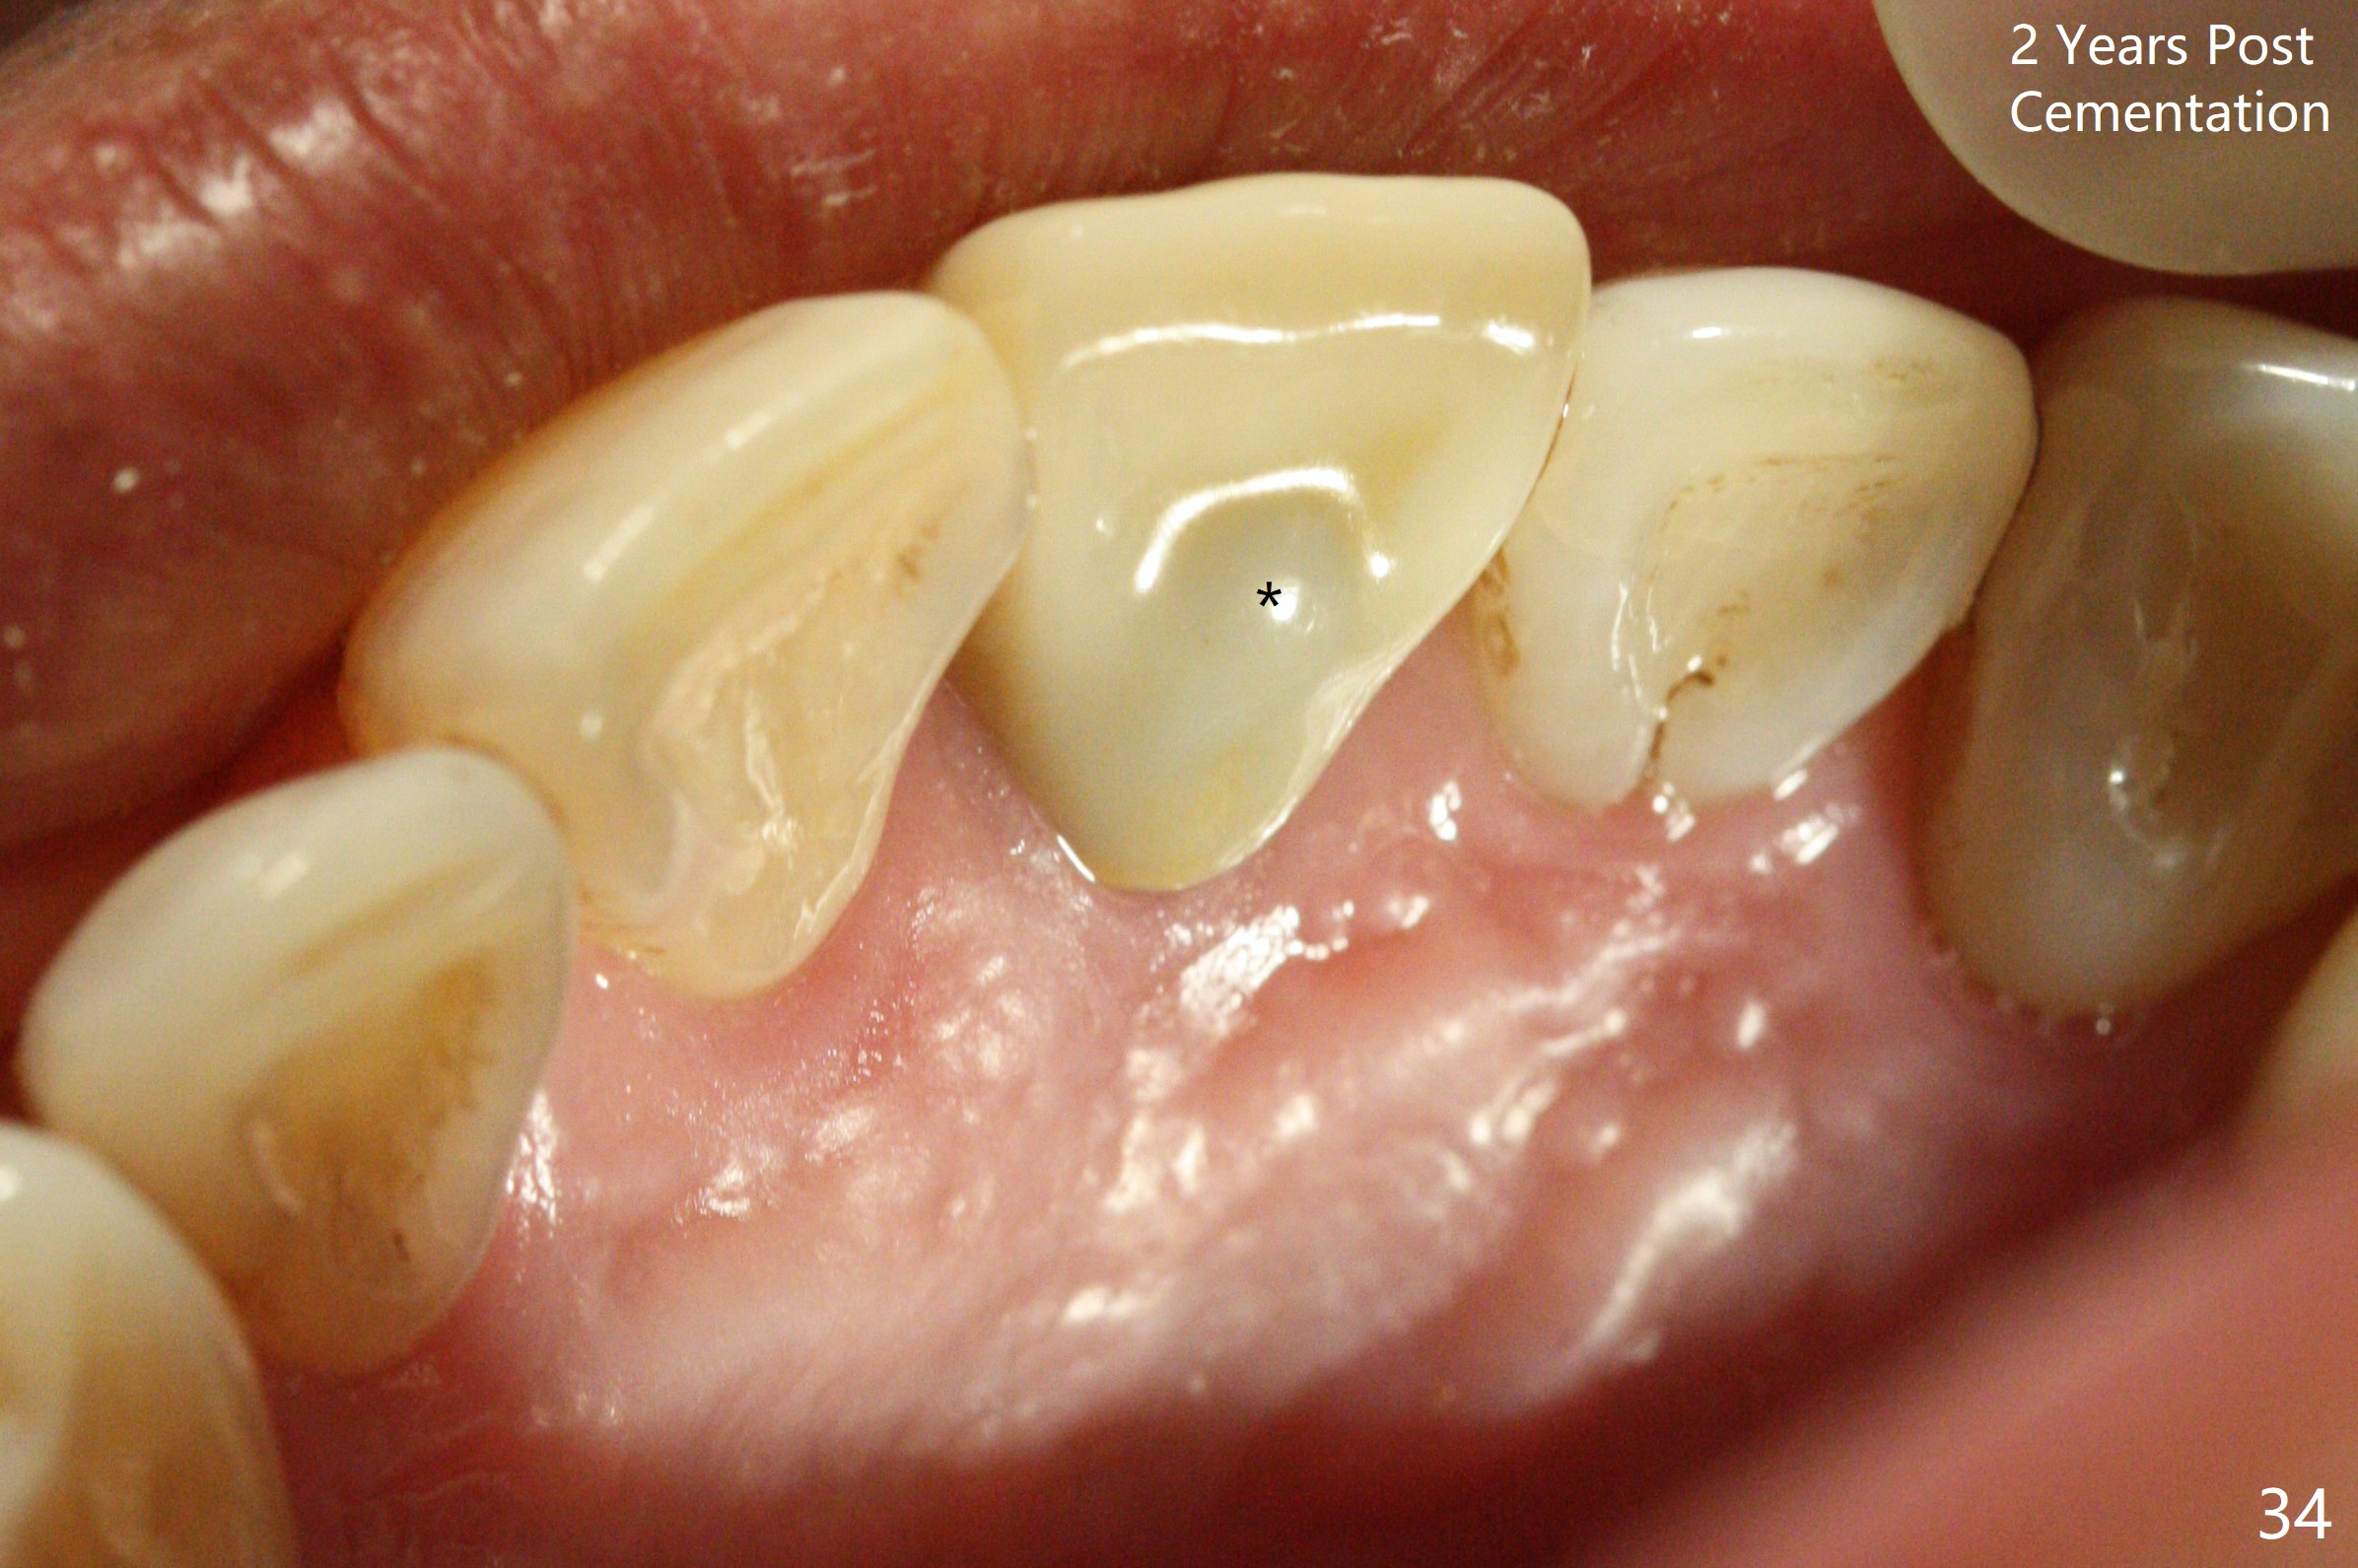
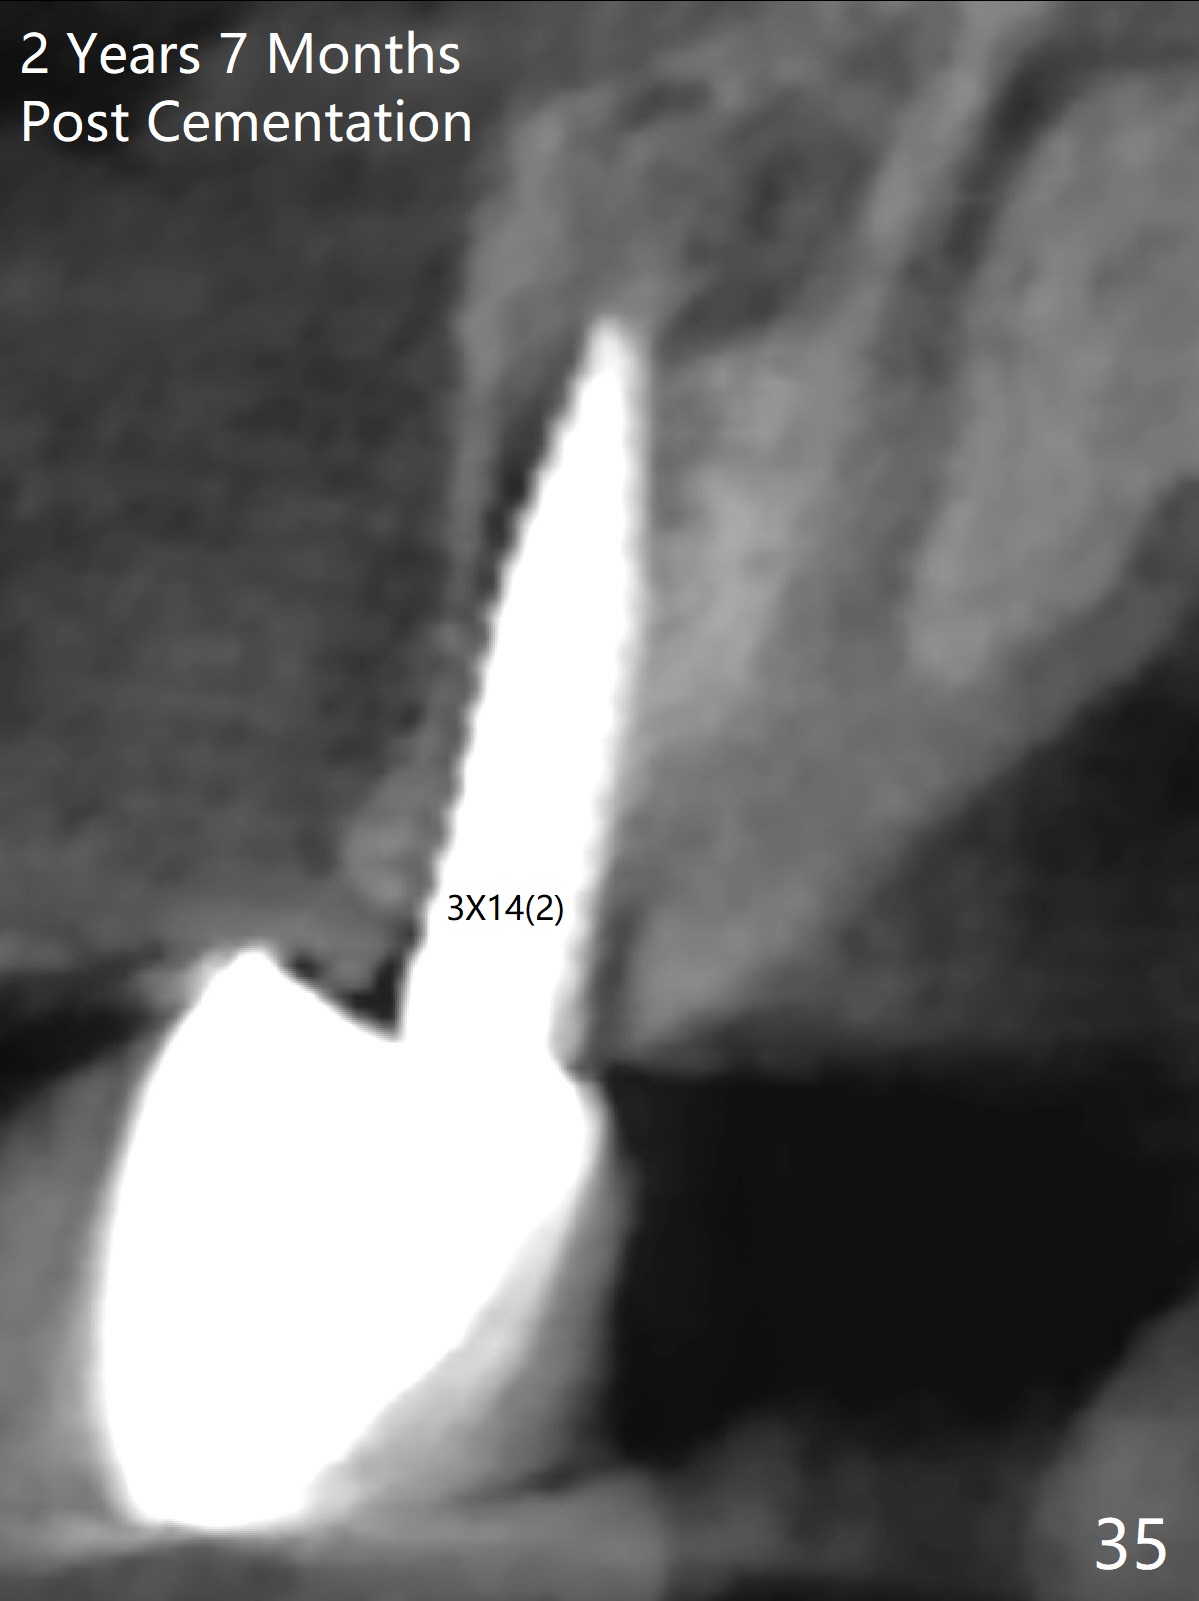
Gingiva remains healthy (Fig.29) and the bone density around the implant is apparently increased 4.5 months (Fig.30) and 11 months (Fig.31) post cementation. There is no bone loss (Fig.32) or gingival recession buccally (Fig.33) or palatally (Fig.34) 2 years post cementation. CT taken 2 years 7 months post cementation (Fig.35) shows that the buccal plate (B) covers the 3x14(2) mm implant; although the thicker palatal bone (P) is shy of the implant, the thicker palatal gingiva (G) covers the exposed threads and the cuff of the abutment. This is the basis for lack of periimplantitis.
Return to
Upper Incisor Immediate Implant,
Technicians,
1-Piece
CT/前牙植牙
切牙即种
Xin Wei, DDS, PhD, MS 1st edition 10/01/2015, last revision 05/23/2021