|
|
|
|
|
|
|
|
|
|
||
|
|
|
|
||
|
|
|
|
||
|
|
|
|
|
|
Soft Tissue Regeneration Following Immediate Implant
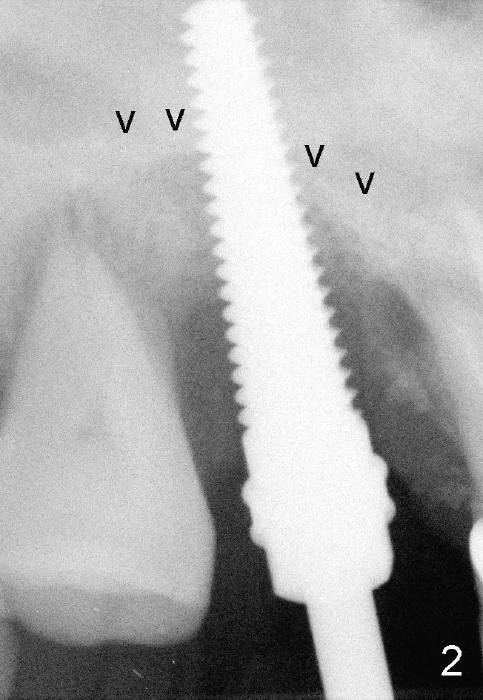
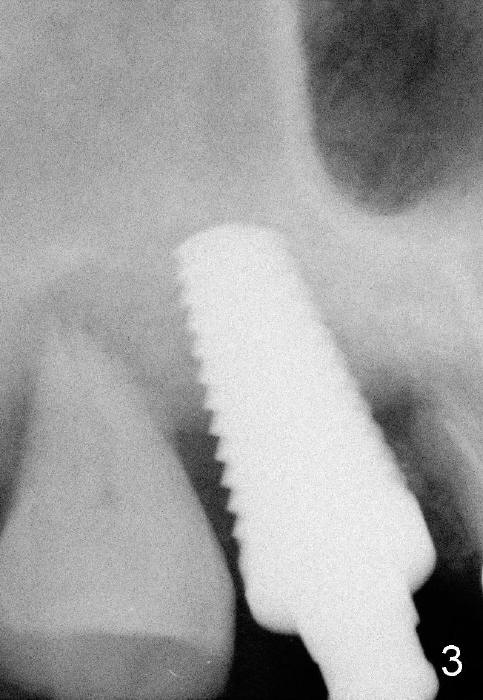
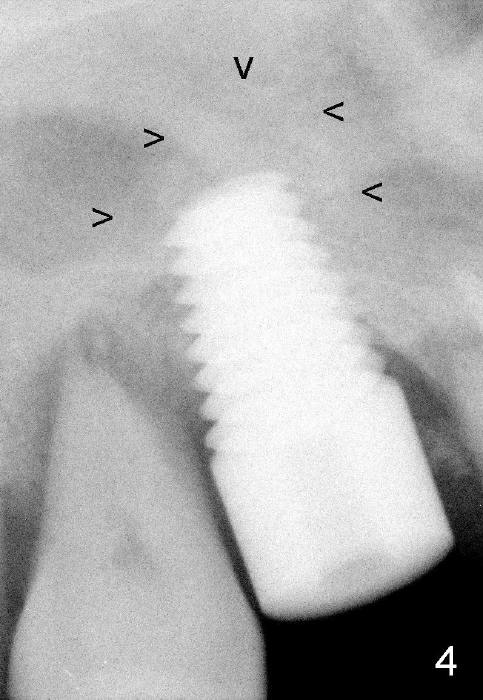
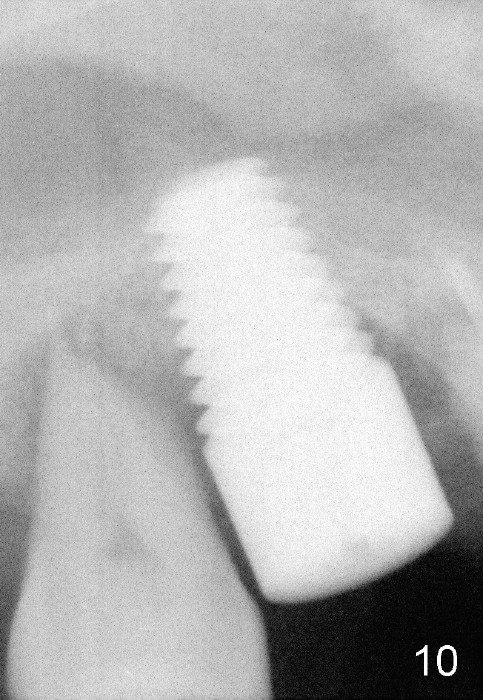
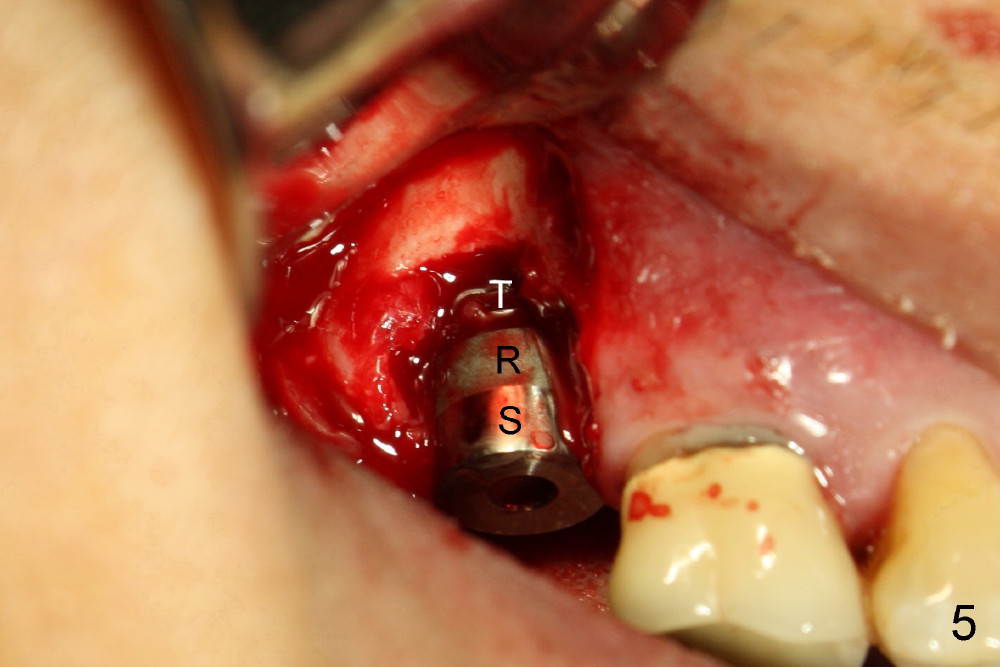
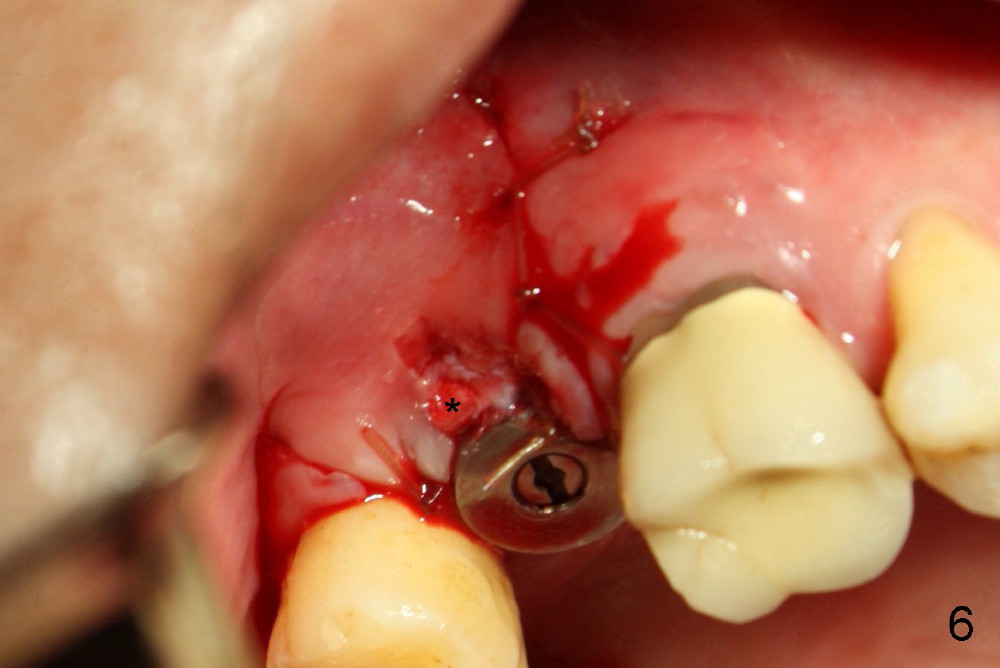
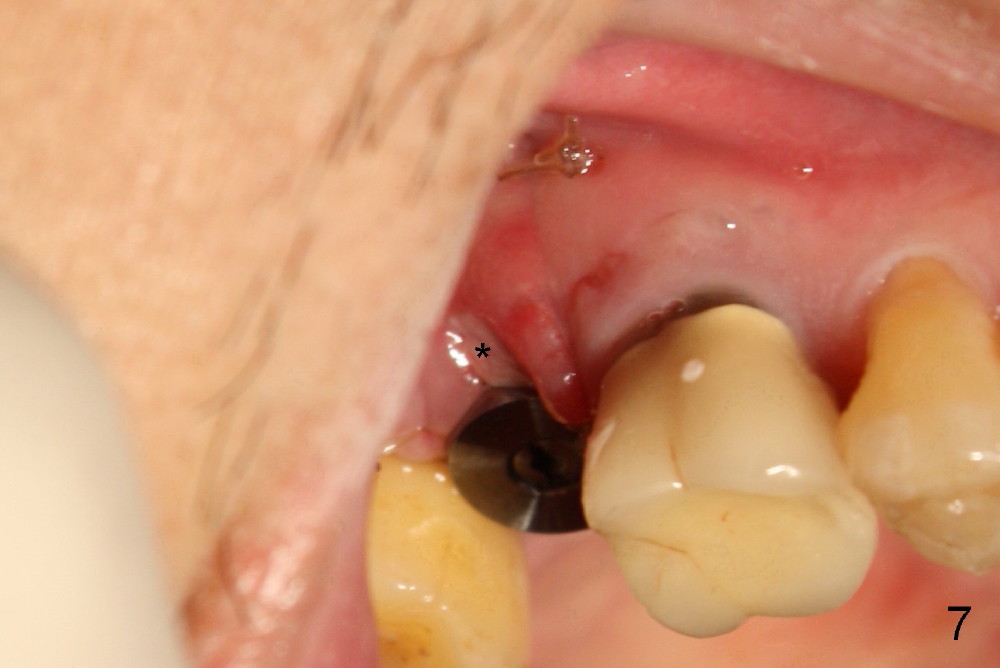
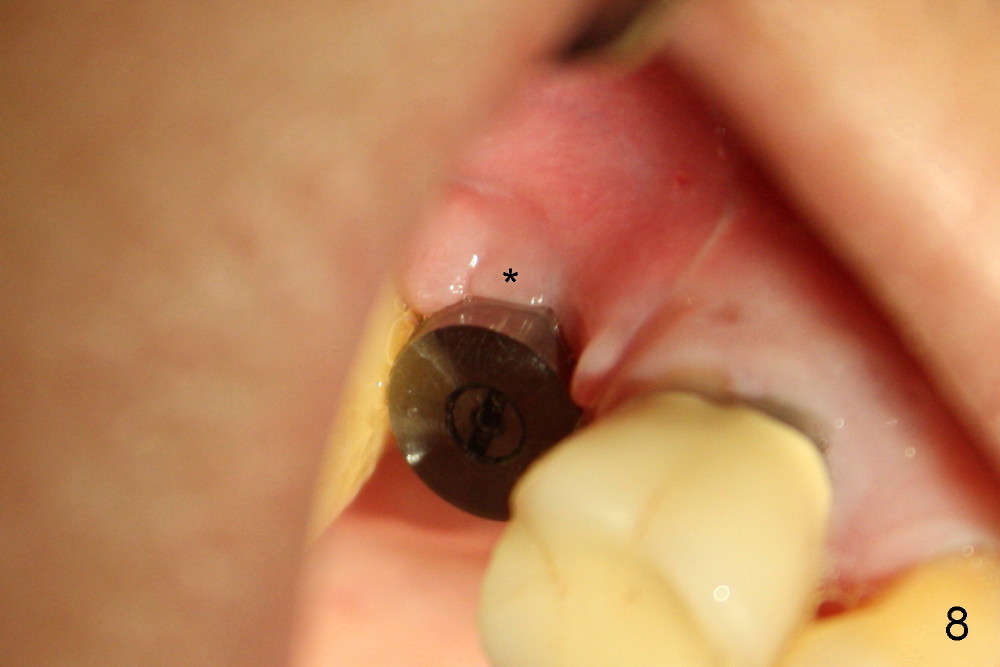
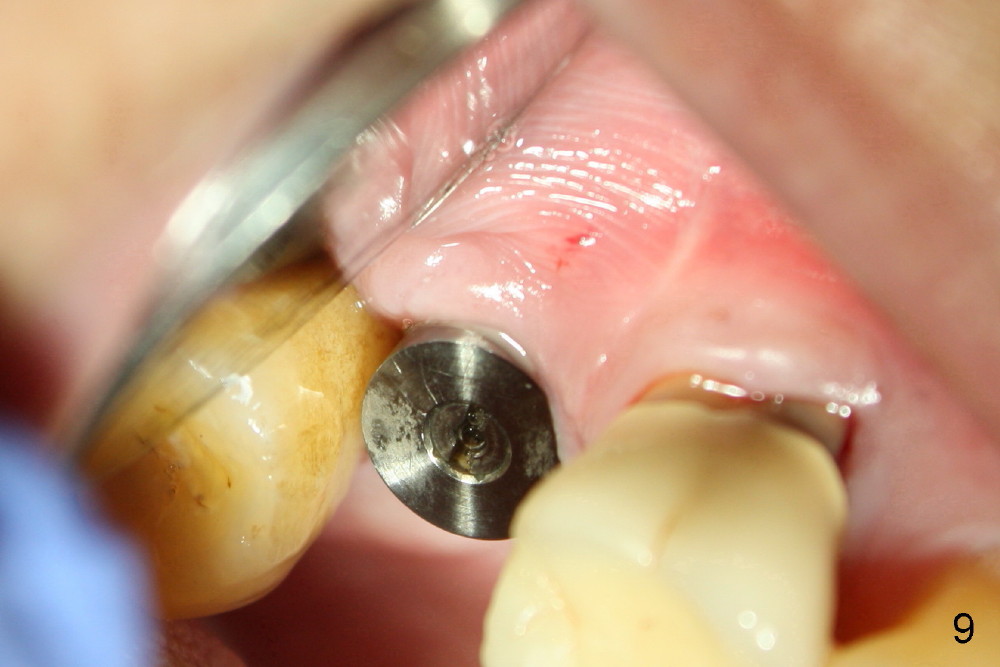
The 60-year-old man is a bruxer. All of the three upper right molars are nonsalvageable (Fig.1). Since #2 is symptomatic, it is planned to be extracted and restored first. As expected, there is severe alveolar destruction (single large socket), while the base bone is solid. A series of tapered osteotomes (2-5 mm) are used to create osteotomy in the base bone (gaining 4 mm into new bone), followed by 4.5x20 mm tap at the depth of 17 mm from the gingival margin (Fig.2). Then the depth is adjusted to 14 mm; the bone expansion and osteotomy continue until using 7 mm tap with good binding to the bone (Fig.3). A 7x14 mm implant is placed with insertion torque more than 60 Ncm (Fig.4). No bone graft is used for sinus lift considering sinus membrane perforation. The buccal flap is raised to reveal bony defect, which is covered by Osteogen (a synthetic bone graft) and then collagen membrane (Fig.6 *). Five days postop, the membrane undergoes a type of transformation (Fig.7 *) leading to a gingival tissue (Fig.8 *, 18 days postop). By 3 months, the gingiva has normal appearance (Fig.9), while the implant seems to be osteointegrated (Fig.10). Once the infected source is removed, our body has potential to regenerate.
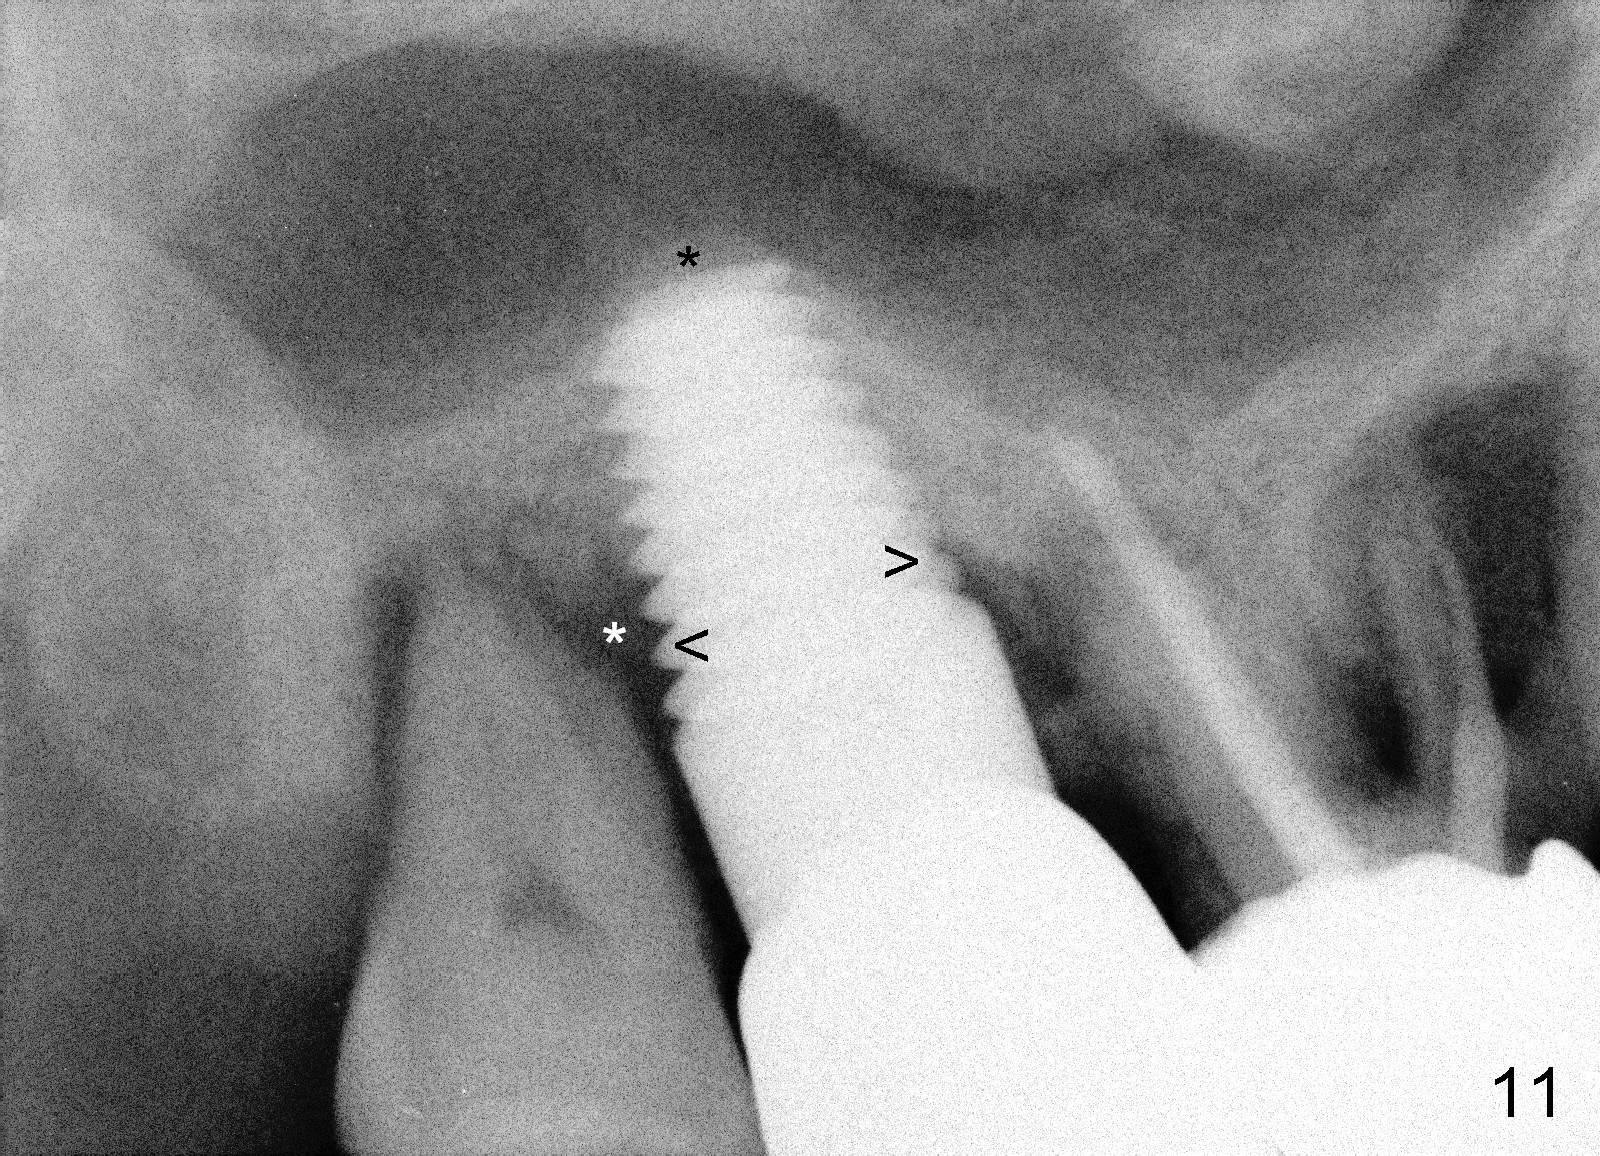
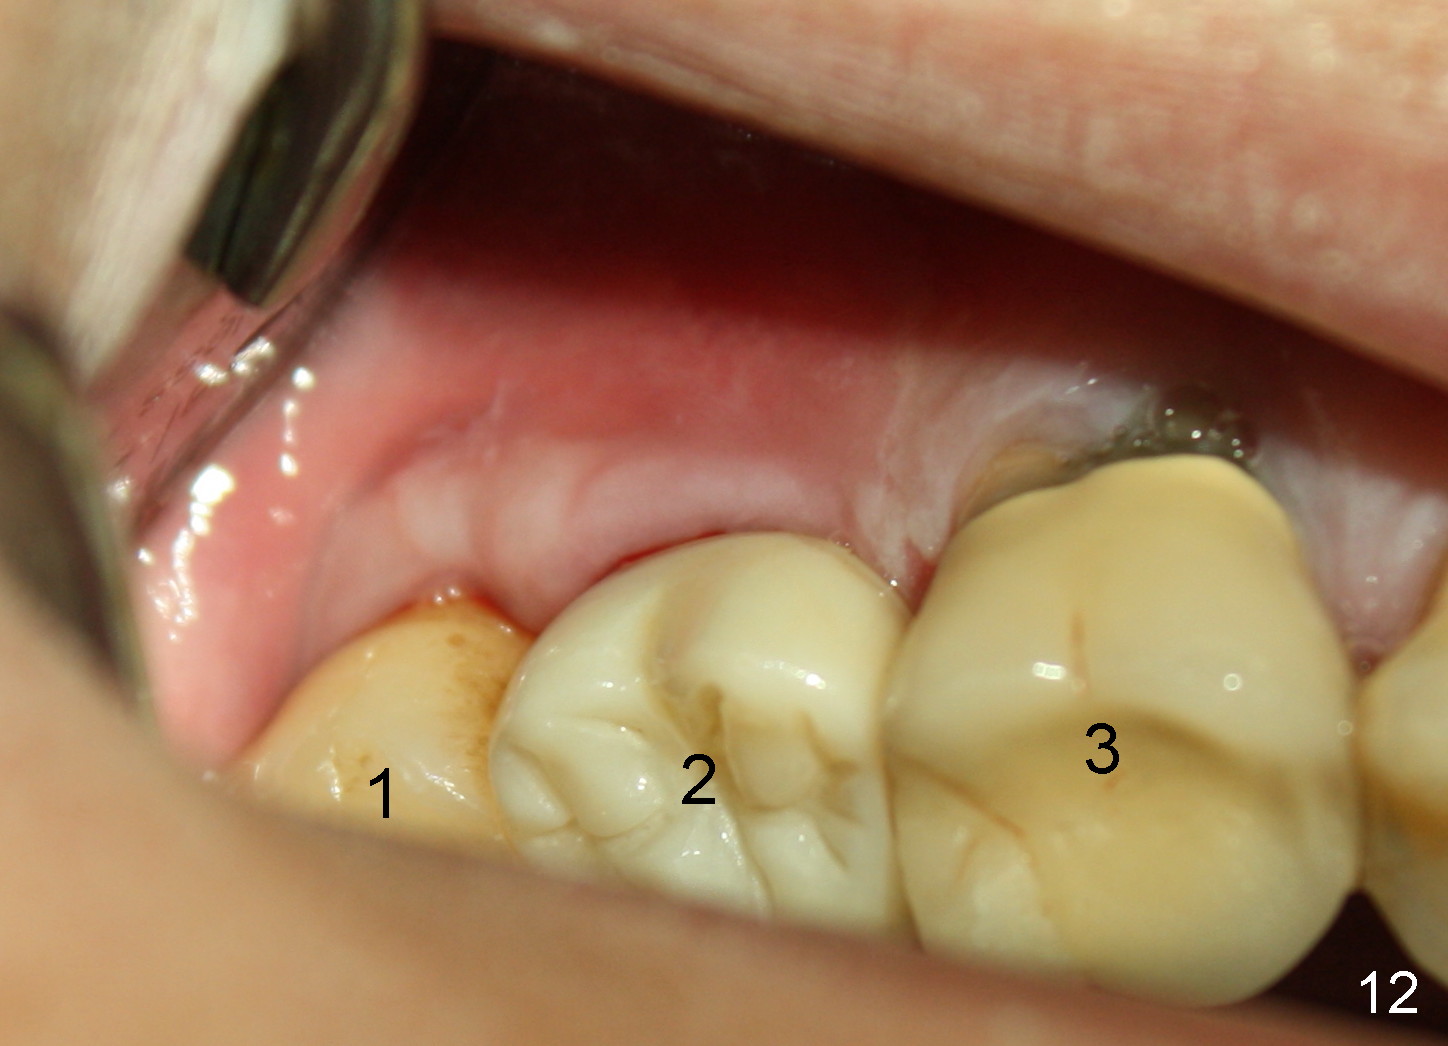
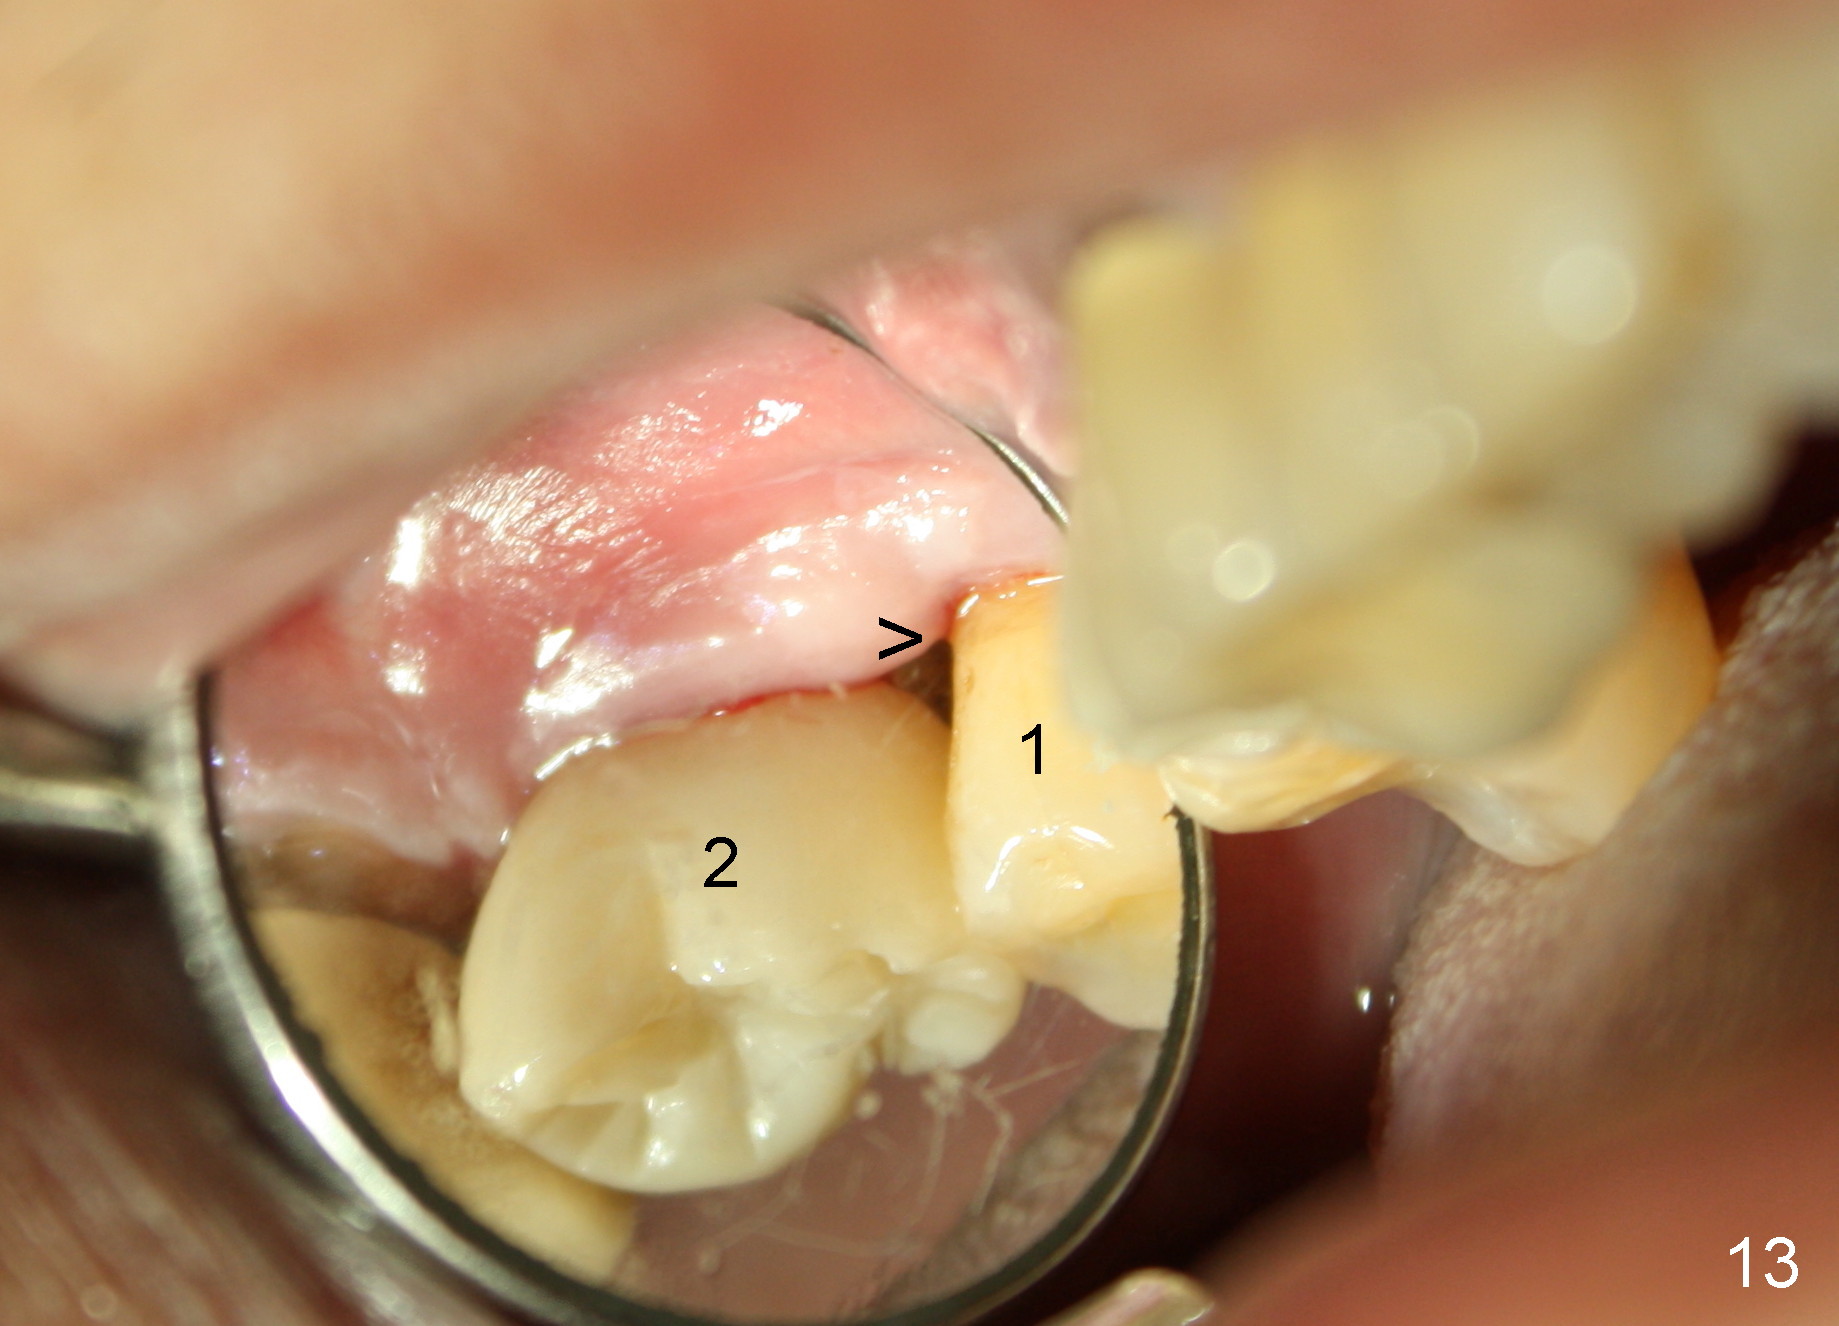
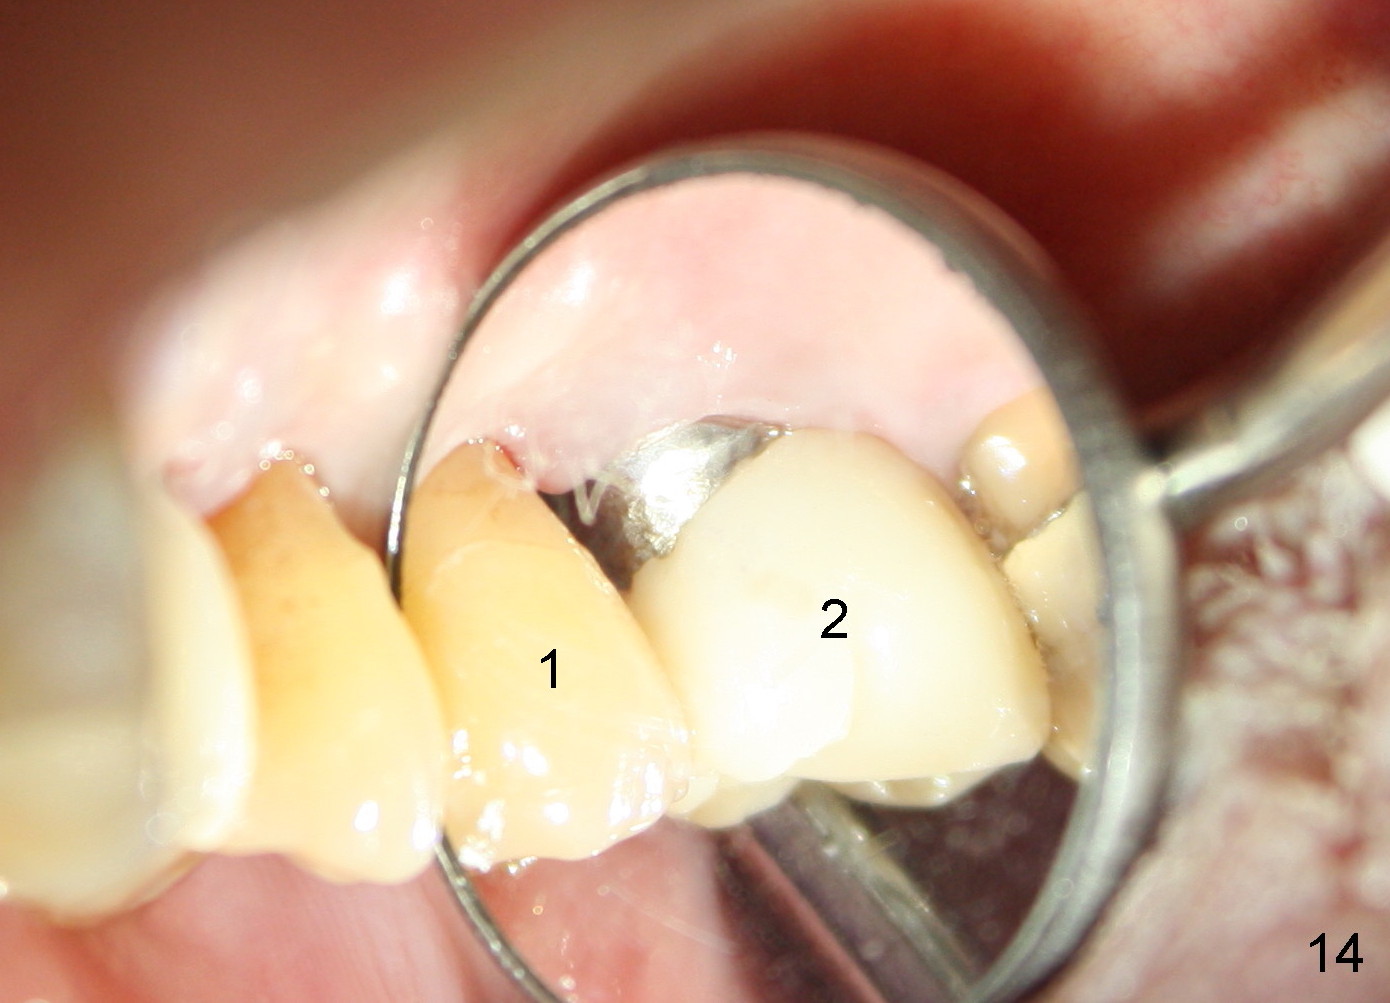
The patient complains food impaction between #1 and 2, six months post cementation. The former has mobility II. Although there is keratinized gingiva buccal to these sites (Fig.12), there is no papilla buccally (Fig.13) or palatally (Fig.14). The palatal pockets between #1 and 2 are deep with tenderness. X-ray shows bone loss between the sites (Fig.11 white *); the periodontal explorer can be felt to touch the distal implant threads (<). Extraction and immediate implant are recommended for #1. Twelve months later, the patient agrees with the treatment plan. The tooth #3 needs extraction and immediate implant, 2.5 years after the one at #2.
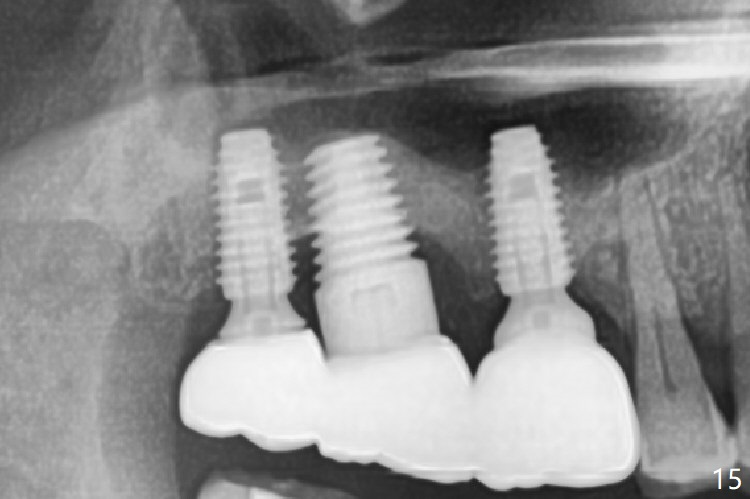
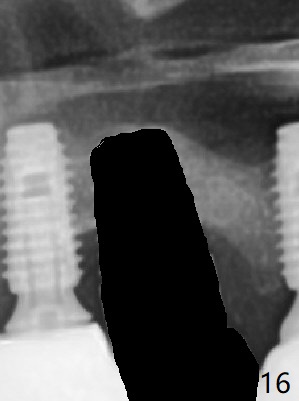
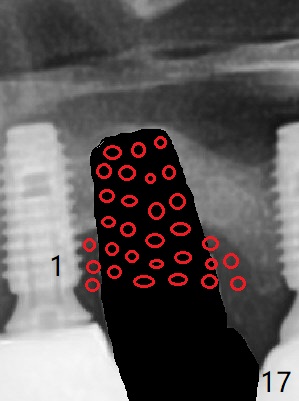
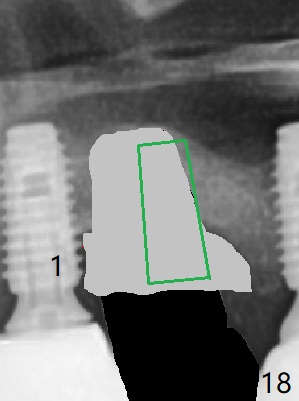
Periimplantitis develops with bone loss 4 years 5 months post cementation (Fig.15). It appears that the implant should be removed (Fig.16, unipost cemented with Ketac, prepare special screw driver after handpiece making a slot), followed by bone graft (Fig.17 red circles), particularly mesial to #1 implant and PRF. Prepare Titanium brush to clean the exposed implant threads of #1 implant. When the defect heals (with increased bone height, Fig.18 greyish area), place a smaller implant (green) with guide.
Return to Upper Molar Immediate Implants
Trajectory
14
Xin Wei, DDS, PhD, MS 1st edition 03/30/2014, last revision 01/09/2019